
🌱 Alfalfa
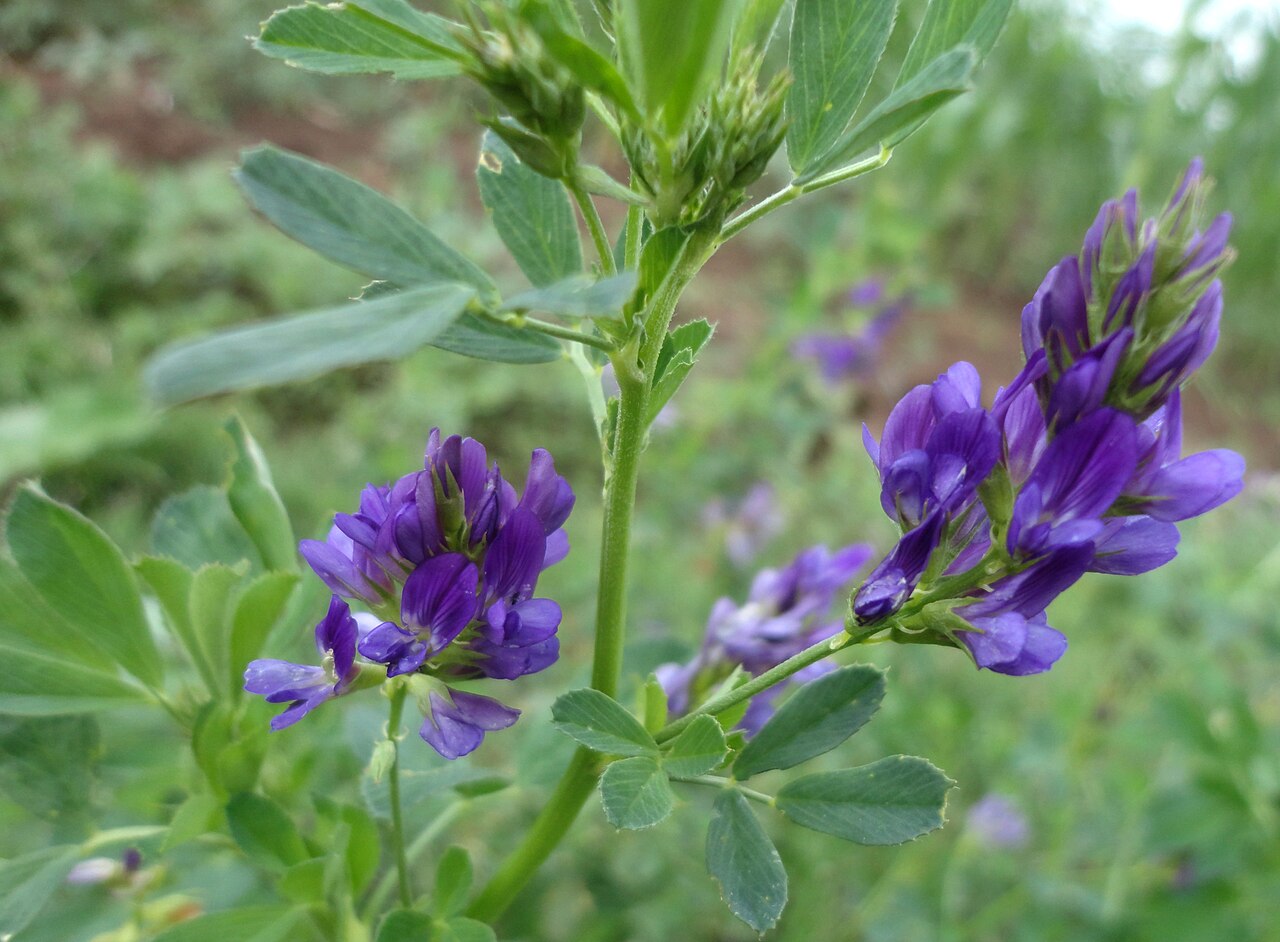
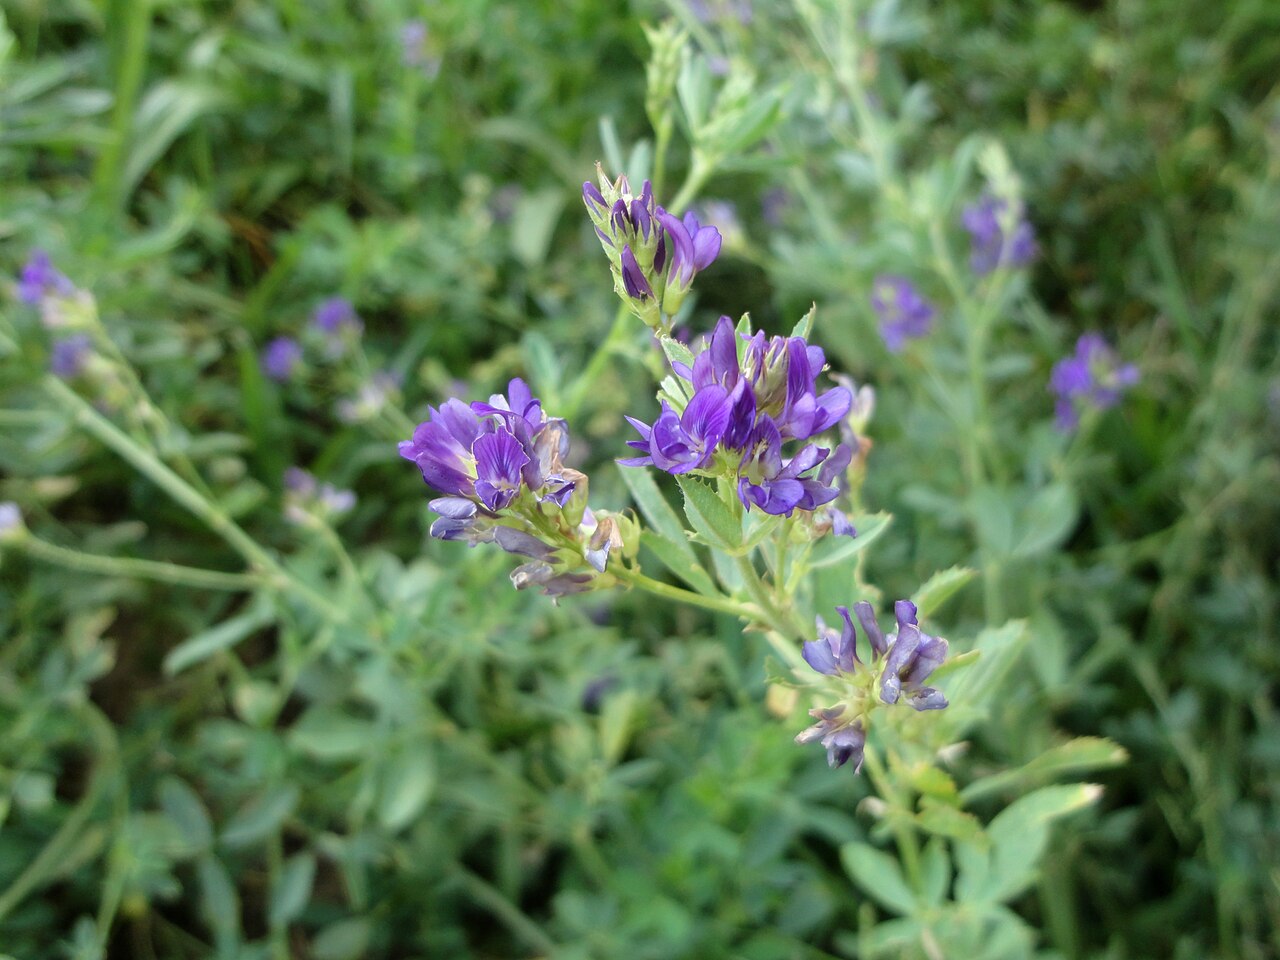
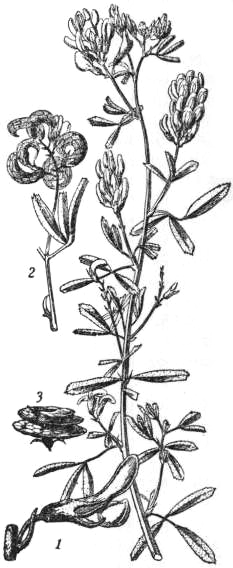
What it looks like
How to grow
Alfalfa is a deep-rooted perennial legume — its taproot can reach 15 feet or more — grown here as a garden-scale forage, green manure, and sprouting patch, not as a field-crop manual. Sow in spring or late summer in the sunniest, best-drained spot you have: sharp drainage is non-negotiable, because alfalfa roots rot in standing water, and heavy wet clay is the most common reason a stand thins within two years. Soil-test first and lime to near-neutral pH well before planting if your soil is acidic; lime needs months to react. Inoculate seed with the correct rhizobium so root nodules form and fix nitrogen — that nitrogen is the whole point for a garden bed, and it is why alfalfa needs little nitrogen fertilizer itself. A healthy stand lasts 3–5 years in the Southeast and 4–6 years generally before yields decline and it is time to rotate. Never reseed alfalfa directly into an old alfalfa stand: established plants suppress their own seedlings, so rotate to another crop for a year or more first.
Water & feeding
Water to establish, then water deeply but infrequently — the deep taproot makes alfalfa drought-tolerant once established, but it still yields best with steady moisture. Feed phosphorus, potassium, and boron per a soil test rather than nitrogen, which the plant fixes for itself; alfalfa is a hungry crop for P and K, especially when cut repeatedly. Mulch is not needed on a patch, but keep weeds out while seedlings establish, since weeds outcompete young alfalfa fast.
Common problems
- Thin, yellow stands — usually acidic soil or poor nodulation; lime to 6.5–7.0 and inoculate seed.
- Waterlogging and winter injury — plant only on well-drained ground and avoid a late final cutting that leaves plants without reserves going into cold.
- Alfalfa weevil, aphids, and leafhoppers — monitor with a sweep net on larger patches; cut on time to remove infested growth, and favor tolerant varieties.
- Weeds in year one — the critical window; a clean seedbed and timely first cutting matter more than any spray.
Harvest
Cut at bud stage to 10 percent bloom for the best balance of yield and quality, leaving a few inches of stubble so the plant regrows from crown buds. Expect 2–4 cuts a season in most gardens, with the last cut timed so plants rebuild reserves before frost. For sprouts, use seed sold for sprouting and follow food-safe sprouting practice; for the garden, cut material makes excellent mulch or compost feedstock.
Browse all plant & pest guides
Saving seeds
Saving alfalfa seed means sacrificing a patch on purpose. Stop cutting one section and let it flower — those purple blooms need bees to trip them, honeybees and leafcutter bees doing the actual pollination work, because alfalfa is largely self-incompatible and will not set a proper seed crop on its own. After a few weeks of bloom, the spiral pods form and begin to dry; harvest when most pods have turned brown to black and crisp, on a dry day, before they shatter and scatter your crop across the bed. Cut the stems, finish drying them under cover, then thresh by rubbing or crushing the dry pods in a sack or pillowcase and winnowing away the chaff until the small kidney-shaped seeds are clean.
Now the honesty clause, because alfalfa is an outcrosser and bees are commuters. If yours is the only alfalfa variety flowering nearby, your saved seed will be close to the parent variety — good enough for a garden patch, a green manure, or sprouting. If several varieties are flowering within bee range, expect crossing, and do not claim varietal purity you cannot defend: commercial isolation distances run from hundreds of metres into miles depending on the standard, which is a field-scale answer, not a backyard one. Open-pollinated varieties grown in isolation grow true; seed from an F1 or hybrid variety will not grow true, and will give you a mixed bag instead. Also respect the guide’s own warning: never sow saved seed back into an old alfalfa stand, because established alfalfa suppresses its own seedlings — put it in fresh ground, and inoculate with the correct rhizobium if that soil has not grown alfalfa before, so the nodules form and the nitrogen fixing starts.
Florida storage is where good seed goes to die if you rush it. Dry the seed completely — pods finished under cover, never jarred damp — then seal it airtight with a desiccant packet and keep it cool and dark. Thoroughly dried alfalfa seed keeps for several years that way, which is a useful thing to know, because a single sacrificed patch gives you far more seed than one garden needs, and next year’s patch will thank you for a jar that was dried properly in the first place.
Varieties
Every named variety of Alfalfa with its own growing guide:
- Ranger Alfalfa — The old standby — a tough, drought-tolerant dryland alfalfa released in 1942 and still requested by name.
- Vernal Alfalfa — The classic northern alfalfa — winter-hardy, deep-rooted, and the check variety every other alfalfa is measured against.