
The Florida Fall Soil Reset
Every fall, the national garden internet performs the same ritual: it tells you to put your garden to bed. Tuck it in, mulch it down, see it in the spring. And every fall, a Florida gardener reads that advice while standing in shorts, holding a tomato start, wondering what planet these people live on. Not this one, friend. Down here, fall is not the garden year’s funeral. Fall is the starting gun. The brutal heat breaks, the afternoon deluge clock slows down, the humidity loosens its grip — and the best growing months of the Florida year are standing right in front of you.
But before you plant a single thing into that opportunity, there’s a problem to solve, and it’s under your shoes. Your soil just survived a Florida summer. It spent months getting blasted by ultraviolet, pounded by rain that arrives sideways, and cooked at temperatures that keep soil microbes working — and dying — at double speed. Organic matter burned off. Nutrients washed down past the roots and kept going. Whatever structure the bed had in March has been through a war. Planting fall crops into exhausted sand is like opening a restaurant in a kitchen with no pantry: the chef’s talented, but there’s nothing to cook with.
So this guide is the reset: a one-weekend, step-by-step procedure for reading your soil, feeding it the Florida way, and sending it into the good season rebuilt. It has a companion — Know Your Amendments is the what-and-why guide, the plain-English tour of every amendment and what it actually does. This page is the other half: the do it, in this order, this weekend half. Read that one to understand your tools. Follow this one to swing them.
Step 1 — Read Your Soil Before You Touch It
Every good reset starts with diagnostics, and here’s the good news: three of the best soil tests on Earth cost zero dollars, use equipment you already own, and deliver results before lunch. Your hands, a shovel, a jar, and your eyeballs can tell you most of what you need to know about your soil’s physical personality. (Its chemistry is another matter — we’ll get to the honest limits in a minute.)
The drainage test. Dig a hole about a foot deep and a foot wide, fill it with water, and watch. In most of Florida, you will not be watching long. Water that vanishes fast — gone while you’re still admiring your work — is sand behaving like sand: huge particles, big pore spaces, nothing to slow the water down. That tells you your bed’s core challenge isn’t holding water in; it’s that water and dissolved nutrients pass through like a colander. If, on the other hand, the water sits there sulking for hours, you’ve found one of Florida’s other personalities — a clay lens, a compacted layer, or a spot where the water table is practically waving at you — and drainage, not retention, goes on your problem list. Same test, two opposite diagnoses, and the fix for each is different. This is why we test before we amend.
The squeeze test. Grab a handful of moist (not dripping) soil and squeeze. Sand lets go: the handful crumbles the moment you open your fist, and it feels like what it is — tiny rocks. Soil with some silt and organic matter holds a loose clump that pokes apart easily. Clay is the showoff: squeeze it and roll it between your palms and it ribbons out like play-dough, because clay particles are microscopic plates that stick to each other and everything else. Most Florida garden soil fails the ribbon test spectacularly and passes the crumble test instantly. That’s not an insult. That’s the diagnosis. You’re farming beach that dreams bigger.
The jar test. This one feels like a science fair, because it is one. Fill a clear jar about a third full of soil (scooped from a few spots in the bed, surface debris removed), add water to near the top, shake it like it owes you money, and set it down. Sand, being heavy, drops within minutes. Silt settles over the next hours. Clay is the drama queen — it can stay suspended for a day or more before finally settling into a fine top layer. When it all comes to rest, you’ll see your bed’s recipe in stripes: mostly sand with a thin silt line and a whisper of clay is the classic Florida reading, and the total depth of that dark, fine material at the top is roughly how much “real soil” character you’re working with. The proportions matter because they predict everything else in this guide — how fast you’ll water, how fast nutrients leave, and how hard your amendments have to work.
Now the honest limit. Your hands cannot measure pH. Your eyes cannot count nitrogen, phosphorus, or potassium. A bed can drain beautifully and still be too acidic for what you want to grow, or quietly running on empty in a nutrient your plants need. That’s what a lab test is for, and in Florida you have a genuinely good one: the UF/IFAS Extension soil testing program — you collect a sample, send it off through your county Extension office, and get back the numbers plus lime and fertilizer recommendations written for Florida soils. It’s worth doing for a new bed, a problem bed, or any bed every couple of years. The free tests tell you what your soil is. The lab test tells you what it’s missing. A good reset uses both.
Step 2 — Know Your Enemy: Florida Sand
Let’s be fair to sand before we fix it. Sand is not broken soil; it’s soil that never got the other ingredients. Beach sand and garden sand are essentially quartz — tiny pieces of one of the most chemically boring minerals on the planet. Quartz doesn’t hold water against gravity, doesn’t hold nutrients against leaching, and doesn’t feed microbes much of anything. Everything a garden needs from soil beyond “a place to stand” has to come from the minority ingredients: silt, clay, and above all, organic matter — the once-living, now-decomposing fraction that does the heavy lifting in every great soil on Earth.
The property that matters most here has a nerdy name and a simple soul: cation exchange capacity, or CEC. Plant nutrients like calcium, magnesium, potassium, and ammonium float around in soil water as cations — positively charged ions — and roots can only grab them if something holds them in the neighborhood instead of letting the rain flush them to the water table. Clay particles and humus are covered in negative charges, so they loosely hold those positive nutrient ions the way a parking garage holds cars: plenty of spaces, cars come and go, nobody falls into the sea. Sand is a parking lot with about three spaces and no fence. Quartz particles have very few exchange sites, so Florida sand’s CEC is low — often dramatically lower than a clay soil’s. Every hard rain is a flush event, and your fertilizer, your compost tea, your good intentions — all of it is renting, not owning. This is the single biggest reason Florida gardening advice from clay country fails here: up north, the soil is a bank vault. Down here, it’s a sieve with ambitions.
Organic matter is how you add parking spaces. Humus — the dark, stable end-product of decomposition — carries a very high CEC for its weight, holds several times its weight in water, and feeds the microbial workforce that glues soil particles into crumbs (aggregates) with actual structure. If you want the full construction manual, How to Build Living Soil is the deep build, and Living Soil for Florida Gardens is its sand-and-thunderstorms edition. But Florida adds one cruel twist the northern books don’t warn you about: organic matter burns fast here. Decomposition is microbial work, and microbes work faster when they’re warm and wet. As a rough rule of thumb, microbial activity about doubles with every 10°C (18°F) of warmth in their comfort zone — and a Florida soil spends most of the year warm and wet. Your compost doesn’t get a winter nap. It gets metabolized, year-round, at tropical speed, while the rain simultaneously leaches the soluble fraction down and out.
Which produces the golden rule of Florida amending, the one this whole procedure is built on: moderate doses, repeated. The clay-country move — one heroic, four-inch layer of organic matter every few years — is a feast your soil will burn through and leach away before it does lasting good. The Florida move is smaller layers, applied every season, treating organic matter like a subscription instead of a lump sum. You’re not trying to convert sand into loam in a weekend. You’re raising the soil’s savings rate, season after season, until the balance shows.
Step 3 — The Reset, Step by Step
Diagnostics done, enemy understood. Here’s the procedure — one Saturday’s honest work, in order.
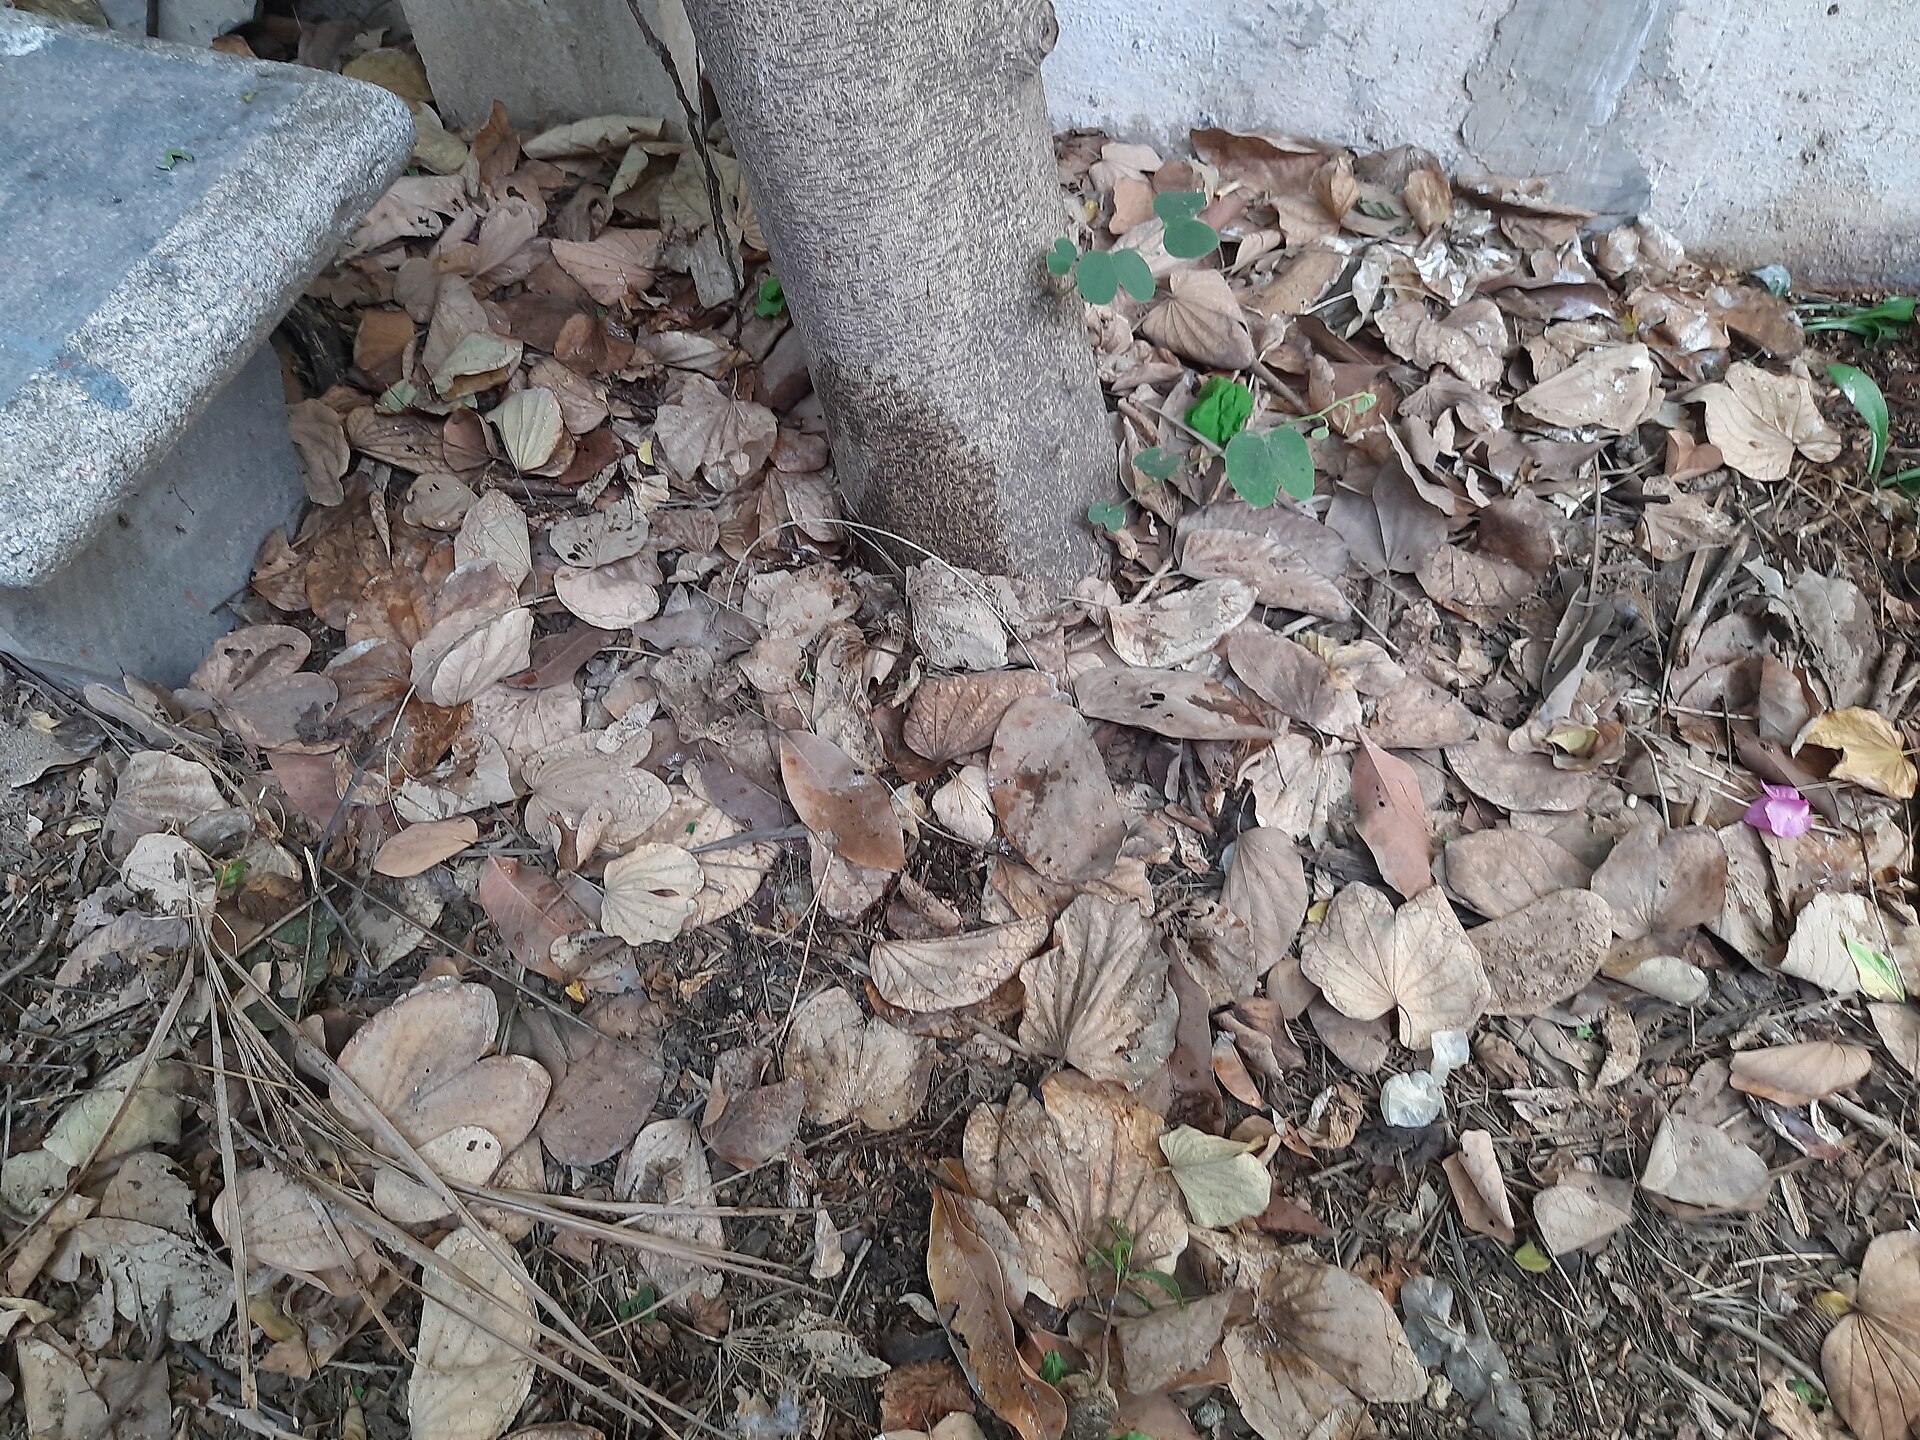
- Pull the summer spent. Start by clearing what’s finished: the tired, leggy summer crops, the weeds that used your absence wisely, the debris. But sort as you pull, because this step has a disease rule that matters. Healthy plant material can be chopped and composted or laid back down as rough mulch. Diseased material — leaves carrying fungal blights, bacterial spots, wilted stems from soil-borne trouble — does not go in your compost pile. A home compost heap rarely gets hot enough, long enough, to reliably cook the pathogens out, and spreading that compost is just giving the disease a rideshare to every bed you own. Bag the sick stuff and let it leave with the trash. Your compost pile is a nursery, not a hospital, and it has no immune system.
- Spread the organic matter layer. This is the main event: compost, the workhorse amendment, spread evenly over the bed. For Florida sand, think in the moderate-doses spirit — roughly an inch or two of compost across the bed is a sensible starting layer for a seasonal reset (adjust up for a brand-new bed that’s basically pure sand, down for a bed you’ve been feeding for years). Even is the operative word: no dunes in one corner and a whisper in the other. If you’re choosing between amendments rather than just deploying compost, that’s exactly the decision Know Your Amendments walks through — what’s in your pile, bag, or truck bed changes what this layer does, so swing by there if you haven’t.
- Work it in, or lay it on top — decide by bed state. Empty bed, new bed, or a bed between crops? Fork the layer into the top several inches of soil. You’re not rototilling into oblivion — you’re introducing the organic matter directly into the root zone, where sand needs it most, and giving the microbes immediate housing in the neighborhood they’ll work. Bed with established perennials or anything still growing? Don’t dig around living roots like you’re defusing something. Top-dress instead: spread the layer on the surface and let rain, irrigation, and earthworms do the moving. They will — worms pull surface organic matter down with a work ethic that should embarrass us all, and every watering carries fine particles deeper. Over the years, as your soil’s structure and biology build, you’ll find yourself working-in less and top-dressing more. That’s not laziness. That’s succession.
- Add the castings finish. Worm castings are the finishing layer, not the foundation — think of compost as the bulk groceries and castings as the spice blend that’s also somehow a multivitamin. Across a reset bed, the standard move is a ¼-inch top-dress of castings worked lightly into the surface, or, if you’re transplanting right away, a generous handful side-dressed into each planting hole where young roots will move in next door. If you’re new to the black gold, Worm Castings 101 covers what castings actually are and why a little goes a long way — and for the “okay, but how many gallons is that for my bed” math, the castings calculator on the Academy hub turns bed dimensions into a bag count in about ten seconds.
- Top off the raised beds. If any of this is happening in raised beds, expect a second chore: the level dropped over summer, didn’t it? That’s not a defect — it’s decomposition doing exactly what you hired it to do, turning volume into biology and leaving air where matter used to be. Top the beds back up with a compost-rich blend before you plant. And if you built your beds hugelkultur-style — wood buried in the core, settling as it rots — the first year or two of sinking is the design working as designed; the deep dive on that (and the whole honest fill strategy) lives in the Raised Beds guide.
- Mulch for Florida, not for a magazine. Bare amended soil in Florida is a buffet in a rainstorm. Cover the bed with a couple of inches of organic mulch — shredded bark, wood chips, pine straw, whatever your region hands you cheaply — kept a few inches back from stems and trunks so crowns stay dry. Mulch here has three jobs: armor the surface against deluge-driven erosion and splash, hold moisture through the dry fall weeks between fronts, and buffer soil temperature so your freshly fed microbes aren’t getting poached at noon. Yes, Florida mulch breaks down fast — here, that’s a feature wearing a disguise. Decomposing mulch is next season’s organic matter, delivered from above, free of charge. Plan to replenish it. The mulch is not a roof; it’s a slow-release meal.
- Water it in. Finish with a thorough, patient soak. This isn’t ceremony; it’s chemistry and physics. Water settles the amendments into real contact with soil particles (nutrients exchange at surfaces, and surfaces have to touch), collapses the big air gaps your forking left behind, and — most importantly — wakes the workforce up. Soil biology in dry soil is dormant biology: bacteria idle, fungi pause, worms head for depth. Moisture is the starting whistle. Water the reset in deeply once, then keep the bed evenly moist while new roots establish, the same way you’d water in any transplant — because from the soil’s perspective, this whole bed just got replanted.
Three Traps That Undo a Good Reset
Before you decide what goes into this freshly reset bed, three common shortcuts deserve a warning label. Each one looks like help. Each one quietly eats the reset you just did.
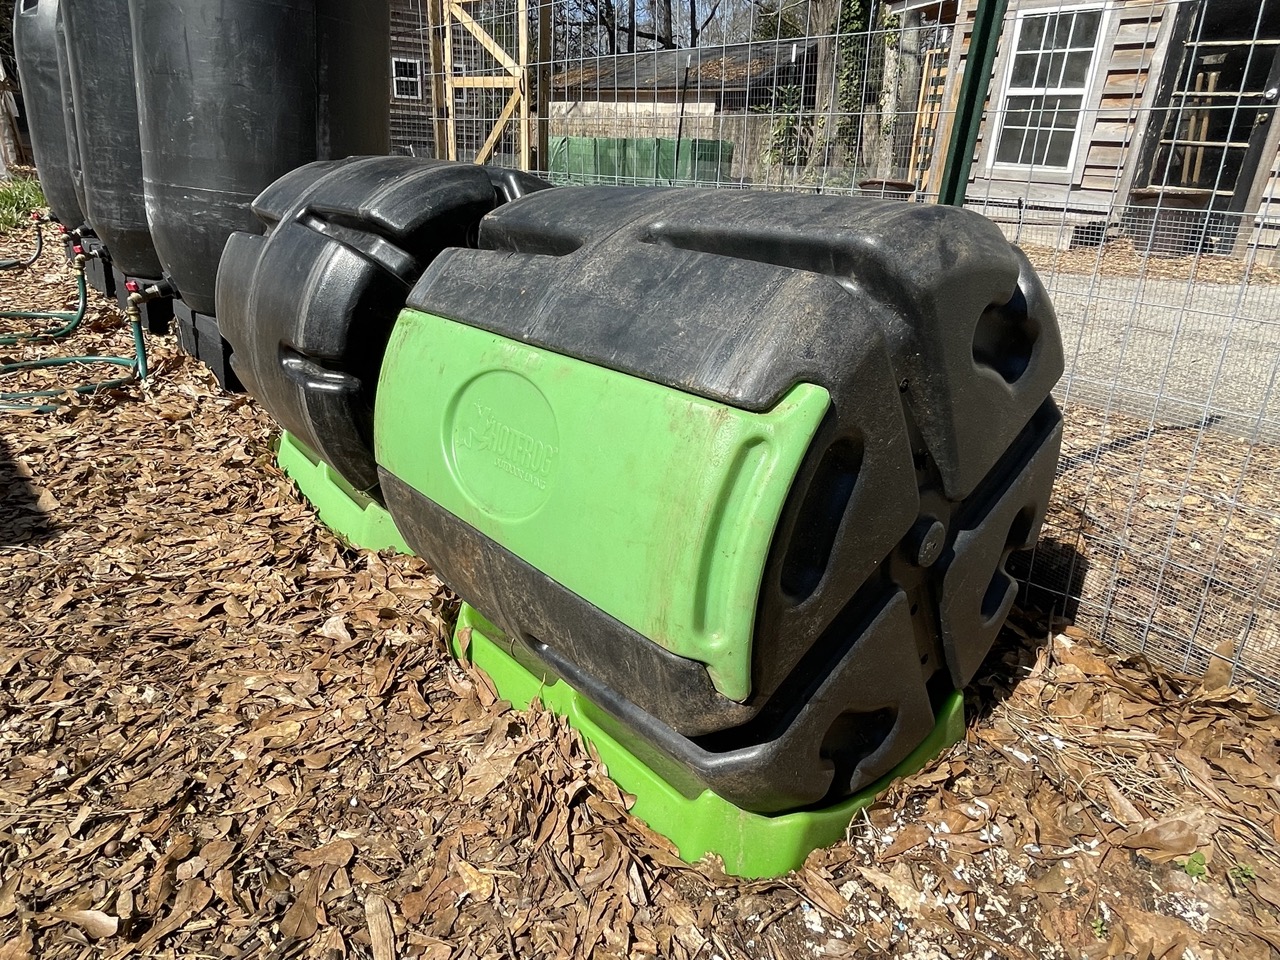
Trap 1: compost that isn’t finished yet. Finished compost is dark, crumbly, cool to the touch, and smells like a forest floor after rain — and you can’t identify anything that went into it. Unfinished compost is still warm in the middle, smells sour or like ammonia, and has recognizable food scraps waving at you. Spread the unfinished stuff and the microbes finishing the job in your bed eat first: they pull nitrogen out of the soil to break down the carbon, your seedlings stall out yellow, and the organic acids in half-rotted material can burn young roots. Weed seeds that never got cooked are a bonus nobody asked for. Not sure about your pile? Run the radish test: sow a few radish seeds in a pot of the compost. If they sprout and grow normally for a week, it’s done. If they sulk, give the pile a few more weeks to cure. A reset delayed beats a reset that eats your plants’ lunch.
Trap 2: the fast-release fertilizer shortcut. A bag of blue granules feels like a reset in an afternoon. It isn’t — it’s a loan with bad terms. The salts build up in sand, Florida’s winter rains wash the nitrogen straight past the roots toward the water table, and the flush of soft, lush growth it pushes is exactly what a North Florida freeze kills dead. The whole point of the reset is feeding the soil so the soil feeds the plants; a fast-release fertilizer skips the middleman, and the middleman is the point. One honest exception: if your lab report calls for a specific nutrient, follow the report. That’s a prescription, not a guess — and it’s very different from dumping a bag because the bag’s marketing told you to.
Trap 3: the wrong mulch. Fresh wood chips are a path material, not a bed material: the microbes breaking down all that carbon borrow nitrogen from the top layer of your soil, which is exactly where your seedlings’ first roots will be. On beds you’re about to plant, use aged chips, composted bark, or pine straw instead. Dyed mulch is a second skip for food beds — the colorant itself is usually iron oxide, not the villain, but dyed mulch is often ground-up recycled wood of unknown origin, and food beds deserve better than mystery wood. And the mulch volcano: this guide already says to keep mulch a few inches back from stems, and here’s why it matters — mulch piled against a stem holds moisture against the bark, inviting rot and giving pests a covered highway in. A couple of inches of the right mulch, stems kept clear, and your reset stays reset.
Dodge those three traps and the bed you just rebuilt stays rebuilt — which brings us to the Florida question the rest of the country never has to ask:
Step 4 — Plant It Now, or Put It to Bed?
Here’s where Florida splits from the national script entirely. In most of the country, a fall soil reset is preparation for a garden that’s going dormant — you amend in October so April is glorious. In most of Florida, you amend now because you’re planting now. Fall is a primary growing season here: the heat-stressed summer crops come out, and the crops that prefer Florida’s milder months go in. For most Florida gardeners, the answer to “plant or rest?” is “plant — that’s what the reset was for.” If you want the full seasonal picture of what goes in when, the Fall & Winter Gardening guide is your calendar companion.
But some beds genuinely earn a rest — a bed that grew the same hungry crop family all summer, a bed you’re rotating out, a bed you simply don’t have the hours to plant well right now. Resting does not mean bare. Bare sand in the rainy shoulder season just erodes and leaches back everything you just added. A resting Florida bed gets a living cover or a heavy mulch blanket, and the living-cover choice depends on where in Florida you are, because this state is secretly three climates in a trench coat.
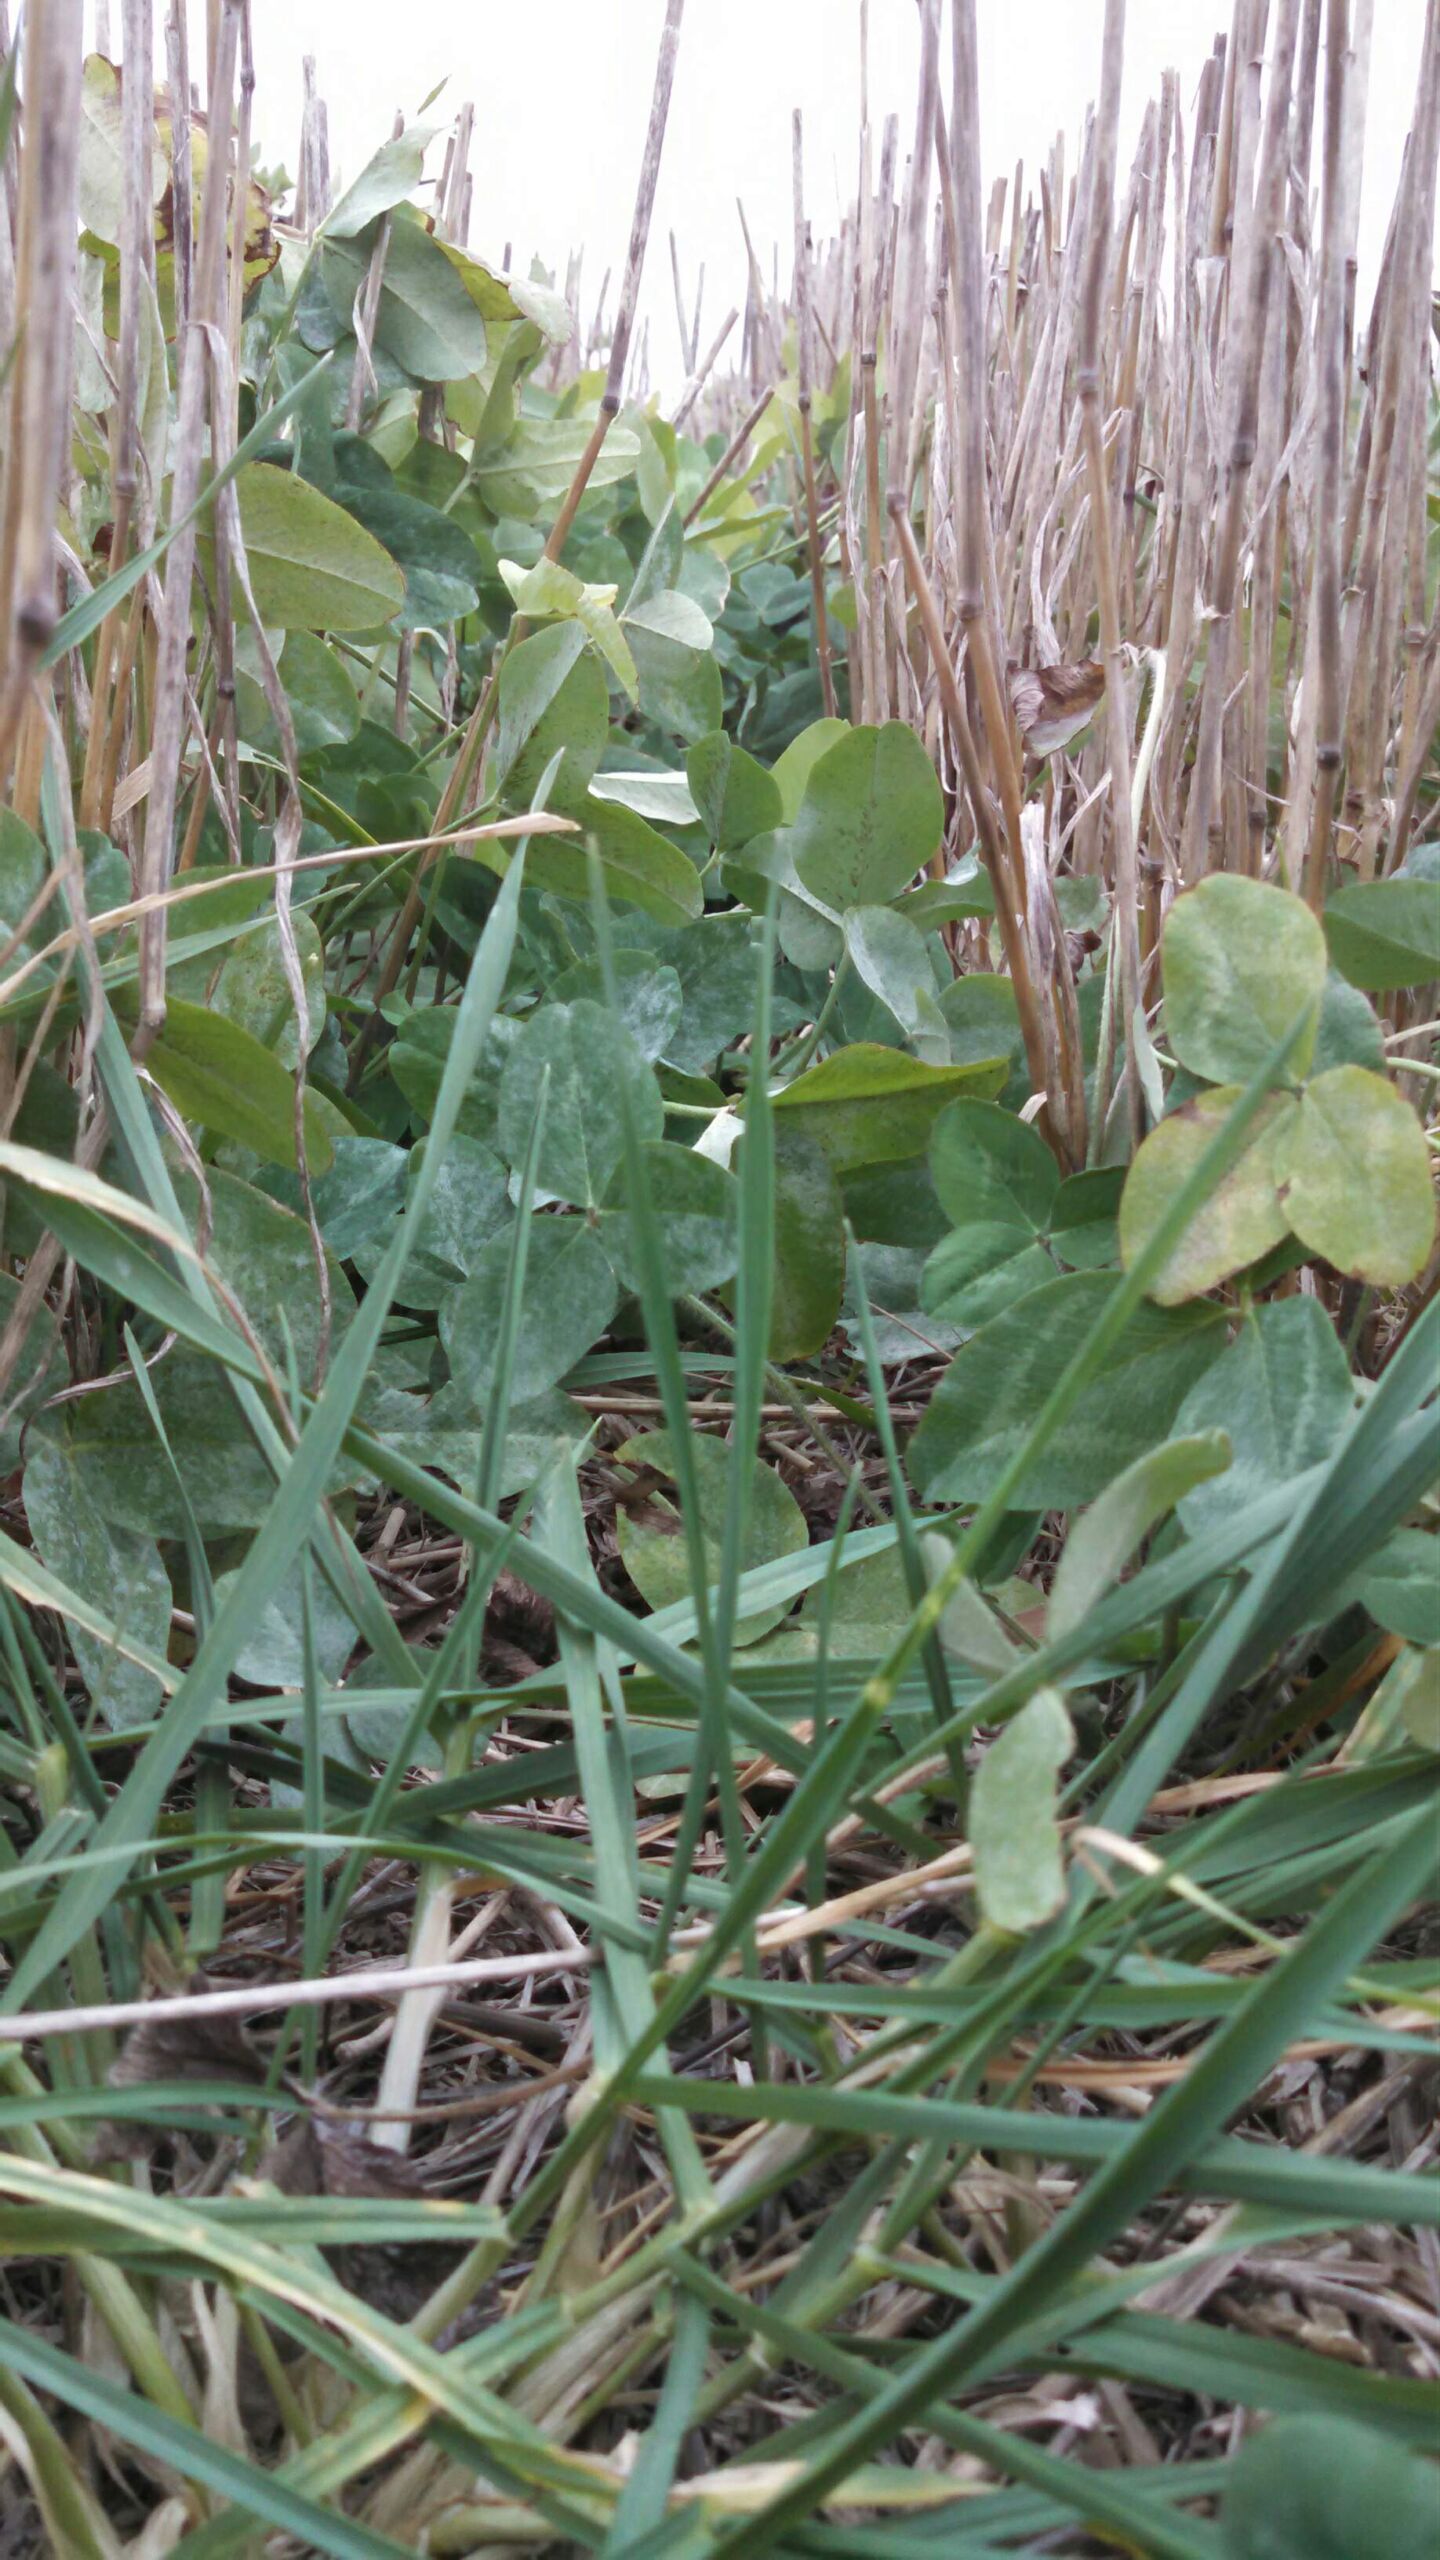
In North Florida, where fall actually cools down and frost is a real appointment, the classic temperate cover crops earn their keep: crimson clover (a legume — it partners with Rhizobium bacteria in its root nodules to pull nitrogen from the air and bank it in your soil), annual ryegrass, and oats. Sow them in the cooling weeks, let them grow through the mild winter, and cut them down before spring planting so the residue becomes the next organic-matter installment. Central and South Florida gardeners should be honest about the calendar: winters are short and warm, frost is a rumor, and the “off-season rest” barely exists — most years, the best cover for a resting bed is simply the fall and winter crop itself, densely planted, with mulch in the gaps. If a bed truly sits out a season in the south, a thick mulch blanket does the cover crop’s protective job without fighting the climate. The full Florida-specific menu — species, windows, and how to terminate each one — is in Cover Crops for Florida, and it’s worth the read before you buy seed, because the right answer really does change by a few hundred miles of latitude.
The One-Weekend Checklist — and Your Soil’s Fall Report Card
Everything above, compressed into the Saturday version:
- ☐ Run the three free tests: drainage, squeeze, jar. Note what kind of soil you’re actually resetting.
- ☐ Send a lab sample through your county UF/IFAS Extension if the bed is new, troubled, or overdue.
- ☐ Pull spent summer plants. Compost the healthy, trash the diseased.
- ☐ Spread the compost layer — moderate, even, Florida-style.
- ☐ Work it into empty beds; top-dress around anything still growing.
- ☐ Finish with the ¼-inch castings top-dress (or a handful per transplant hole).
- ☐ Top off raised beds that settled — decomposition shrinkage is the design, not a defect.
- ☐ Mulch a couple of inches deep, stems kept clear.
- ☐ Water it all in, deeply. Wake the workforce up.
- ☐ Plant the fall crops — or cover/rest the bed properly, Florida-region style.
And here’s what you actually changed, report-card style — because after a summer of getting hammered, your soil just posted its best grades of the year. Structure: improved — fresh organic matter gives microbes the raw material to build aggregates, the crumbs that turn colander-sand into something with pores worth having. Biology: fed and rehoused — you just catered for the bacteria, fungi, and worms who do the nutrient cycling you used to pay fertilizer to imitate. Nutrient holding: raised — every bit of new humus is new parking spaces on the CEC garage, which means the next rain keeps more of your fertility home. Moisture: steadier — better retention in the root zone, less feast-or-famine between storms. Grades are by feel, not by lab coat — run the jar test again in spring and compare stripes, and let the plants file their own review over the season.
That’s the reset. Not a renovation, not a conversion project — a seasonal rhythm, repeated the Florida way: read the soil, feed it moderately, keep it covered, keep it working. Do this every fall and the sieve slowly becomes a savings account. Your move, gardener: the starting gun already fired.
🌱 Keep learning
This guide is the procedure; its companion Know Your Amendments is the deep dive on what each amendment does, and How to Build Living Soil takes the long view. Find the rest of the collection at the Living Root Academy.
🪱 Your Soil Needs This
Reading about healthy soil is great. Growing in it is better. Our small-batch, traceable worm castings are the shortcut your garden deserves.
Shop Worm Castings Subscribe & SaveEvery bag comes with a lot certificate. Know what's in your soil.