
Garlic for Nearly Free: Grow It, Cure It, Cook It
Here is the question that starts a thousand garden arguments: a head of garlic at the grocery store costs about a dollar. A seed-garlic order costs many times that, plus shipping, plus the indignity of paying real money for something that looks exactly like the thing in your pantry. So does the grocery-store head actually work, or are you planting a dud and a disease vector and calling it thrift? The honest answer is the one that annoys both camps: grocery garlic works surprisingly well — with your eyes open. This guide walks the whole arc, garden to kitchen: which garlic to plant in Florida, how to trick it into thinking it had a winter, how to harvest and cure it, how to store it, and then what to actually cook with it. By the end you’ll understand why garlic is the best deal in the garden, and why the most expensive ingredient in your kitchen might be the one you grew for pennies.
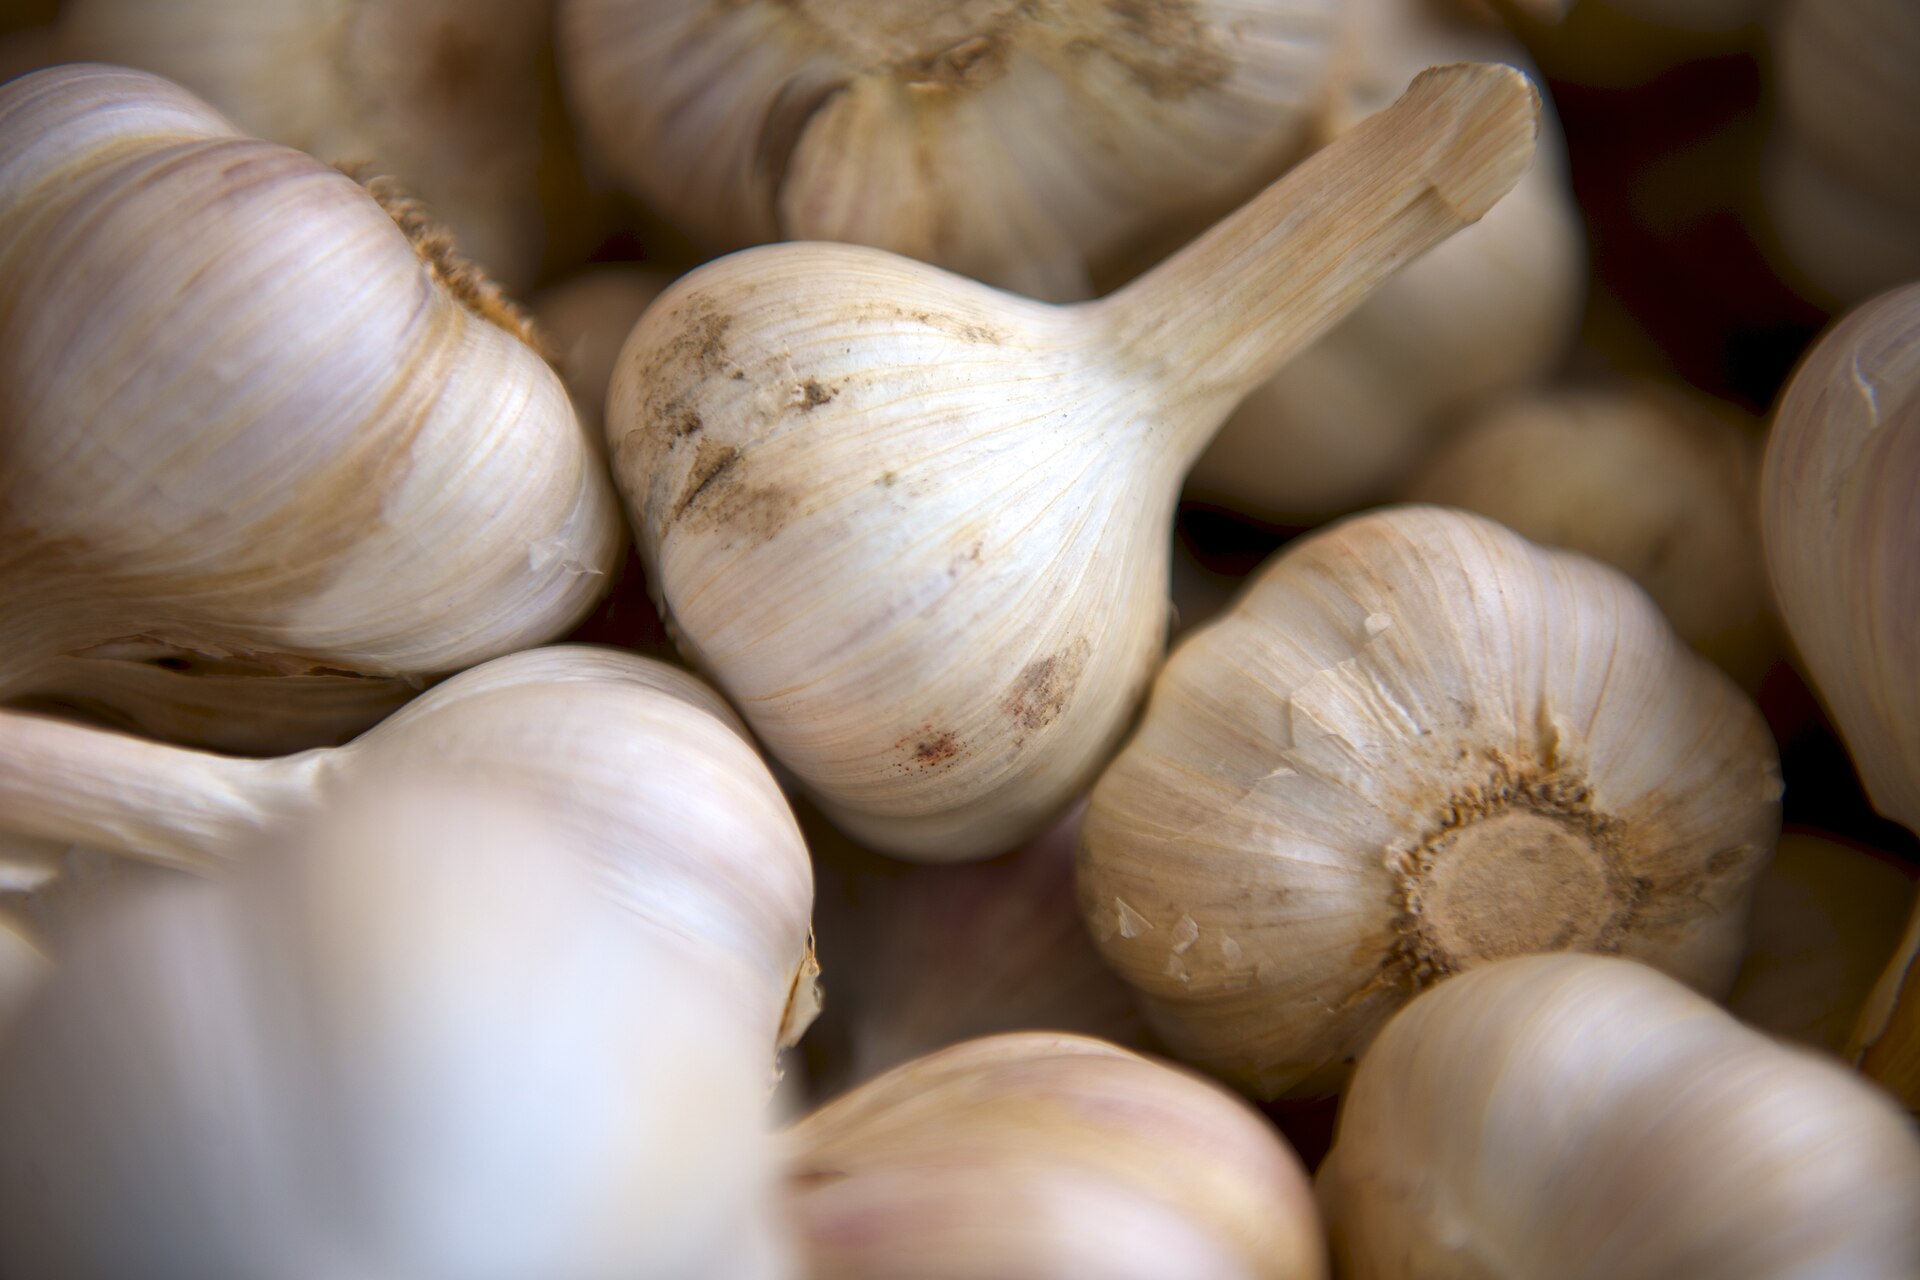
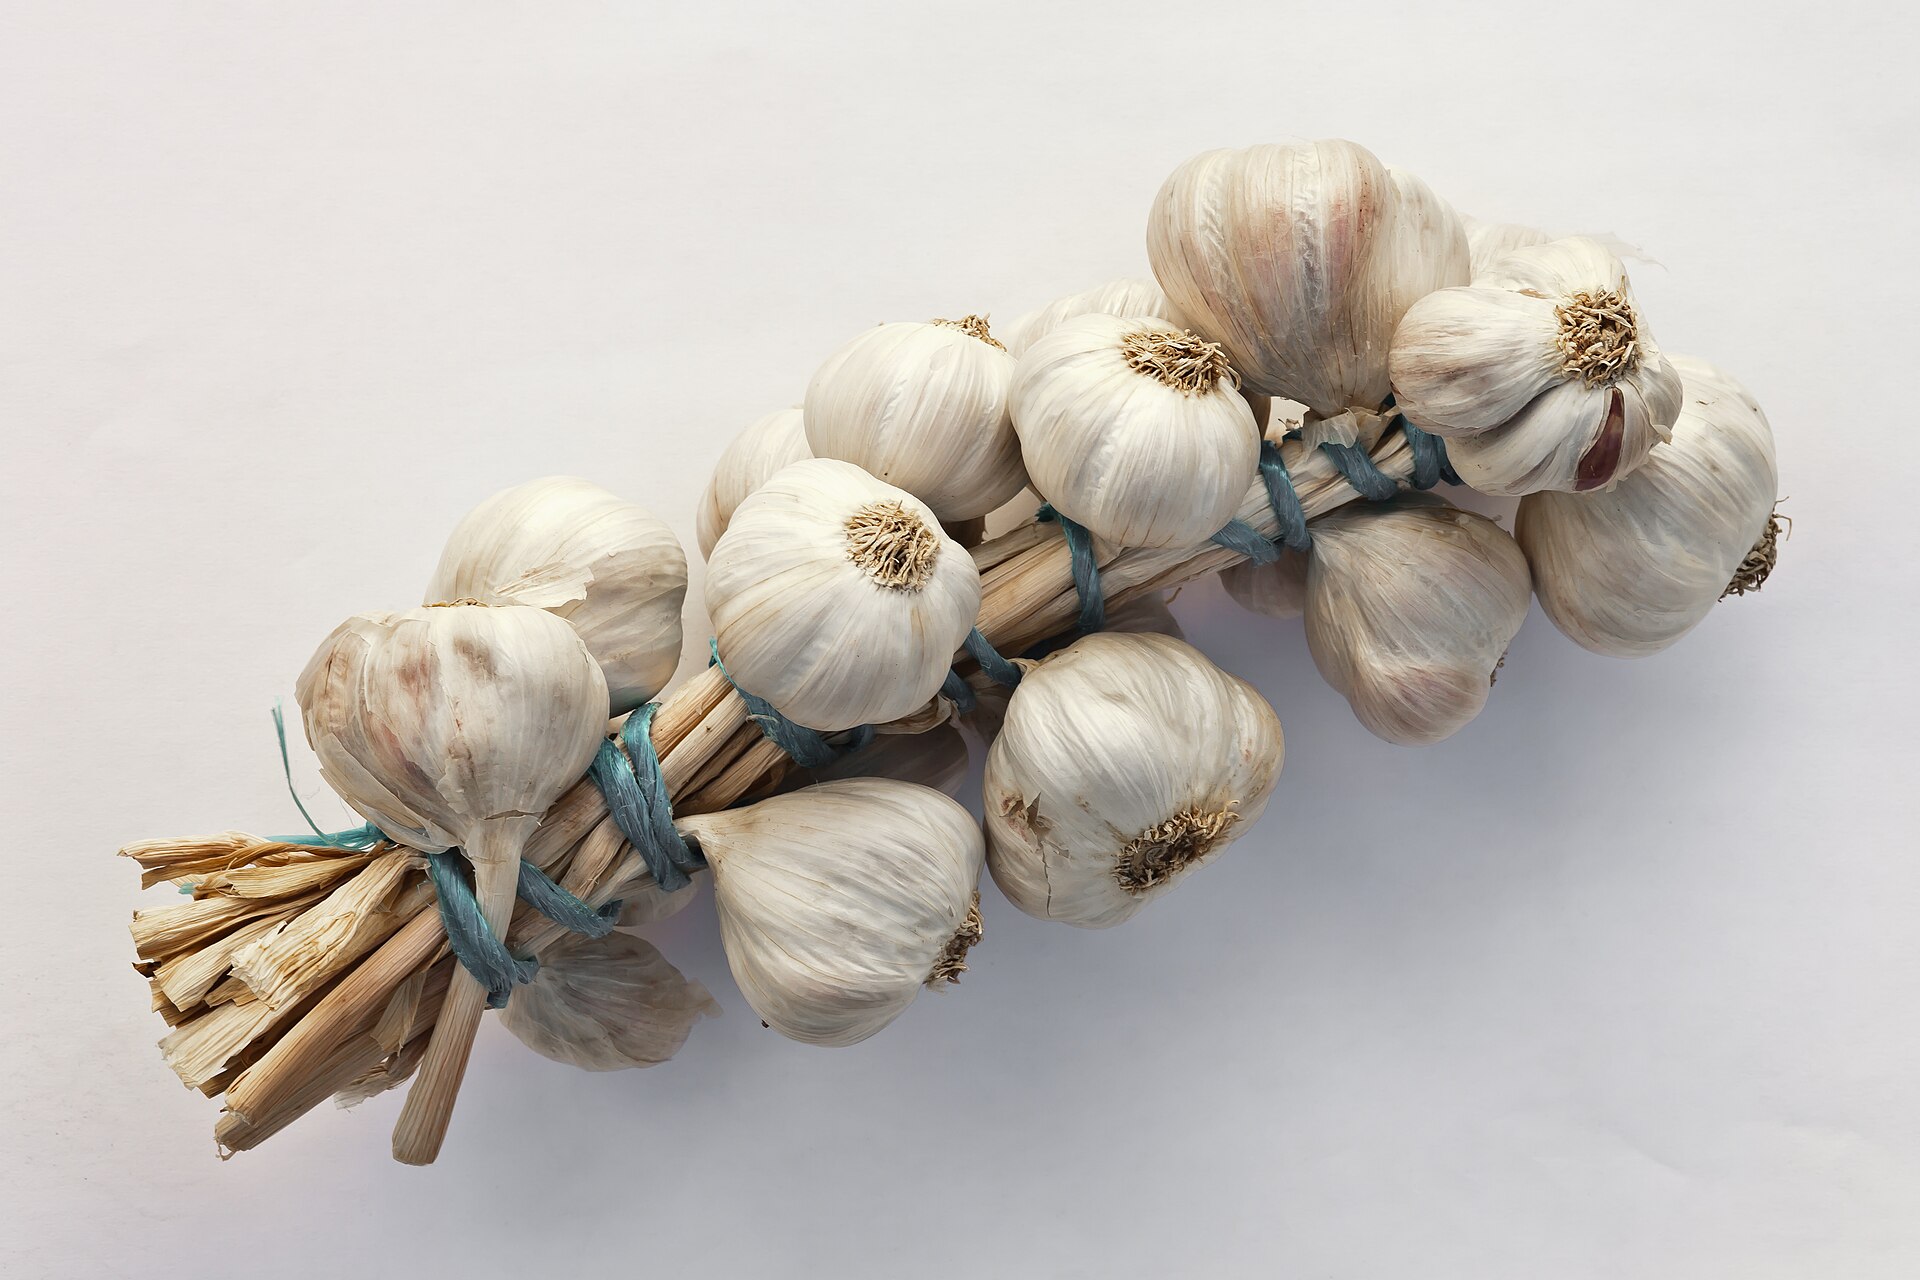
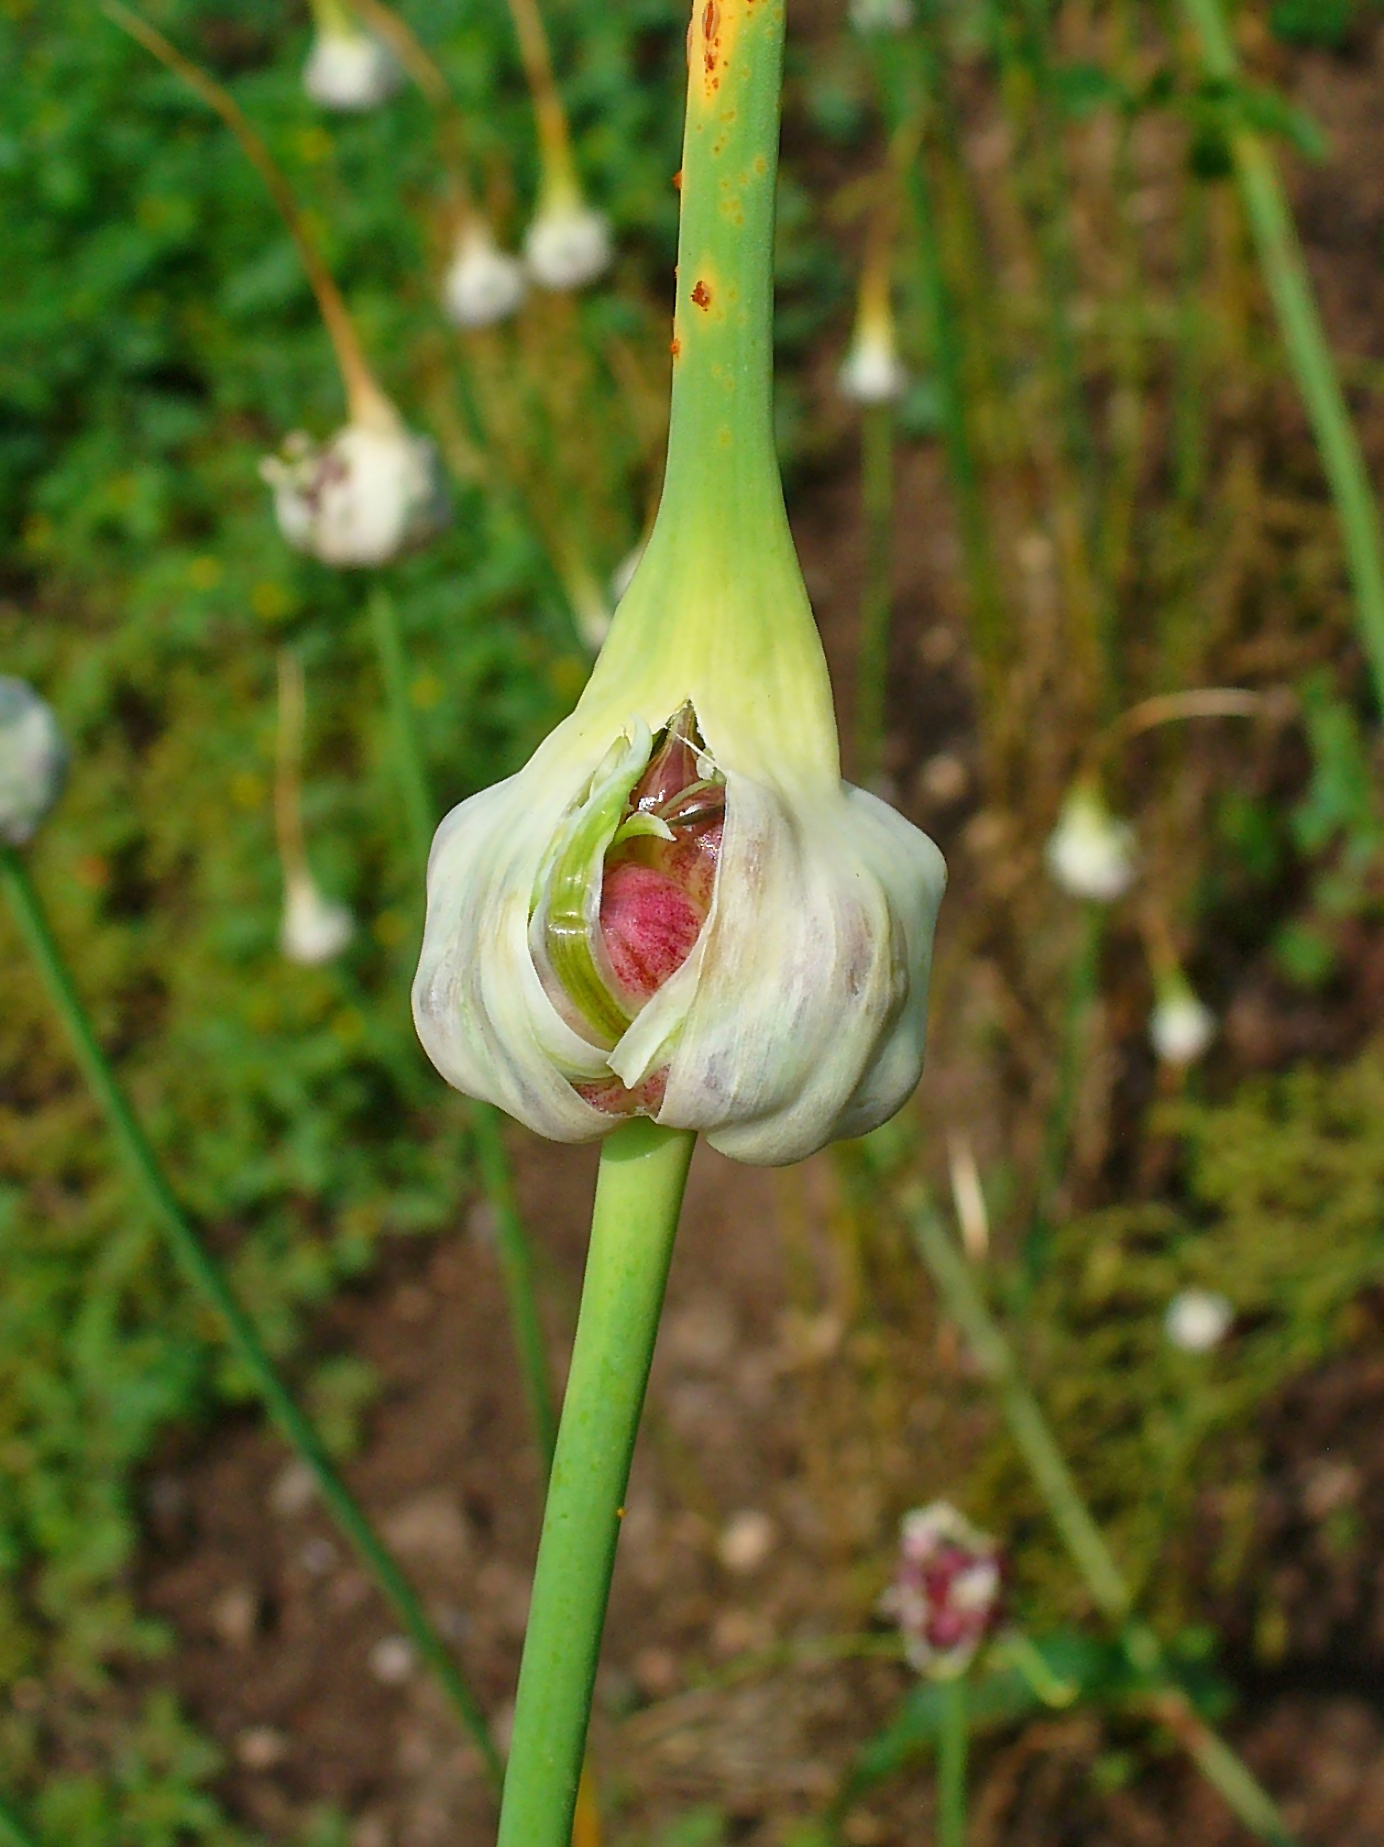
Grocery Garlic vs. Seed Garlic, Honestly
Let’s start with the fight, because it has two sides and both of them have a point. The grocery-garlic skeptics will tell you three things, and all three are real. First, grocery garlic is an unknown variety. The head in your hand might be a softneck that loves warm climates, or it might be a hardneck bred for cold winters that will sulk through a Florida season and give you a small, unimpressive bulb. You don’t know, and the sticker won’t tell you. Second, some grocery garlic is treated with sprout inhibitors — chemicals designed to keep it from sprouting on the shelf, which is the exact opposite of what you want it to do in the ground. Third, grocery garlic is not disease-tested, and garlic diseases are the kind of houseguests that don’t leave: white rot, a soil fungus, can persist in a bed for years once it moves in. Certified seed garlic is tested against exactly that, and it comes with a variety name you can look up.
Now the other side, which is also real. Grocery garlic is the same species, and a clove is a clove: given decent soil, water, and a cold period (more on that below), a grocery clove will sprout, grow, and usually make a perfectly respectable bulb. The sprout-inhibitor problem has a dodge — organic heads and farmers-market heads are far less likely to be treated, and if a head is already sprouting green on your counter, it has obviously not been inhibited into silence. And the disease risk, while genuine, is a risk, not a guarantee; plenty of gardeners have grown grocery garlic for years without white rot ever showing up. The fair verdict: seed garlic buys you certainty — a known variety, tested stock, and a predictable result. Grocery garlic buys you an experiment at a dollar a head, with good odds and a small, real risk. If you’re planting your first garlic and learning the ropes, grocery garlic is a fine teacher. If you’ve found a variety you love and you’re planting a serious crop, seed garlic is worth the money. Neither camp is lying. They’re just buying different things: certainty, or a cheap education.
Florida Garlic Rules: Softneck, Fridge, Fall
Here is where Florida changes the whole game, so read this section before you plant anything. Most garlic needs a cold period — vernalization, the plant world’s version of needing a winter before it will get serious about forming a bulb. Without enough cold, garlic grows leaves and attitude but makes a small, disappointing bulb, or sometimes no bulb at all. In a cold climate, winter does this for free. In Florida, you have to fake it, and you have to pick the right family.
Florida garlic means softneck garlic. Softnecks are the braidable kind — the ones you see in those gorgeous hanging braids — and they divide into families, of which the warm-climate stars are the artichoke types and the Creole types. Artichoke softnecks are the workhorses: big bulbs, many cloves, reliable in warm winters. Creoles are the connoisseurs’ pick for the Deep South and Gulf Coast: they love heat, they store well, and they bring a sharper, more complex flavor. Hardneck garlic — the kind with the stiff central stalk and the fancy scapes — needs real winter cold and is a poor bet in Florida. Plant it if you enjoy noble experiments and small harvests; don’t plant it if you want dinner.
And the fridge trick: because Florida winters don’t reliably deliver the cold garlic needs, you vernalize in the refrigerator. Put your planting cloves (still in their papery skins, in a paper bag, not sealed plastic — they need to breathe) in the fridge for 6 to 8 weeks before planting. That’s the standard warm-climate practice: a fake winter, delivered by appliance. Then plant in fall, in October or November, and harvest in late spring. One honest caveat: variety specifics — which Creole or artichoke type does best in your particular corner of Florida — vary enough that your local authority beats any guide, including this one. Your county’s UF/IFAS Extension office and your local nursery know which varieties have actually performed near you. Ask them before you commit a whole bed. That’s not a cop-out; that’s how you avoid learning a lesson the expensive way.
Plant It: The Biggest Cloves Win
Garlic planting is gloriously simple, and the rules are short. Pick firm, unblemished heads — no soft spots, no mold, no cloves that feel hollow. Break the heads apart only when you’re ready to plant (cloves store better in the head than out of it), and plant the biggest cloves. This is one of gardening’s most satisfying rules: big cloves make big bulbs. The small inner cloves will grow, but they’ll make small bulbs, and you will wish you’d eaten them instead. Eat the runts. Plant the champions.
Bed prep first, because garlic is picky about exactly one thing: drainage. It wants loose, well-drained soil, and Florida sand actually delivers that part beautifully — what sand doesn’t deliver is fertility or water-holding, which is why the compost matters so much. Work compost through the top several inches, break up any compaction, and if your ground stays soggy after rain, plant in a raised bed; garlic sitting in standing water is garlic on its way out. A bed that drains freely but holds organic matter is the whole foundation, and it’s the same foundation everything else in the garden wants, so this prep pays off beyond the garlic row.
Plant each clove pointy end up, about 2 inches deep, about 6 inches apart, in rows about a foot apart. One more grocery-store nuance worth knowing at planting time: if the head you bought is already sprouting green on your kitchen counter, that’s actually good news, not a defect. A sprouting head has obviously not been treated into silence, and that green shoot is the plant telling you it’s ready. Plant sprouting cloves first, shoot and all — just be gentle with the shoot, since it’s the most breakable part of the operation. And a final planting tip from the cheap-seats school of gardening: plant a few extra cloves beyond what you think you need. Not because they won’t grow, but because some of them will become next year’s seed stock — save the biggest bulbs from your own harvest, replant their biggest cloves, and within a couple of seasons your “grocery garlic” has become your own locally adapted strain, selected by your soil and your climate. That’s how landrace varieties start, and it starts with a dollar head. Pointy end up matters: the sprout comes out of the pointy end, the roots out of the flat basal end, and a clove planted upside down will waste weeks doing a U-turn underground. Give the bed a ¼-inch castings finish on top, the same published rate this site uses for top-dressing — garlic is a hungry crop and it appreciates the biology — and then mulch. Mulch matters more in Florida than in most places: a thick layer of straw or leaves keeps the soil cool and moist through the warm spells, suppresses weeds that would otherwise compete all winter, and breaks down slowly into the organic matter Florida sand is always hungry for. Water the bed in well at planting, and then keep it consistently moist through the growing season. Garlic hates drought and it hates swamp; aim for the middle, like everything else worth growing.
Feed It, Weed It, and Don’t Wait for Scapes
Garlic is a low-drama crop once it’s in, with two jobs for you: keep it fed and keep it weeded. Feed it like any hungry vegetable — compost at planting, a castings top-dress as it grows, and steady water. Weed it, because garlic is a terrible competitor: its narrow leaves don’t shade the ground, so weeds will happily steal its water and nutrients all season if you let them. The mulch does most of this job for you, which is the lazy gardener’s favorite sentence.
It helps to know what the plant is doing while you’re mostly ignoring it, because garlic’s calendar is delightfully lazy. Fall planting is about roots: the clove spends autumn and early winter growing a root system underground while barely showing anything above the surface, and that root system is the whole crop’s foundation. Through the cool months it grows slowly, steadily, almost boringly. Then spring arrives and the plant shifts gears: leaf growth accelerates, and as days lengthen, the plant starts shuttling energy downward into the bulb, swelling it clove by clove. That’s why the late-season water taper matters — the bulb is finishing, not growing leaves anymore, and wet feet at the finish line cause rot in exactly the weeks when the bulb is most valuable. You’re not growing garlic so much as babysitting a slow underground savings account that pays out in spring.
One expectation to set, especially if you’ve read hardneck growers’ blogs: softneck garlic rarely makes scapes. Scapes are the curly flower stalks that hardneck growers snap off and cook like asparagus, and they are wonderful — but they are a hardneck feature. Your softneck will mostly just grow leaves and then a bulb, without the curly bonus round. Don’t wait for scapes that aren’t coming, and don’t panic when they don’t appear. Your harvest signal is the leaves, and that’s the next section. Also: as harvest approaches, ease off the water. Garlic finishing in soggy soil is garlic inviting rot into its final weeks. Let the bed dry down a bit as the tops start to go — the plant is telling you it’s done drinking.
Harvest and Cure: Patience, Then More Patience
Harvest time arrives in late spring, and the signal is the tops: when the leaves start yellowing and falling over, and roughly half of them are down, it’s time. Don’t wait for every leaf to die — over-waiting in the ground risks rot and splitting, and bulbs left too long can start to break apart in the soil. Loosen the bed with a fork first (pulling hard on the stalk can damage the bulb), lift gently, and shake off the loose soil. Do not wash the bulbs. Water at this stage is the enemy of storage; the dirt will brush off later, after curing.
Then comes the part most beginners skip, and skipping it is how you get garlic that rots in a month: curing. Lay the bulbs out — or hang them in bunches — in a dry, airy, shaded spot for 2 to 4 weeks. A covered porch, a garage with airflow, a shady shed: anywhere dry with moving air and no direct sun. Never cure garlic in direct sun — sun-scalded bulbs cook, discolor, and store terribly. During curing, the outer wrappers dry and tighten into that papery armor, the necks seal, and the flavor mellows and deepens. When the wrappers are papery and rustle, and the neck feels dry and tight, curing is done. Trim the roots, cut the stalk to an inch or so (or braid the softnecks, if you’re feeling picturesque), and brush off the remaining dirt. What you have now is garlic that will keep for months — if you store it right, which is the next section and the one most people get wrong.
Store It: Cool, Dark, Ventilated — Not the Fridge
The three storage rules are cool, dark, and ventilated, and the most common mistake violates the third by way of the first: do not store garlic long-term in the refrigerator. It feels like the right move — cold preserves things, right? — but for garlic, cold is a signal, not a preservative. A few weeks in the fridge convinces the cloves they’ve had their winter, and they start sprouting. Fridge garlic is garlic with a countdown timer. The same goes for sealed plastic bags, which trap moisture and invite mold.
What works: a cool room (not cold, just not hot), darkness, and airflow. Braids hanging in a pantry are the classic for a reason — they’re beautiful, they breathe, and they remind you to use them. A mesh bag, a basket, or a paper bag with holes punched in it all work just as well and with less ceremony. Check your stash monthly: pull any soft or sprouting heads and use them first (sprouted garlic is still fine to cook with — just pull out the green sprout if its bitterness bothers you, though in a roast you won’t notice). Well-cured, well-stored softneck garlic keeps for months, and Creole types are famous for storing longer than most — one more reason they’re a Florida favorite. You planted in fall, harvested in spring, and now you’re eating your own garlic deep into the year. That’s the whole deal, and it’s a very good deal.
Cook It: The Kitchen Half
Now the payoff, and the reason this guide lives in the kitchen path: you grew it, so cook it like you mean it. Start with the simplest transformation in the garlic universe: roast it. Cut the top off a whole head, drizzle with olive oil, wrap in foil, and roast low and slow until the cloves are soft, caramelized, and sweet enough to squeeze out like paste. Raw garlic bites back — that’s the sulfur chemistry, allicin forming the instant you crush a clove and its alliin meets the enzyme alliinase, which is why a raw sliver wakes up your whole mouth. Roasting tames that chemistry into something mellow, nutty, and spreadable, and it turns a head of garlic from an ingredient into an event. Try a sliver raw first, if you dare — not a clove, a sliver — so you understand what the roasting just accomplished.
Then put your garlic to work in the recipes this site already loves. Fold roasted garlic into Compound Butter Flight for a butter that makes plain bread taste like a special occasion. Mince fresh garlic into Fresh Salsa Formula and Pesto Beyond Basil, where it does what garlic has always done: make everything else taste more like itself. And if your harvest was generous, pickle it — garlic pickles beautifully — following Pickles, Actually for the method and Water-Bath Canning Without Fear for the safety frame, because pickled garlic is a gift and a pantry staple, not a science experiment. One kitchen truth to carry with you: garlic burns fast. Minced garlic goes from golden to bitter in seconds in a hot pan, so add it late, keep the heat moderate, and never walk away from a pan with garlic in it. The difference between fragrant and acrid is about thirty seconds and your full attention.
Two more kitchen moves before we close, because a garlic harvest deserves a full repertoire. First: garlic confit — cloves gently poached in olive oil until they’re soft, sweet, and spreadable — is roast garlic’s silkier cousin, and the leftover oil is liquid gold for dressings and marinades. But confit carries one safety rule you must not improvise around: garlic stored in oil at room temperature can harbor the bacteria that cause botulism, because oil seals out oxygen and garlic is a low-acid food. Keep garlic confit and garlic oil refrigerated, use them within a week or so, and freeze what you won’t use quickly. This isn’t fear-mongering; it’s the same safety frame as the canning guide, applied to the fridge instead of the pantry. Delicious and safe are not in conflict — they just require a refrigerator and a calendar.
Second: learn the two speeds of garlic in a pan, because they’re the difference between a cook and a cook who gets compliments. Low and slow — roasted, confit, or sweated gently in butter — garlic turns sweet, mellow, and almost nutty. Hot and fast — minced into a screaming-hot pan — it turns pungent and aggressive, which is exactly right for a stir-fry or a salsa where you want it to punch through, and exactly wrong for a cream sauce where it will take over the room. Same clove, two personalities, and the heat and timing choose between them. Once you can hear which one a dish wants, you’ve learned the thing that separates garlic as an ingredient from garlic as a loud neighbor.
And a final garden-to-kitchen note: garlic goes into the bed in fall, which makes it a wonderful follow-on for a summer bed. If you grew a summer cover crop — and Cover Crops for Florida is the guide for that — a fall garlic planting is a natural next chapter for the same ground: the cover fed the soil, the garlic cashes in. A dollar head from the store, or a seed order if you wanted certainty, becomes a fall planting, a spring harvest, a braided pantry staple, and a winter’s worth of roast garlic. That is the arc: garden to kitchen, one clove at a time, for nearly free.
🌱 Keep learning
New to the kitchen path? Start with Fresh Salsa Formula and Compound Butter Flight, keep Water-Bath Canning Without Fear bookmarked for pickling day, and find the rest of the collection at the Living Root Academy.
🪱 Your Soil Needs This
Reading about healthy soil is great. Growing in it is better. Our small-batch, traceable worm castings are the shortcut your garden deserves.
Shop Worm Castings Subscribe & SaveEvery bag comes with a lot certificate. Know what's in your soil.