How to Make Hot Compost
Compost has two speeds, and both of them are right. If you want slow, quiet, and nearly effortless, you make leaf mold and let fungi do the work while you do something else. If you want fast, steamy, and gloriously hands-on, you make hot compost — a pile so alive with microbes that it heats itself up like a tiny furnace, cooks down a mountain of scraps in weeks instead of months, and hands you back dark, crumbly, sweet-smelling humus you can actually plant into. This guide is about the fast one.
Fair warning: hot composting is the most fun you can have with garbage. It is also the only gardening project where “my pile is steaming on a cold morning” is a brag, not a problem. If you have ever wanted to feel like a soil wizard standing over a smoking cauldron of banana peels and oak leaves, welcome. Robe optional. Gloves not optional.
What Hot Composting Actually Is (and Why the Pile Gets Hot)
Here is the miracle, stated plainly: your compost pile is not rotting. It is being eaten. Billions of bacteria and fungi move into your kitchen scraps and yard waste, chew them apart, and give off heat as a byproduct of their own metabolism — the same way you give off heat when you exercise, except their exercise is eating your banana peels. When enough of them eat fast enough in a big enough pile, the heat builds up faster than it escapes, and the pile’s core climbs into what soil scientists call the thermophilic range — roughly 130 to 160 degrees Fahrenheit (about 55 to 70 degrees Celsius) in a good hot pile. That is hot enough to feel through a pitchfork handle, hot enough to steam on a cool morning, and hot enough to do the two things every composter wants: break material down fast, and make life very uncomfortable for weed seeds and plant pathogens.
This is the key difference from cold or slow composting. A cold pile still breaks down — everything organic eventually does — but it does so at whatever pace the ambient microbes feel like, which in practice means months to a year. A hot pile is a cold pile with the volume turned up: same cast of characters, vastly more of them, working much faster, because you gave them the four things they need in the right proportions. Those four things are the whole game, and they are: carbon, nitrogen, water, and air. Get those four right and the pile practically runs itself. Get one of them badly wrong and the pile will tell you, loudly, in a language you can smell.
One more piece of honesty before we build anything: “hot” is a range, not a badge. A home pile that peaks around 120 degrees and finishes in a couple of months is still a triumph. A pile that hits 150 degrees for a few days and then cools off is not failing — it is just telling you it is time to turn it. Chasing a perfect temperature graph will drive you mad. Chasing a pile that is warm, damp, sweet-smelling, and shrinking is how you actually get compost.
The Recipe: Greens, Browns, and the Magic Ratio
Every compost recipe is really one recipe: feed the microbes a balanced diet. Microbes need carbon for energy and nitrogen to build their own little microbial bodies, and the ratio between the two — written C:N and pronounced “see to en” by people who enjoy sounding like chemists at parties — decides whether your pile cooks or sulks. The standard target is a carbon-to-nitrogen ratio somewhere around 25 to 30 parts carbon for every 1 part nitrogen. You do not need to weigh anything or do algebra on your kitchen scraps. You need a rule of thumb, and here it is: roughly two to three parts browns to one part greens, by volume. Browns are your carbon. Greens are your nitrogen. Mix them like that and you land close enough to the target that the microbes throw a party.
Browns (carbon-rich, dry, usually brown): fallen leaves, straw, shredded cardboard and newspaper (no glossy coatings, no tape), wood chips and sawdust from untreated wood, dried grass, and pine needles in moderation. Florida gardeners, take note: your yard drops browns on you by the truckload every autumn and all year from live oaks. Those oak leaves are compost gold. Shred them first if you can — whole oak leaves mat together like wet newspapers and resist breaking down — but even unshredded, they are a fine brown.
Greens (nitrogen-rich, wet, usually green or at least recently alive): kitchen fruit and vegetable scraps, coffee grounds and filters, fresh grass clippings, green garden trimmings, manure from plant-eating animals (horse, cow, rabbit, chicken — never dog or cat), and seaweed if you rinse the salt off. Coffee grounds deserve a special mention because Florida runs on coffee: grounds are a genuine green, roughly 2 percent nitrogen by dry weight in most published analyses, and they are free from every cafe that will otherwise throw them away. Your pile will not judge you for your caffeine habit. It will thank you for it.
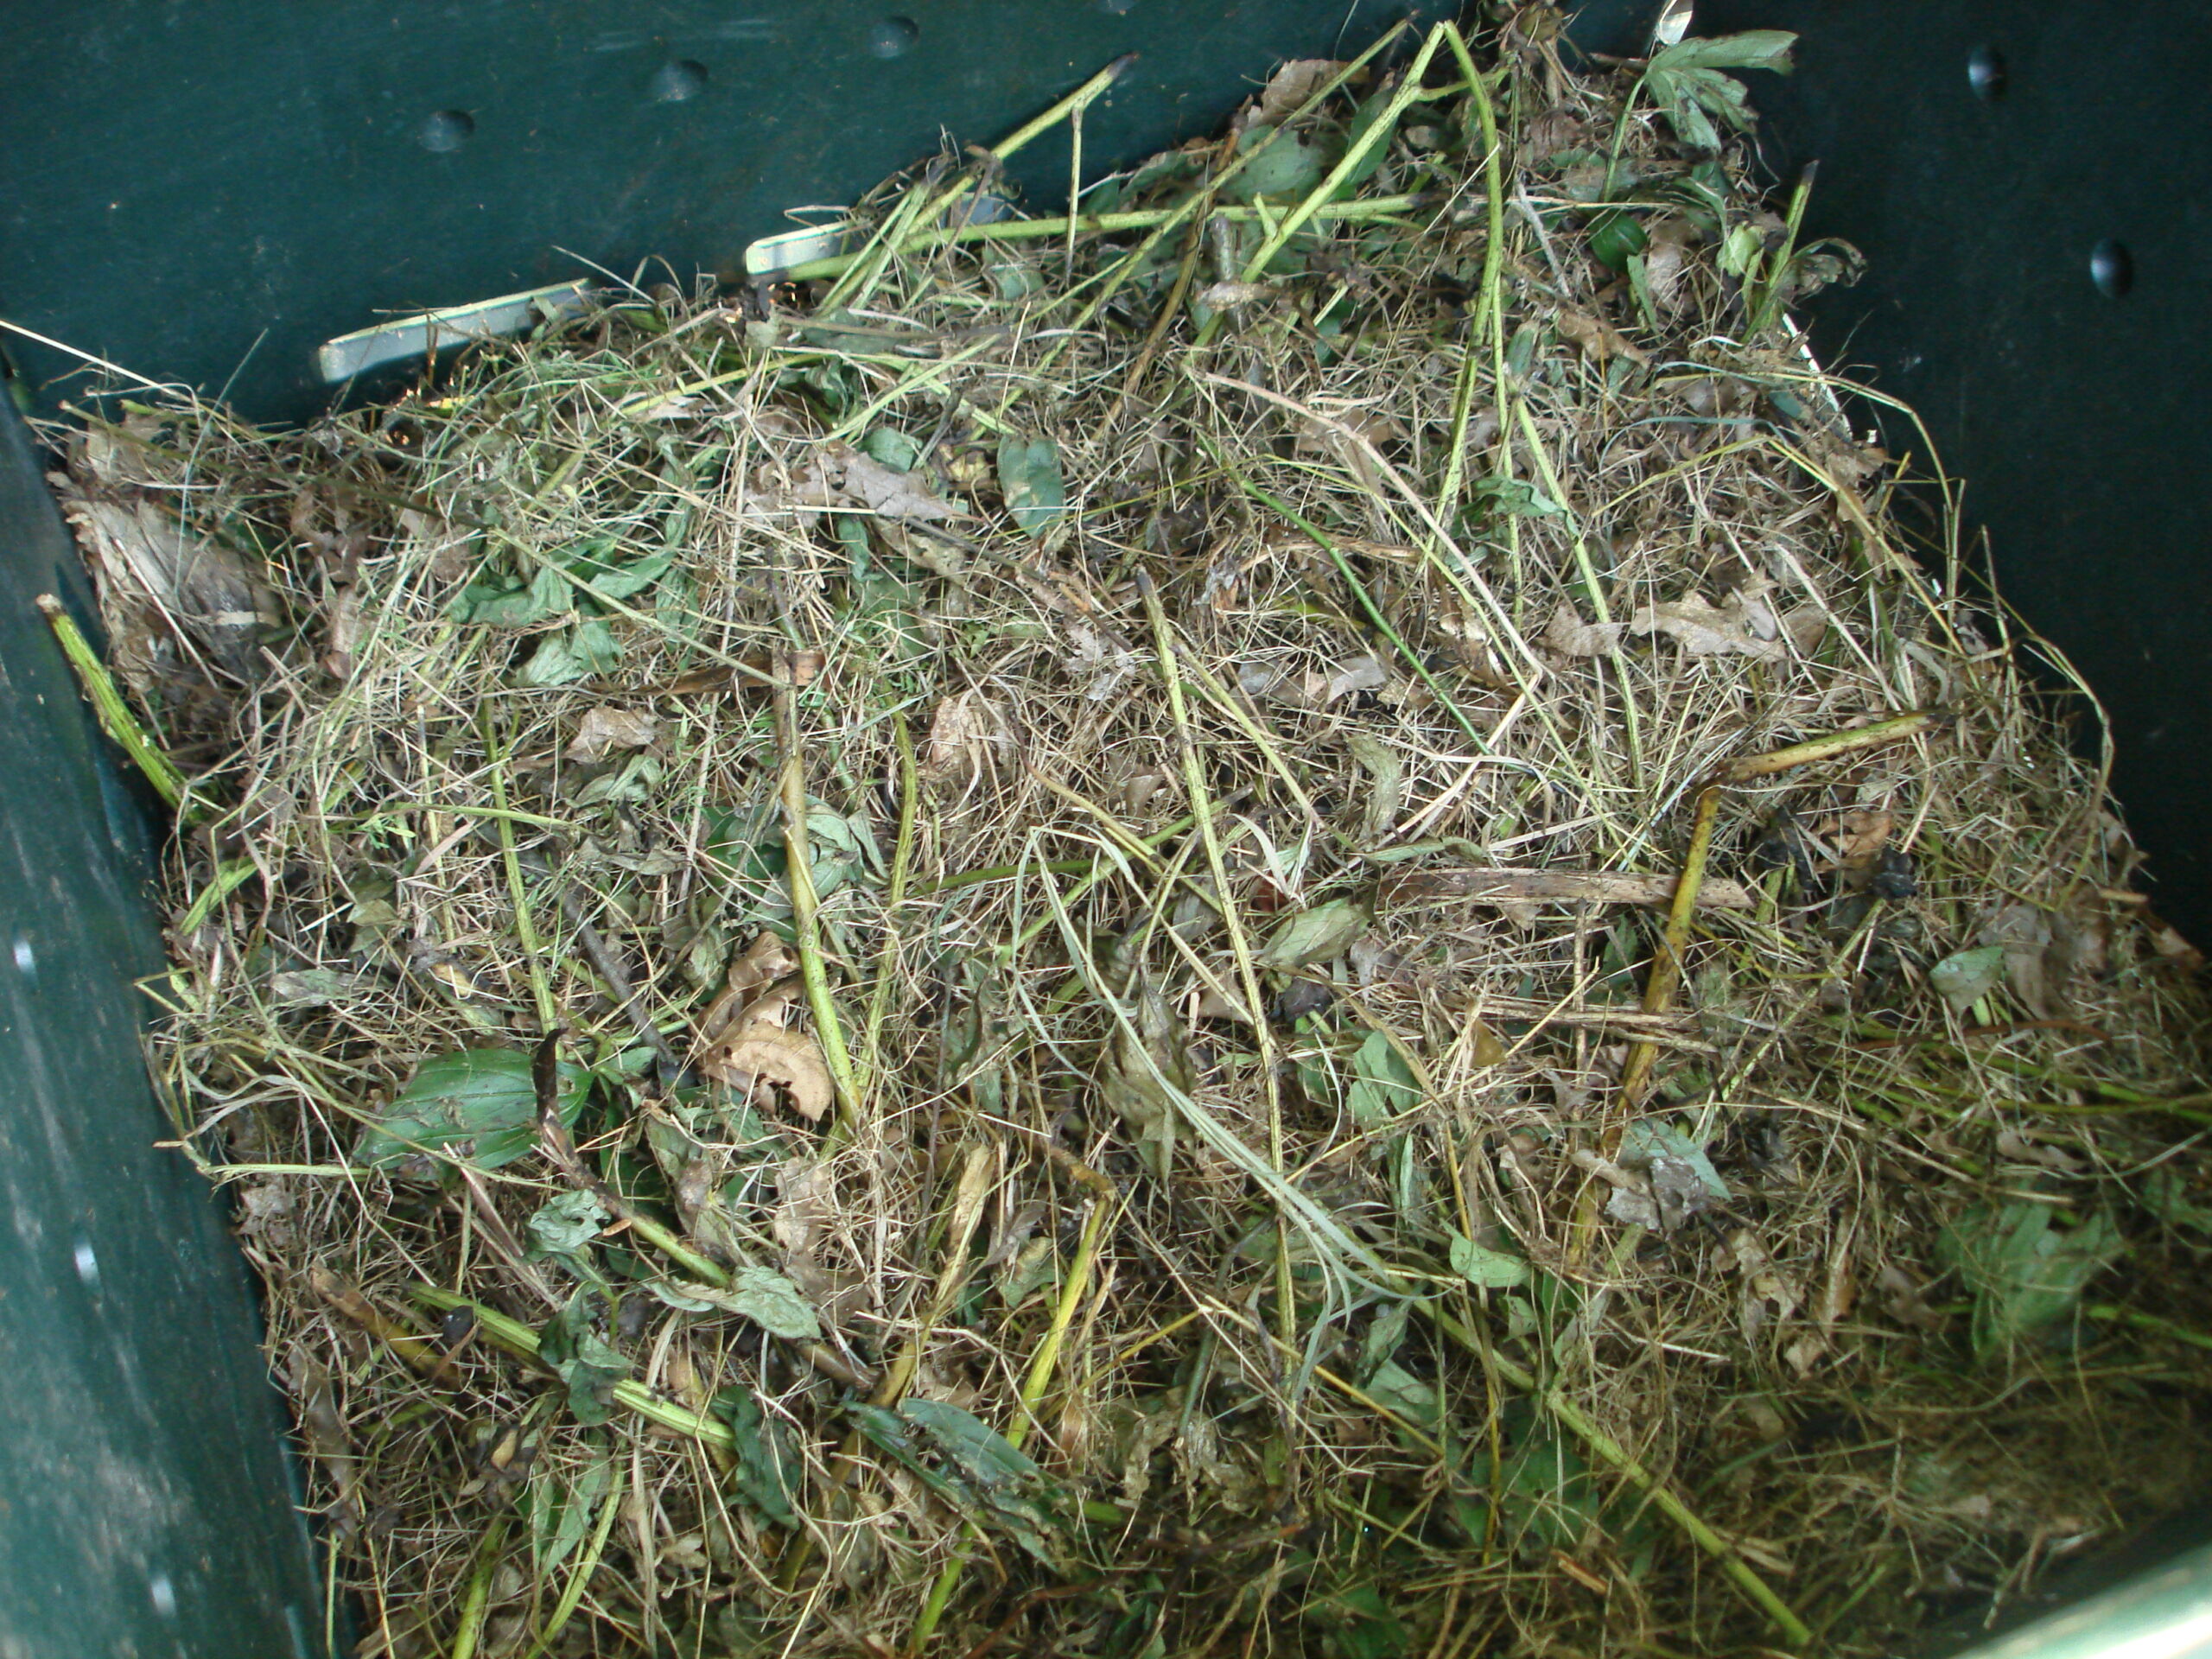
The classic beginner mistake is building a pile of one thing. A pile of pure grass clippings turns into a slimy, stinking mat because it has nitrogen to spare and no carbon structure to let air in. A pile of pure leaves sits there for a year, dry and unchanged, because it has carbon to spare and no nitrogen to power the workforce. The pile wants a lasagna, not a monoculture: alternate layers of browns and greens, like you are building a very ugly, very functional cake, and sprinkle water as you go until the whole thing is damp. We will talk about exactly how damp in a moment.
Size Matters: Build a Pile Big Enough to Heat
Here is the cruel physics of compost: a small pile cannot get hot, no matter how perfect your ratio is. Heat escapes from surfaces, and a small pile is almost all surface. The standard minimum for a hot pile is about three feet by three feet by three feet — a cubic yard of material, roughly. Below that size, the microbes generate heat, but it leaks away faster than it accumulates, and the pile stays politely lukewarm. Above that size, the core insulates itself, and the temperature climbs.
This is why the classic advice to “just start a little pile and see” quietly fails so many beginners. They build a cute knee-high heap, it never warms up, and they conclude composting does not work. Composting works. Their pile was just too small to prove it. If you do not have a cubic yard of material yet, you have two honest options: stockpile browns (bagged leaves keep beautifully) until you do, or run a cold pile on purpose and let time do the work. There is no shame in a cold pile. There is only shame in a cold pile you expected to be hot, which is a very specific and avoidable heartbreak.
As for containers: you can hot-compost in an open pile, a three-bin system made of pallets or wire, or a purchased bin, and all of them work if they hold at least that cubic yard. Tumblers are the exception that proves the rule — most home tumblers are too small to sustain real heat, so they make good cold-to-warm compost slowly rather than hot compost fast. If you buy a tumbler, buy it for convenience and critter resistance, not for speed, and nobody gets disappointed.
Water and Air: The Two Things Everyone Gets Wrong
Carbon and nitrogen get all the glory, but water and air are where most piles actually live or die. Microbes are aquatic creatures at heart — they live in the thin films of water coating every scrap in your pile, and they drown without it or dry out and go dormant. The target moisture is the single most useful image in all of composting: a wrung-out sponge. Grab a handful of pile material and squeeze. It should feel damp, hold together loosely, and release at most a drop or two of water. If water runs out in a stream, it is too wet. If it crumbles apart dry, it is too dry. If it feels like nothing at all, go get the hose.
Air matters just as much, and for a reason that explains every stinky pile you have ever met. The microbes you want are aerobes — they breathe oxygen. When a pile compacts and oxygen runs out, a different crew takes over: anaerobes, whose waste products smell like rotten eggs, vinegar, and regret. A stinky pile is not a failed pile. It is a suffocating pile, and it is begging for air. The fix is almost always the same: turn it, fluff it, and add coarse browns (wood chips, straw, shredded cardboard) that prop the pile open like little scaffolding so air can move. If your pile smells like ammonia — sharp, eye-watering, unmistakable — that is excess nitrogen escaping, and the fix is the opposite: add browns and turn gently. Smell is your pile’s way of filing a complaint, and it is always specific if you learn the language.
The Heat Curve: What Your Pile Should Do
A hot pile has a life story, and it goes like this. Days one to three: the mesophilic microbes — the room-temperature crew — move in and start eating. The pile warms gently. Days three to whenever: as the core passes roughly 100 degrees, the thermophiles take over, the temperature climbs into that 130 to 160 degree band, and the pile starts shrinking visibly, sometimes by a third in a week. This is the glory phase. Then the easy food runs out, the temperature drifts back down, and the mesophiles and fungi return to finish the long, slow work of curing. If you turn the pile — moving the cooler outer material into the hot core — you get another heat spike, and another, until there is nothing left worth heating up over. A pile that has been turned a few times and will no longer reheat is a pile that is nearly done.
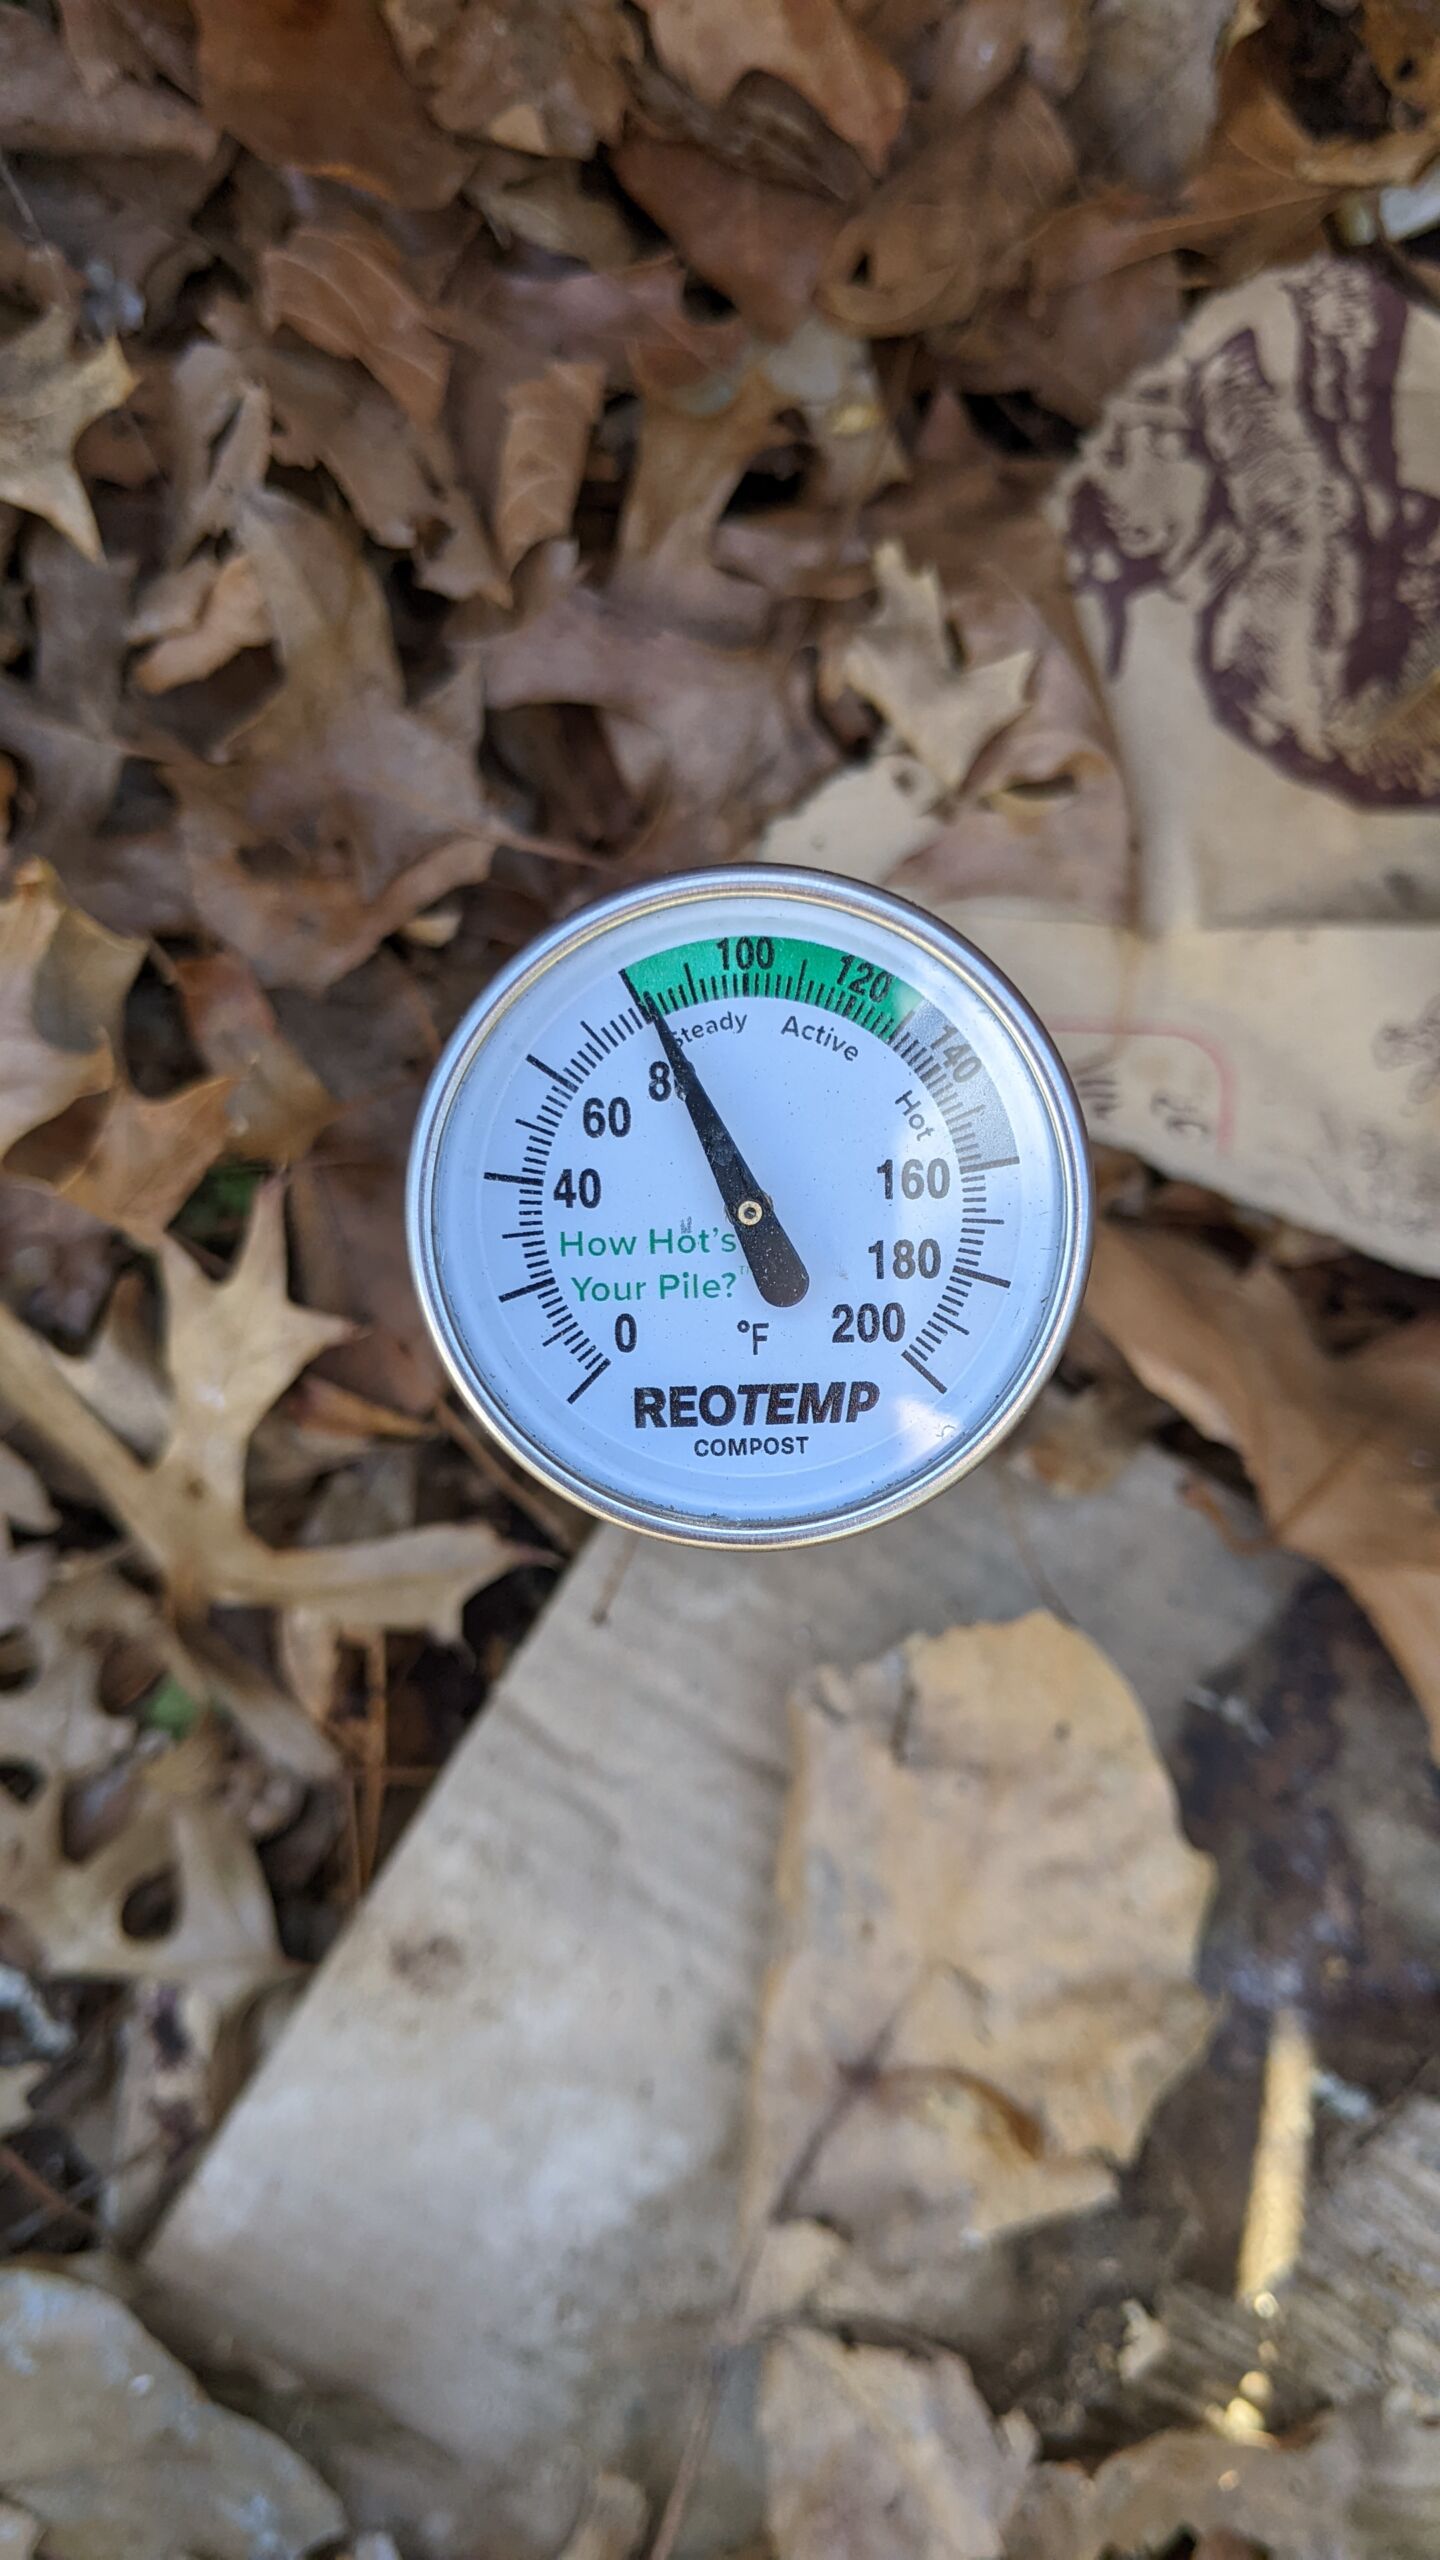
Do you need a thermometer? No. Do you want one? If you are the kind of gardener who checks the pile the way other people check the stock market, yes, absolutely, get the long-probe compost thermometer and stab the core of the pile every couple of days. It is satisfying in a way that is hard to explain to non-composters. If you are not that gardener, the back-of-the-hand test works fine: push your hand into the core (gloved, always gloved) and feel for warmth. Warm means working. Cool means turn it, water it, or feed it. Steaming on a cool morning means you are winning.
The famous fast version of all this is the Berkeley method, developed at the University of California, which claims finished compost in about 18 days. The honest version of that claim is: yes, under ideal conditions — a full cubic yard, the right ratio, the right moisture, and turning every day or two — a pile can cook that fast. The equally honest version is: most home piles, built from whatever the yard produced this week and turned when somebody remembers, take more like one to three months to finish hot composting, plus curing time. Both numbers are real. The 18-day pile is a sprint run by an athlete. Your pile is allowed to be a jogger. It still finishes the race.
Florida Advantages (and Florida Traps)
Florida is, quietly, one of the best places in the country to make hot compost, and the reason is the same reason your tomatoes grow like weeds and your laundry never quite dries: heat and humidity. Microbes love warmth, and a Florida pile starts warm and stays warm in a way a Minnesota pile can only dream about. Your pile will heat faster, stay hot longer, and forgive a slightly imperfect ratio more readily than the same pile up north. Winter, for most of the country the season composting goes dormant, is barely a speed bump here — a Florida pile in January is still working while a Vermont pile is a frozen monument to good intentions.
But Florida lays traps, and they are all water-shaped. Our rain does not fall politely; it arrives in drowning sheets that can soak a pile into an anaerobic swamp overnight. The fixes are simple and worth doing from day one: put your pile where water drains away from it, not where it puddles; cover the top with a tarp, an old piece of metal roofing, or a thick layer of straw so rain runs off instead of in; and check moisture after big storms the way you would check a boat after a squall. A covered pile in Florida is not optional equipment. It is the difference between compost and soup.
Two more Florida-specific notes. First, fire ants love warm, undisturbed piles, and they will colonize one with enthusiasm. Always glove up and disturb the pile surface before plunging a hand or fork in — a quick poke with the fork sends scouts out first and saves you a memorable afternoon. Second, our sandy soil is the reason you are doing this at all: sand drains fast, holds little, and has almost no pantry of its own. Hot compost is how you give sand a memory — organic matter that holds water and nutrients long enough for roots to actually use them. Every wheelbarrow of finished compost you spread is a deposit in that pantry.
What Goes In, What Stays Out
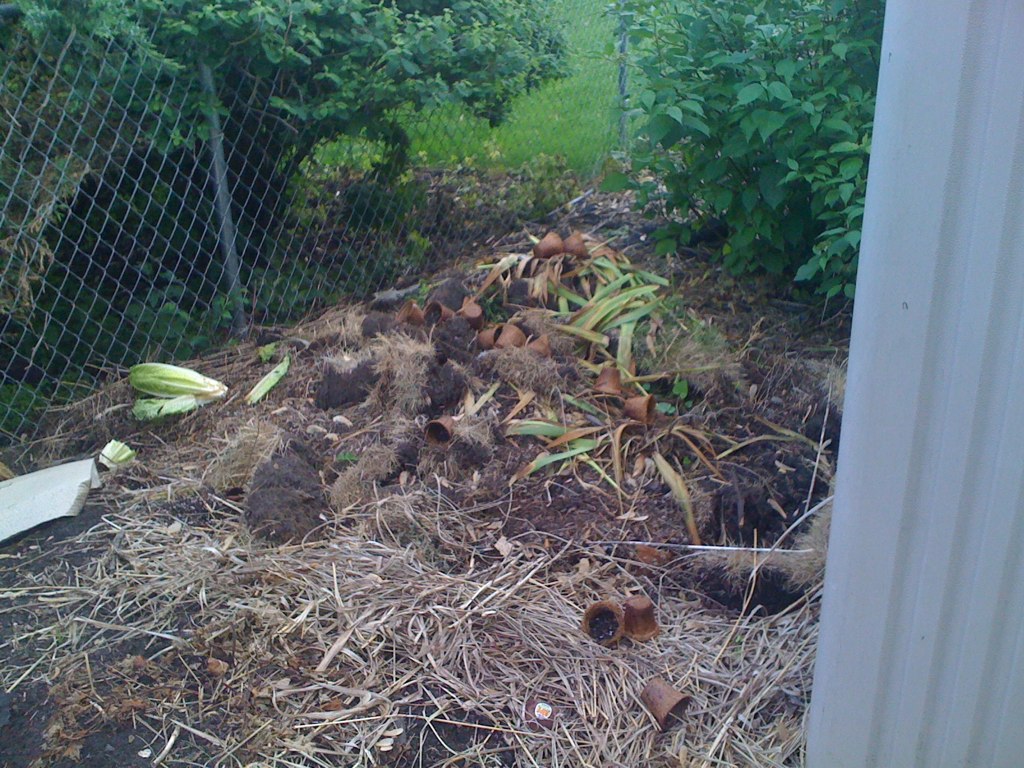
Goes in, happily: fruit and vegetable scraps, coffee grounds and filters, tea bags (check for plastic mesh — if it feels plasticky, tear it open and compost the leaves, not the bag), eggshells (crushed, so they break down instead of haunting you as white shards for a year), fresh grass clippings, green prunings, fallen leaves, straw, shredded cardboard and newspaper, wood chips and sawdust from untreated wood, manure from plant-eaters, and seaweed rinsed of salt.
Stays out, always: meat, fish, dairy, fats, and oils — they smell, they attract rats and raccoons, and they break down slowly in a home pile. Diseased plants, unless you are certain your pile sustains high heat for days — and “certain” is doing a lot of work in that sentence, so when in doubt, bag it and trash it. Weeds that have gone to seed, for the same reason: a truly hot pile kills most seeds, but a pile that only sort of got hot just plants them for you, pre-fertilized. Treated or painted wood, which can carry chemicals you do not want in food-growing soil. Cat and dog waste, which can carry pathogens that home composting temperatures cannot be trusted to eliminate. Glossy paper, coated cardboard, and anything with plastic in it. And ash from charcoal briquettes or treated wood — plain wood ash in small amounts is fine, but briquette ash is not garden food.
A word on the seed and disease question, because it is the one people worry about most: sustained heat above roughly 130 degrees for several days does kill most weed seeds and many plant pathogens. That is a real, documented effect, and it is one of the genuine advantages of hot composting over cold. But “most” and “sustained” are doing heavy lifting. A pile that hit 140 degrees in the core for a day while the edges stayed cool did not sterilize anything on the edges — which is exactly why turning matters, because turning moves the edges into the core. If you are composting material you know is diseased or seedy, turn religiously, verify heat with a thermometer, and when in doubt, leave it out. Caution is free. Tomato blight in your beds is not.
Two Ways to Build It: Open Pile vs. Bin
The open pile is the oldest method and still the best for most people: pick a level, well-drained spot (not against a wooden fence you like, not where runoff heads for a drain or a waterway), and start layering. Browns, greens, water, repeat, until you have your cubic yard. Cover the top. Done. The advantages are cost (free), capacity (as big as you want), and airflow (excellent, if you turn). The disadvantages are aesthetics (your neighbors may have opinions) and critters (rats like open piles with kitchen scraps — bury scraps in the center, never leave them on top, and a wire-mesh base or bin solves most of it).
The three-bin system is the open pile, grown up. Three adjacent bays made of pallets, wire, or lumber: one bay for the active hot pile, one for the pile that is curing, one for stockpiled browns or the next pile. You turn by forking material from one bay to the next, which is easier on the back than turning in place and gives you a visible pipeline: raw in, cooking in the middle, finished out the end. If you have the space and you like systems, this is the setup that makes hot composting feel like a proper little factory instead of a heap with ambitions.
Whatever you build it in, the build order is the same. Start with a loose layer of coarse browns on the ground for airflow — twigs, wood chips, straw. Then alternate greens and browns in layers a few inches thick, watering each layer as you go, until the pile is at least three feet tall. Top it with a thick layer of browns to insulate the core and discourage flies. Poke a few air holes with a broom handle if you are feeling thorough. Then step back, and wait for the steam.
The Turning Schedule (and How to Know When)
Turning is how you feed oxygen to the core, move cool edges into the heat, and even out moisture — and it is the single highest-leverage habit in hot composting. The schedule depends on your ambition. The Berkeley sprint turns every day or two. The enthusiastic home composter turns every three to seven days while the pile is hot. The relaxed home composter turns once a week or whenever the pile cools off noticeably. All three work; they just finish at different speeds.
The practical rule is simpler than any calendar: turn when the pile cools significantly from its peak, or when it starts to smell, or when the outside looks dry while the inside looks wet — all three are the pile asking for a turn. To turn, fork the whole pile over into a heap right next to it, moving the outside material to the inside and the inside material to the outside, and water lightly if the interior looks dry. The whole job takes ten to twenty minutes for a cubic-yard pile, it is genuinely good exercise, and it is the closest most of us get to kneading a living thing. If turning a full pile is hard on your back, a smaller pile turned more often, or a second bin you fork into instead of lifting over, both work fine. Compost does not grade your form.
How to Tell It’s Done (and Cured)
Finished hot compost is unmistakable once you have seen it: dark brown to black, crumbly like chocolate cake crumbs, smelling like a forest floor after rain — earthy and sweet, not sour, not sharp, not like anything you would wrinkle your nose at. You should not be able to recognize what went into it, except possibly a few stubborn wood chips and the odd eggshell fragment, which are harmless. The pile will have shrunk to roughly a third to a half of its original volume, and it will be cool all the way through — a pile that still reheats when you turn it is a pile that still has food left to eat, and it is not done yet.
Done and cured are two different things, and the difference matters. Finished compost that is still biologically very active can temporarily steal nitrogen from your soil as microbes finish their work — the same microbes that made it will happily eat soil nitrogen before your plants get a chance. Curing is the waiting period that lets that activity settle: spread the finished compost in a loose pile or bin, keep it damp but not wet, and leave it alone for several weeks to a couple of months. Cured compost is stable, gentle, and ready to plant straight into. If you are in a hurry, you can use uncured compost as a mulch on top of soil (where it cannot rob root-zone nitrogen) rather than mixing it in. If you are not in a hurry, cure it, and your plants will never know the difference — except that they will grow better, which is the whole point.
How much will you get? A cubic yard of raw material typically finishes down to roughly a third to a half of a cubic yard of compost. That sounds like a bad deal until you spread it and watch what it does to sand: a half-inch to one-inch layer worked into the top few inches of a bed transforms soil structure in a single season, and repeated applications build it year after year. Compost is not fertilizer in the bagged sense — its nutrient content is modest and slow-releasing — but as a soil conditioner, a moisture sponge, and a microbial inoculant, there is nothing else in the garden that does what it does for the price, which is mostly your own yard waste and patience.
The Mistakes That Stall a Pile
Too wet: the pile smells like a swamp, feels soggy, and nothing heats up. Fix: turn it, add dry browns, cover it against rain, and check drainage underneath. Too dry: the pile sits unchanged for months, dusty and inert. Fix: water it as you turn, layer by layer, until it hits that wrung-out sponge feel — and remember that the core can be bone dry while the outside looks damp, so always check the middle. Too small: the pile never warms up. Fix: stockpile material until you can build a full cubic yard, or combine with a neighbor’s leaves (compost diplomacy is a real and underrated neighborly art). Too compacted: grass clippings or wet leaves matted into an airless slab. Fix: turn with coarse browns mixed in, and shred leaves before adding them next time. Wrong ratio: a slimy, ammonia-smelling pile (too much nitrogen) or a pile that never heats (too much carbon). Fix: add the opposite ingredient and turn. No turning at all: the pile still composts, just slowly and unevenly, with cool edges that never got their turn in the heat. Fix: turn it, even once, and watch what happens.
And the mistake nobody warns you about: impatience. A pile that is “taking too long” is usually a pile that is fine and just needs water, air, or time — in that order. Before you tear a pile apart in frustration, check moisture with the squeeze test, turn it once, and give it a week. Nine times out of ten, it was thirsty or suffocating, and it will forgive you immediately.
Hot Compost FAQ
Does hot compost smell?
Done right, no — finished compost smells like a forest floor, and a working hot pile smells faintly earthy at most. If your pile smells bad, it is diagnosing itself: rotten-egg smells mean it has gone anaerobic and needs turning and coarse browns; sharp ammonia smells mean too much nitrogen and it needs browns. Smell is information, not failure.
Will hot composting kill weed seeds and plant diseases?
Mostly, with a caveat worth respecting: sustained heat above roughly 130 degrees for several days kills most weed seeds and many pathogens, but only the material that actually reaches that heat. The edges of a pile stay cool, which is why turning matters — it moves the edges into the core. If you are composting diseased plants or seedy weeds, turn often, verify heat with a thermometer, and when in doubt, leave the material out.
Can I compost citrus, onions, and garlic?
Yes, in a hot pile, in normal kitchen quantities. The old warnings about citrus and alliums come mostly from worm bins, where the worms genuinely are fussier — if you keep worms, see how to make a worm bin for what they prefer. A hot bacterial pile is not a worm bin. It will eat your orange peels without complaint, though very large quantities of any one thing are better mixed in gradually than dumped in all at once.
Do I need a compost thermometer?
No, but you might want one. The back-of-the-hand test — gloved hand into the core, feeling for warmth — tells you everything you actually need: warm means working, cool means turn, water, or feed. A long-probe thermometer just turns that feeling into a number, which is satisfying if you like numbers and useful if you are composting seedy or diseased material and want to verify heat properly.
How is hot compost different from leaf mold?
They are cousins, not twins. Hot compost is a fast, bacterial breakdown of mixed greens and browns at high temperatures, finished in weeks to months. Leaf mold is a slow, fungal breakdown of leaves only, finished in months to a couple of years. Hot compost gives you more nutrients faster; leaf mold gives you unmatched soil structure for almost no work. A serious Florida gardener eventually makes both, for different jobs.
What about rats and raccoons?
They are interested in exactly the same kitchen scraps you are, and the way to bore them is to never leave scraps on top of the pile. Bury every addition in the center, cover with a thick layer of browns, and keep meat, dairy, and fats out entirely. A bin with a lid or wire mesh solves most remaining problems. If you already have visitors, stop adding kitchen scraps for a couple of weeks, turn the pile, and let the pile cool to boring — they will move on to an easier restaurant.
Can I use finished compost right away?
If it is fully cured — dark, crumbly, cool, sweet-smelling, and no longer reheating — yes, mix it straight into beds. If it is finished but still very active, use it as a mulch on top of the soil instead of mixing it in, so the microbes finish their work without borrowing nitrogen from your plants’ root zone. When in doubt, cure it for a few more weeks. Compost, unlike most garden projects, only gets better when you ignore it a little longer.
How does hot compost compare to worm castings?
They are different tools, and a good garden uses both. Hot compost is a bulk soil conditioner you make by the wheelbarrow from yard waste — it builds structure, holds water, and feeds the soil food web broadly. Worm castings are a concentrated, microbe-rich amendment you make in smaller quantities — gentler, richer, and better as a targeted boost. If you want the full comparison, see compost vs worm castings. If you want both, nobody is stopping you, and your soil will throw a parade.
So: gather your browns, save your greens, build it at least three feet cubed, keep it as damp as a wrung-out sponge, and turn it when it cools or complains. In a few weeks to a few months, the mountain of stuff you were going to throw away becomes the black gold your sand has been begging for — and you get to stand over a steaming pile on a cool morning feeling like a wizard. That is hot composting. It is fast, it is fun, and it is, pound for pound, one of the highest-value things you can do for a Florida garden.
🌱 Keep learning
Three related guides worth reading next:
- Compost vs Worm Castings — How compost and castings differ — and when to use each.
- Mulch vs Compost — Mulch sits on top, compost goes in — know which job you need done.
- Know Your Amendments — A plain-English tour of soil amendments and what each one actually does.
🪱 Your Soil Needs This
Reading about healthy soil is great. Growing in it is better. Our small-batch, traceable worm castings are the shortcut your garden deserves.
Shop Worm Castings Subscribe & SaveEvery bag comes with a lot certificate. Know what's in your soil.