
🎄 Christmas Fern
What it looks like
How to grow
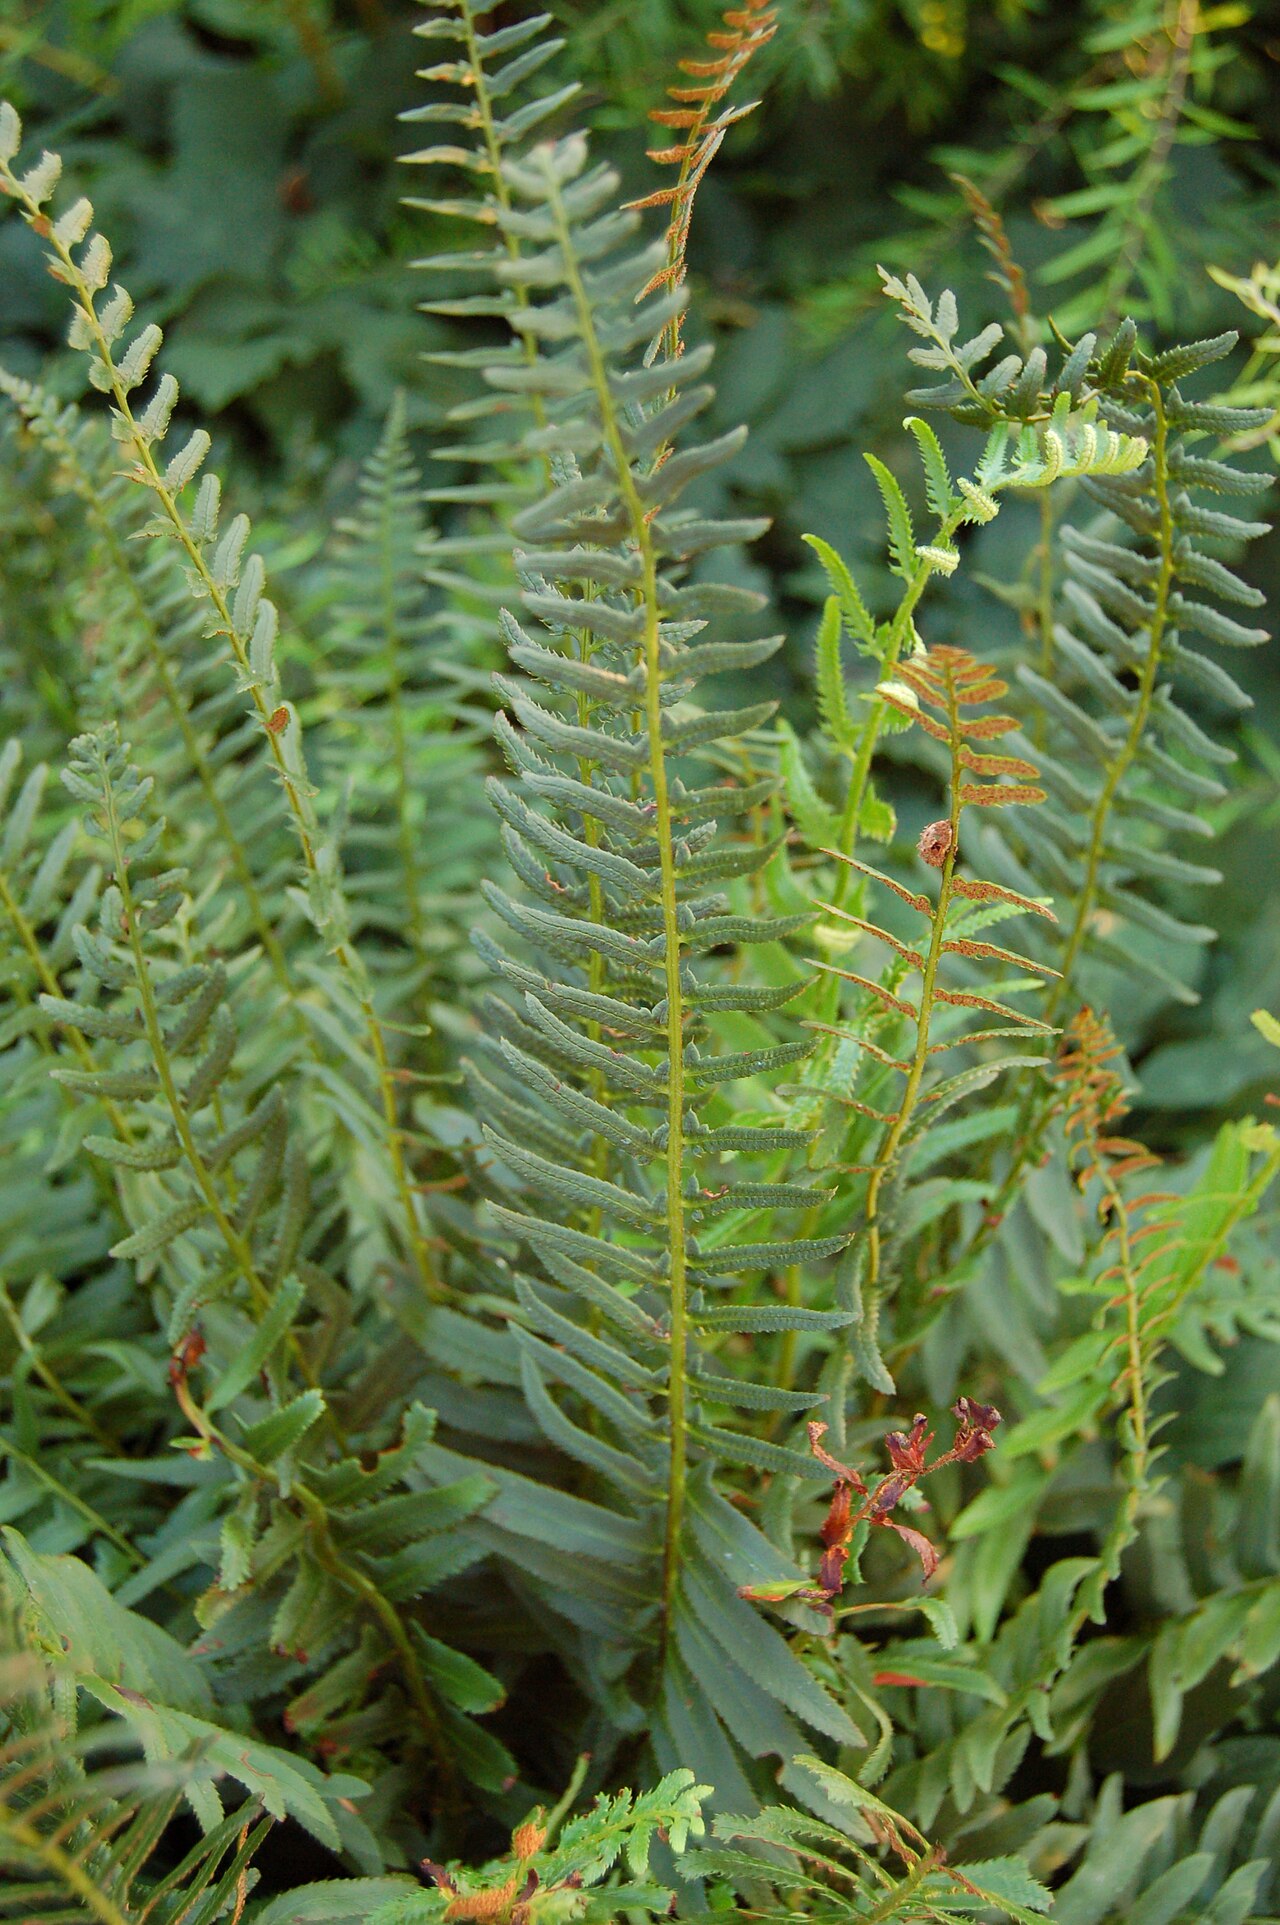
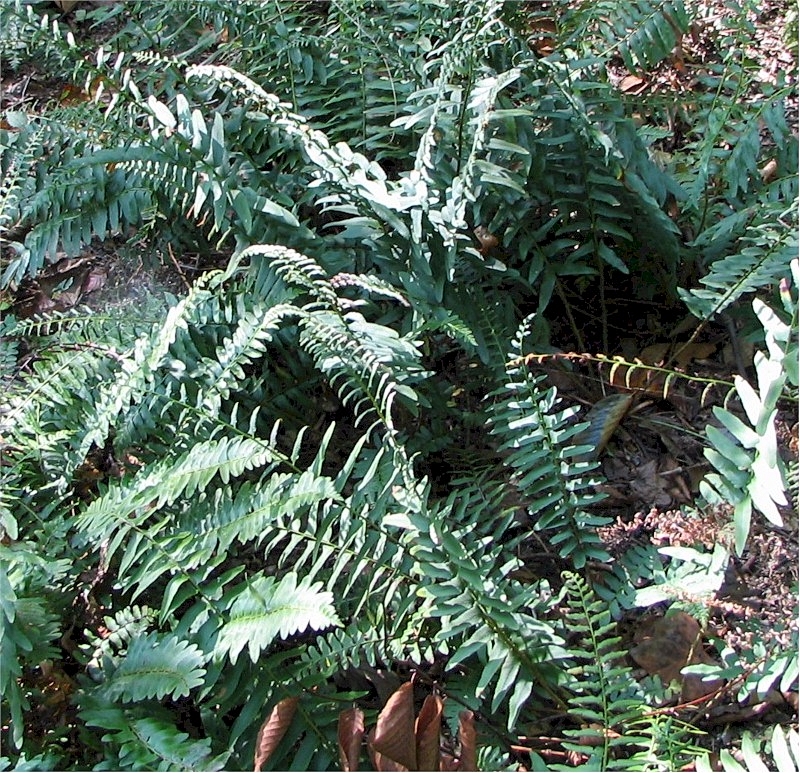
Christmas fern is a clumping evergreen fern, 1–2 feet tall, with leathery, dark-green fronds that stay green through winter in most of its range — hence the name, since it is green at Christmas when other ferns have vanished. It is one of the toughest ferns for dry shade once established, tolerating conditions that defeat more delicate ferns, and it forms a neat, non-spreading clump rather than running. Plant in spring or fall in part to full shade in well-drained, humus-rich soil, spacing 12–18 inches apart, and mulch with leaf mold. It is a superb evergreen groundcover for woodland slopes, and it pairs with spring bulbs that bloom through its fronds.
Water & feeding
Keep soil moist while establishing, then water in dry spells; Christmas fern tolerates dry shade better than most ferns once settled, but it still looks best with regular moisture. Feed with leaf mold or compost in spring. Avoid waterlogged soil.
Common problems
- Dry shade stress — mulch and water in drought; established plants cope better than new ones.
- Crown rot in wet soil — drainage matters; do not plant in a hollow.
- Few pests — generally trouble-free; slugs occasionally nibble new fronds.
- Fronds browning in harsh winters — normal at the cold edge; cut back in spring and new fronds follow.
Propagation
First, the fact that makes this section different from every seed-saving section on the site: Christmas fern makes no seeds at all. No flowers, no fruit, no seed packet to save. Like all ferns, it reproduces by spores — dust-fine single cells that carry the fern’s genetics in a form so small you could fit thousands on your thumbnail — plus a slow, steady expansion of its crown. That ancient reproductive system, older than flowers by hundreds of millions of years, is why this section is called Propagation instead of Saving seeds, and it gives you two very different ways to make more ferns: the quick, reliable way and the slow, wonderful way.
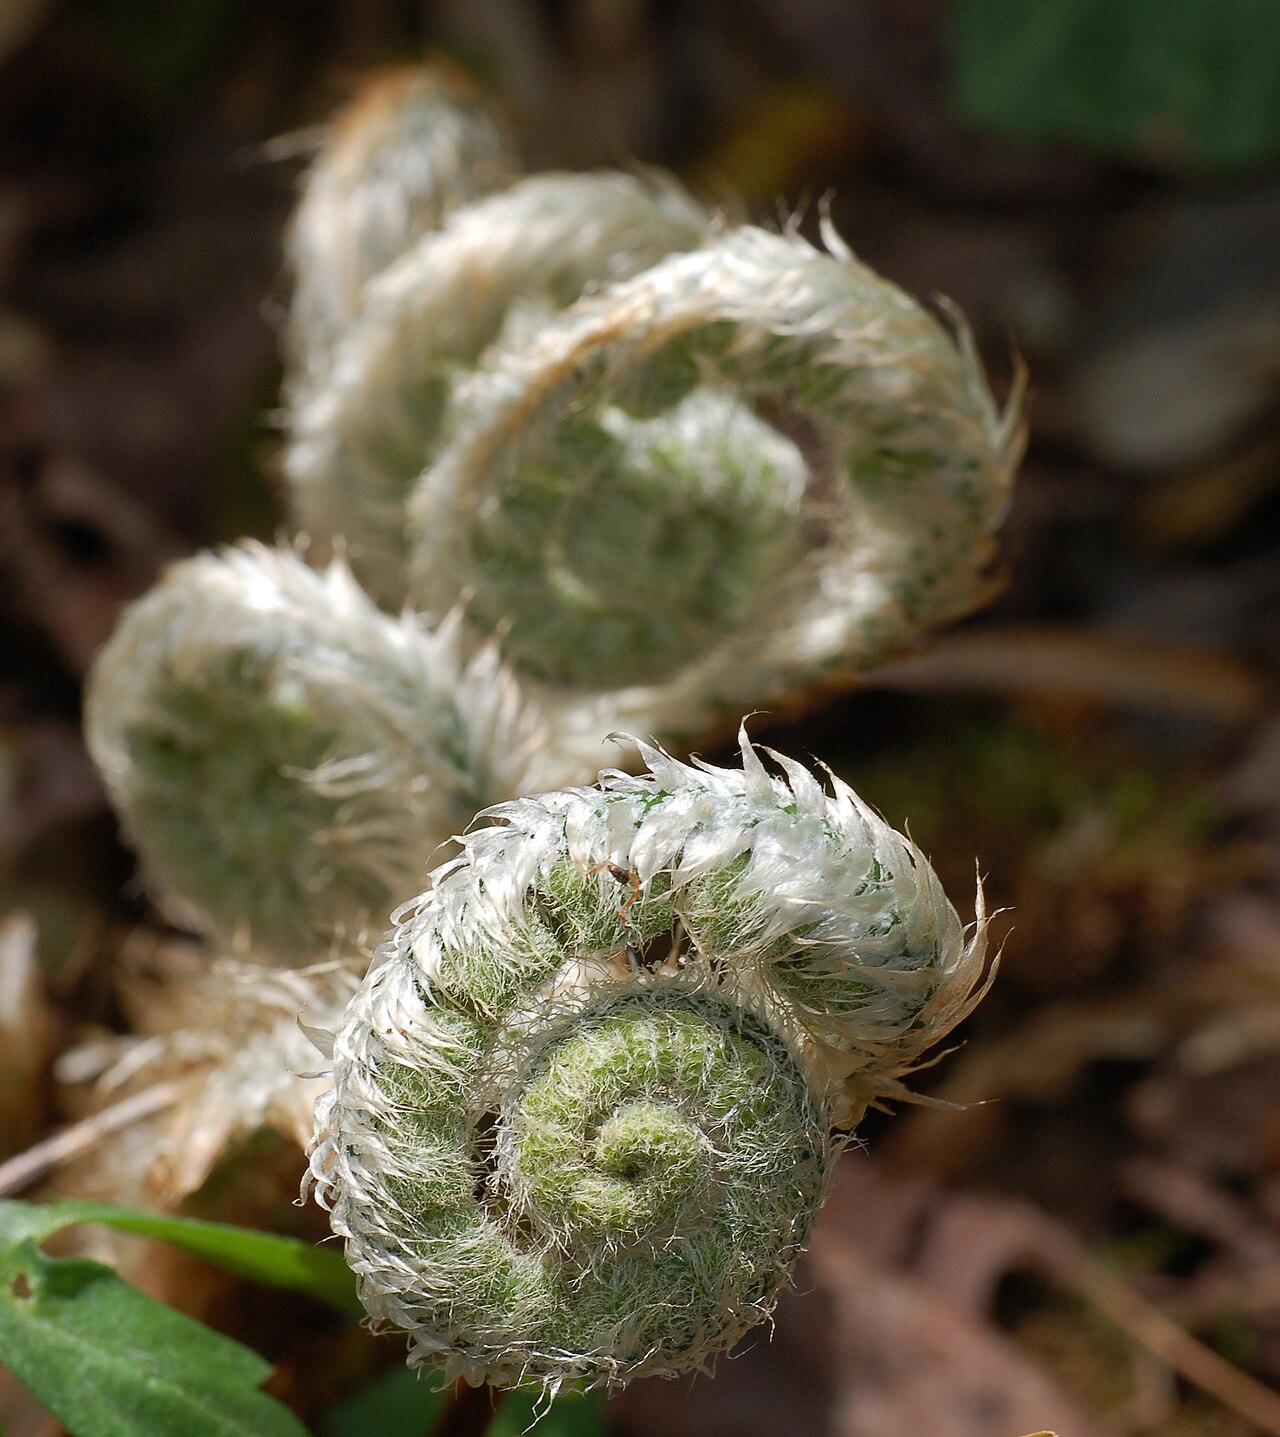
The quick way is division, and it is the one most gardeners should use. In early spring, just as the fiddleheads begin to unfurl, lift a mature, healthy clump and cut the crown into sections with a sharp, clean knife, making sure every section keeps a good chunk of roots and at least one or two growing points. Replant each division at the same depth it grew before, in shade and humus-rich, moist soil, water it in well, and keep it evenly moist until new fronds show it has settled. Divisions are exact copies of the parent plant, which is precisely what you want when you have a fern with beautiful form, and a single clump can generously become three or four new plants without any drama.
The slow way is spores, and it is a miniature biology lesson you can watch happen on a windowsill. Look at the undersides of the fronds: the fertile ones stand taller and more upright than the rest, with noticeably smaller, narrower leaflets on their upper third, and those leaflets carry neat rows of brown dots called sori. When the sori darken and look dusty, in late summer into fall, cut a fertile frond, lay it spore-side down on clean white paper, and wait a few days for a fine brown dust to fall. Sow that dust on the surface of sterile, moist, humus-rich mix — do not bury it, since spores need light — cover the container to hold humidity, and give it bright indirect light. What grows first is not a fern at all but a tiny green heart-shaped film called a prothallus, the fern’s free-living gametophyte generation, and only after that stage do true fronds appear. The whole journey from dust to a plant big enough for the garden can take a year or more, and sources suggest not planting youngsters out until they are a couple of years old and well established, in a sheltered, shady spot.
Which route should you choose? Division when you want more of a fern you already love, quickly and predictably. Spores when you want numbers, or when you want to watch a life cycle that predates dinosaurs unfold in a takeout container. In Florida’s warm, humid shade, keep spore containers moist but ventilated — our humidity helps germination and also invites mold, so sterile mix and a watchful eye matter more here than in drier climates. Either way, you are not saving seed. You are doing something older and, frankly, cooler: handing a lineage that has survived since before flowers existed one more generation in your own garden.
Notes
Cut back tattered fronds in early spring before new fiddleheads unfurl — this is the main annual job, and it keeps the plant looking fresh. Divide in spring every few years if a clump needs it, though Christmas fern is slow to need division. Its evergreen fronds make it a classic for winter arrangements and holiday decorating, cut sparingly from established clumps.