
🌿 Lady Fern
What it looks like
How to grow
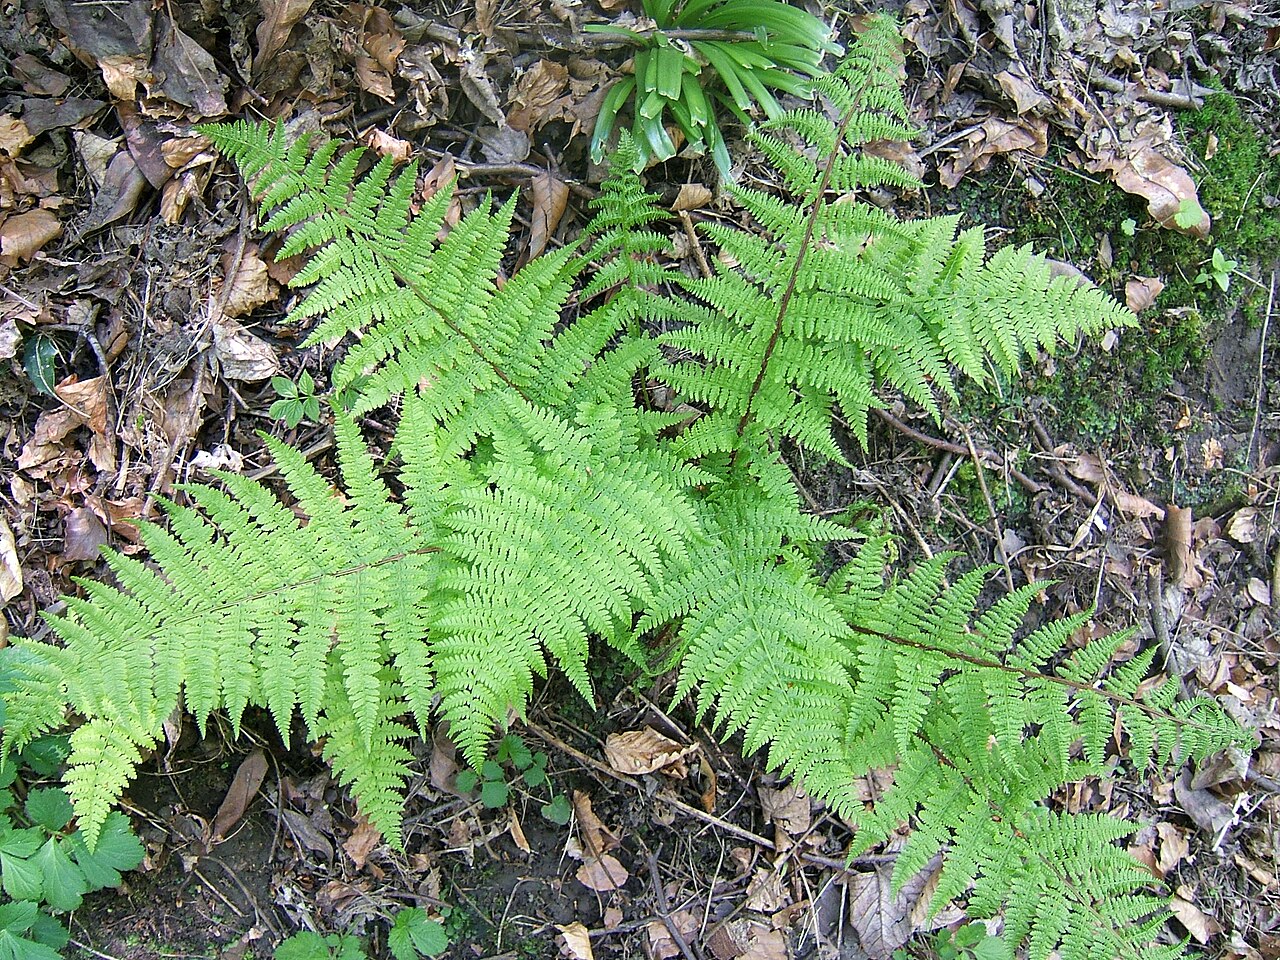
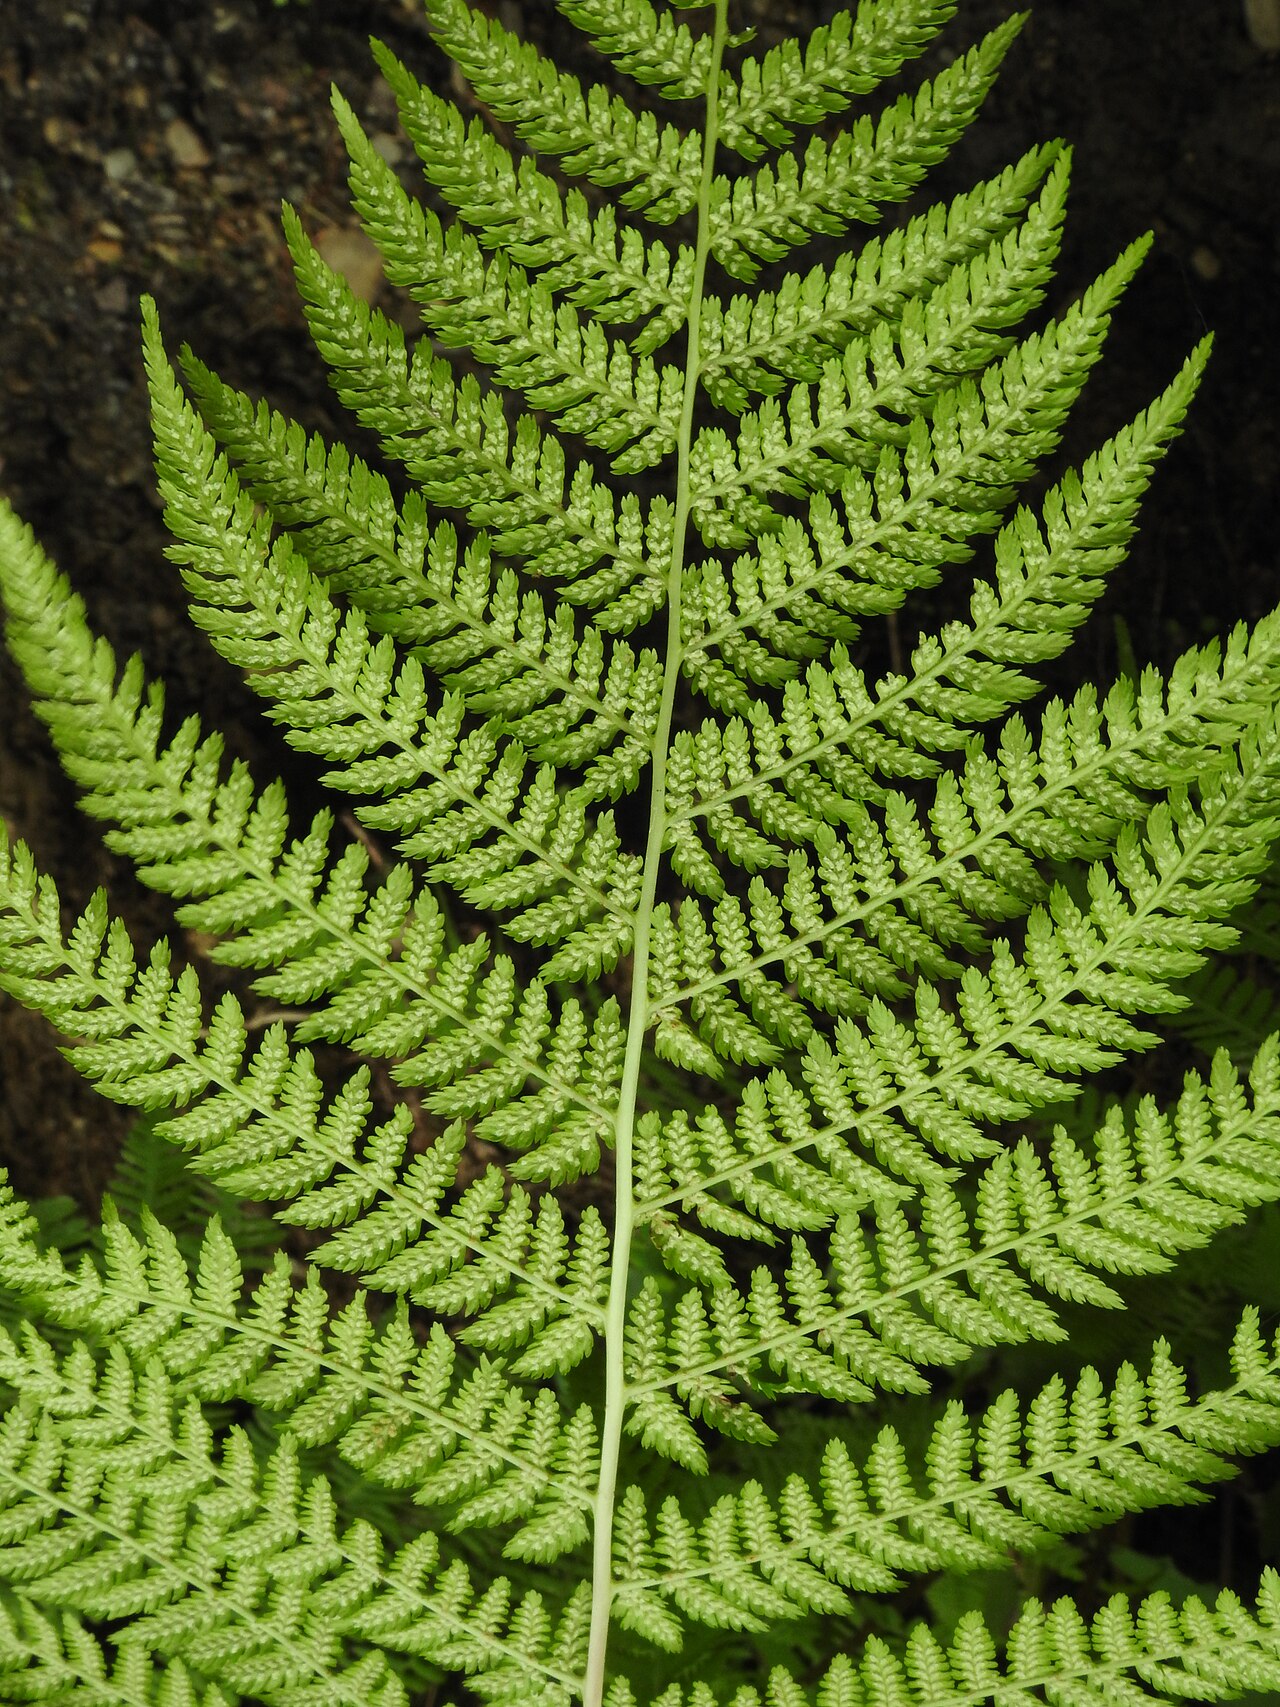
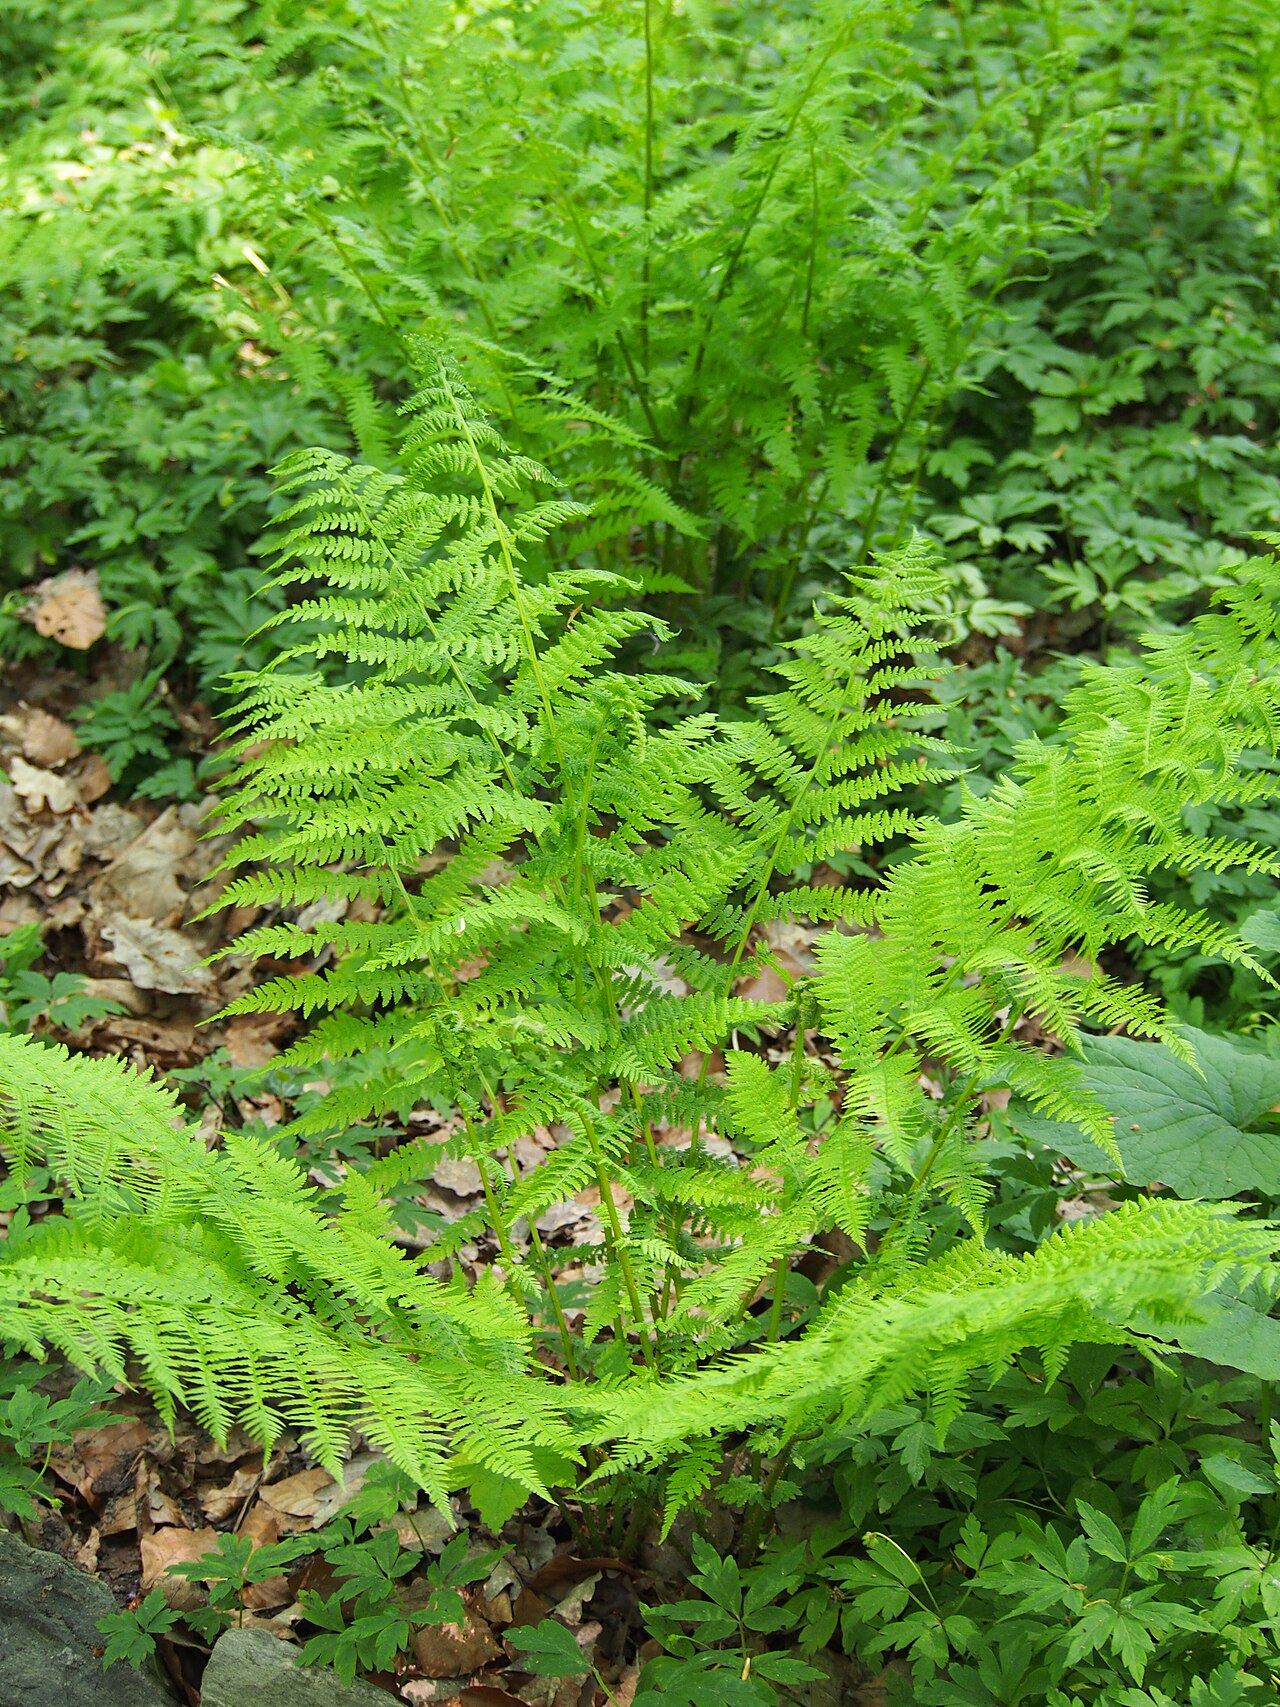
Lady fern is a deciduous woodland fern, 2–3 feet tall, with finely divided, lacy, bright-green fronds in an arching vase shape — one of the easiest and most graceful ferns for shade, and a staple of woodland gardens. It is more tolerant of sun than many ferns (morning sun with moist soil is fine) and more tolerant of varied soil, though it still wants moisture. Plant in spring in part shade to full shade in moist, humus-rich, well-drained soil, spacing 18–24 inches apart, and mulch with leaf mold. It pairs with hostas, astilbe, and brunnera, and it naturalizes gently in woodland borders without running aggressively.
Water & feeding
Keep soil consistently moist; lady fern wilts and goes dormant early in drought. Mulch to hold moisture and water in dry spells. Feed with compost or leaf mold in spring.
Common problems
- Drought dormancy — fronds yellow and collapse in dry spells; water consistently to keep them lush.
- Slug damage — occasional; traps or barriers help.
- Crown rot in waterlogged soil — moist, not soggy.
- Few other pests — lady fern is generally trouble-free.
Notes
Cut back dead fronds in late winter before new growth, and divide in spring every few years if a clump gets large. Lady fern’s fronds are lovely in arrangements. It is sometimes confused with male fern (Dryopteris filix-mas), which is coarser and more upright — lady fern is the lacy one, and the name suits it.
Browse all plant & pest guides
Propagation
There is no seed-saving section for lady fern, because lady fern has no seeds. Ferns predate seed plants by a very long time, and they reproduce by spores — dust-fine particles released from the brown dots (sori) on the undersides of fertile fronds. Everything in this section is about spores and division, which are the two honest ways to make more lady fern.
Spore propagation is the patient, magical route. Watch the fronds through summer: when the sori on the undersides turn plump and dark brown, the spores are ripe. Cut a fertile frond, lay it spore-side down on a sheet of white paper, and leave it overnight — by morning the paper will be dusted with a fine brown powder, which is your harvest. Sow the spores at once, or store the paper in a dry envelope for a few weeks at most. Use a sterile, moist mix of peat and perlite or fine sphagnum in a shallow tray, sprinkle the spores on the surface — never bury them — and cover the tray with clear plastic or glass to hold the humidity. Keep the tray bright but out of direct sun, and warm, roughly 65–75°F.
Then comes the part that surprises first-time fern growers: nothing that looks like a fern appears for weeks. The spores first grow into tiny, flat, green heart-shaped prothalli — a whole separate little plant generation — and only after those are fertilized by a film of water do the first true fern fronds emerge. Keep the surface constantly moist, never soggy and never dry, misting gently rather than pouring water. Expect the first fronds in a few months, not days, and grow the young ferns on in the covered tray until they are big enough to handle, then pot them up individually. In Florida humidity, the covered tray is your friend — but lift the cover daily for fresh air, or mold will claim the tray before the ferns do.
Division is the fast, faithful route, and it is the one most gardeners should use. In early spring, just as the fiddleheads begin to unfurl, lift a mature clump and cut or pull it into pieces, each with several crowns and a good mass of roots. Replant the divisions at the same depth, in moist, humus-rich, shady soil, and water them in well. Each division is an exact copy of the parent plant, which is exactly what you want when you have a form you love. A big clump can be divided every few years, and the plant will thank you for it by growing back stronger.
One last note: lady fern self-propagates happily where it is happy — spores drift on the breeze and settle in damp, shady corners, and new ferns appear on their own in the right spot. If you want more, give it shade, moisture, and leaf litter, and let it do what ferns have been doing for hundreds of millions of years. No seed packet required — or possible.
Varieties
Every named variety of Lady Fern with its own growing guide:
- Frizelliae Lady Fern — The tatting fern: narrow fronds with bead-like pinnae strung along the midrib like a necklace, the dwarf lady fern with lace made of pearls.
- Lady in Red Lady Fern — The red-stemmed lady: lacy light-green fronds on brilliant red-violet stems, the lady fern with jewelry.
- Victoriae Lady Fern — The queen of ferns: narrow, crisscrossed, crested fronds like little green boomerangs, the Victorian showpiece.