
🌵 Aloe Vera
What it looks like
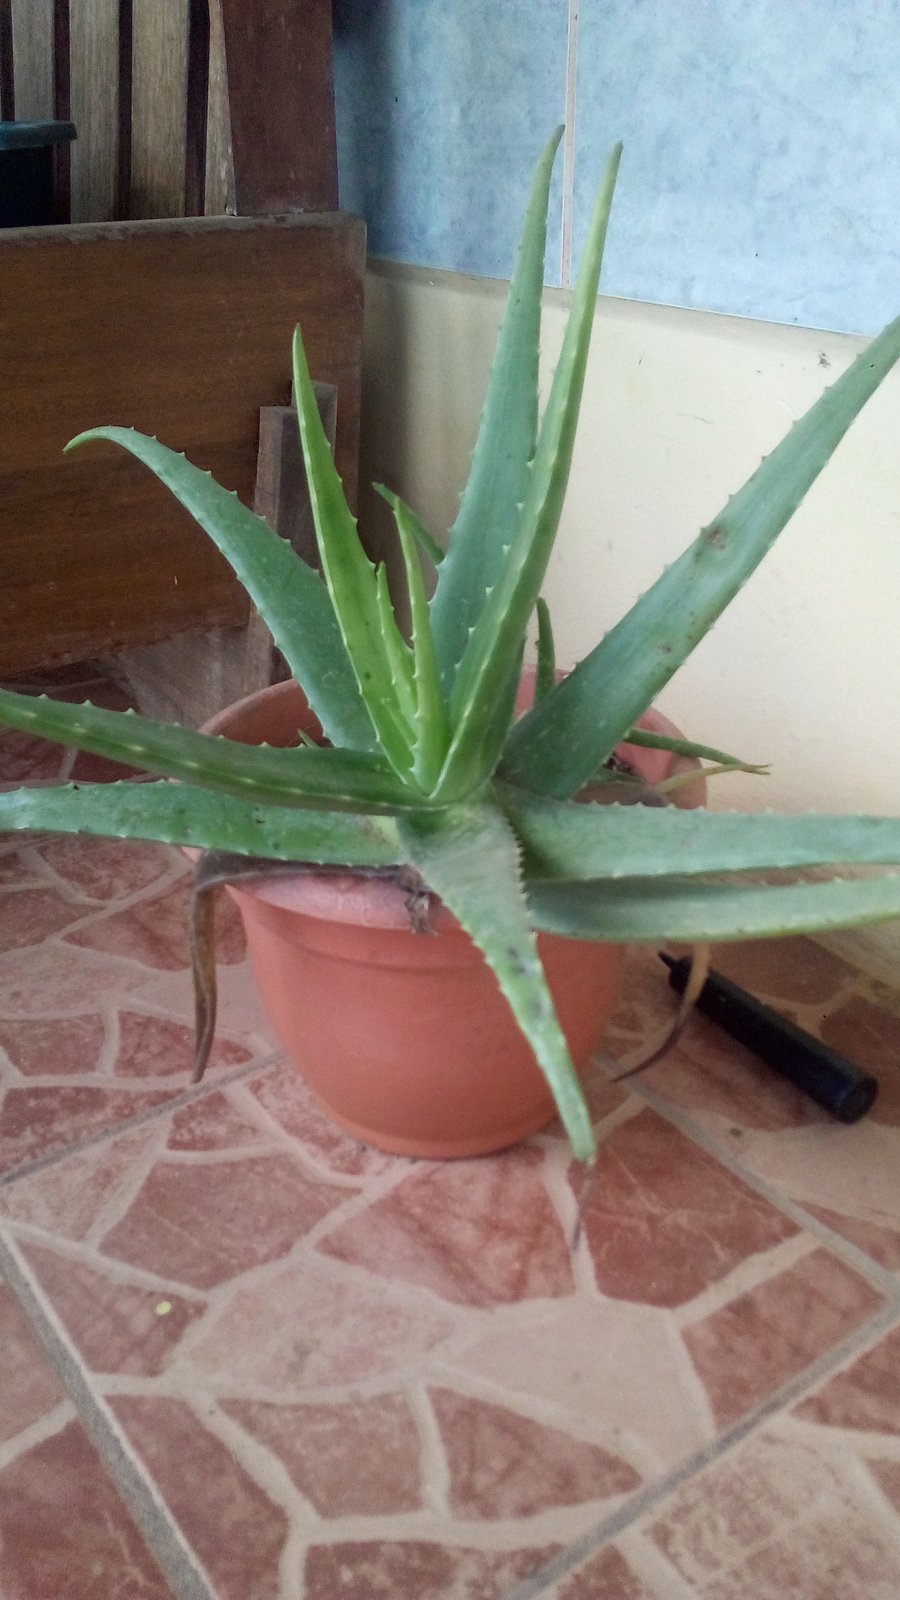
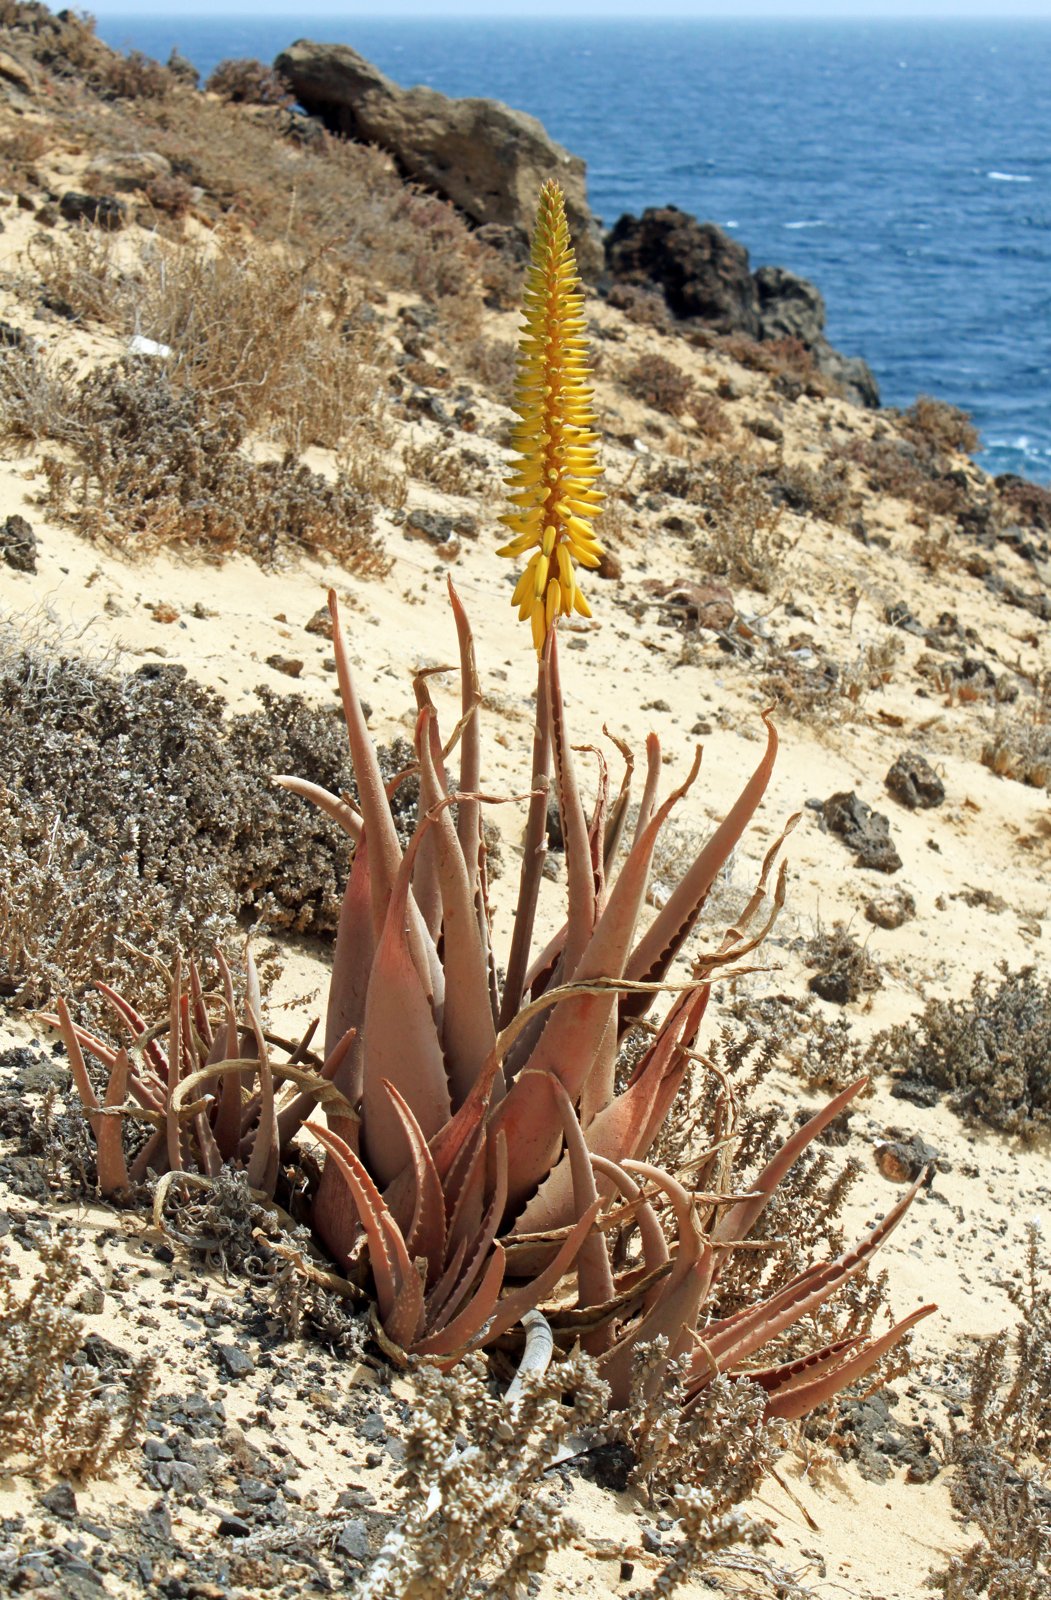
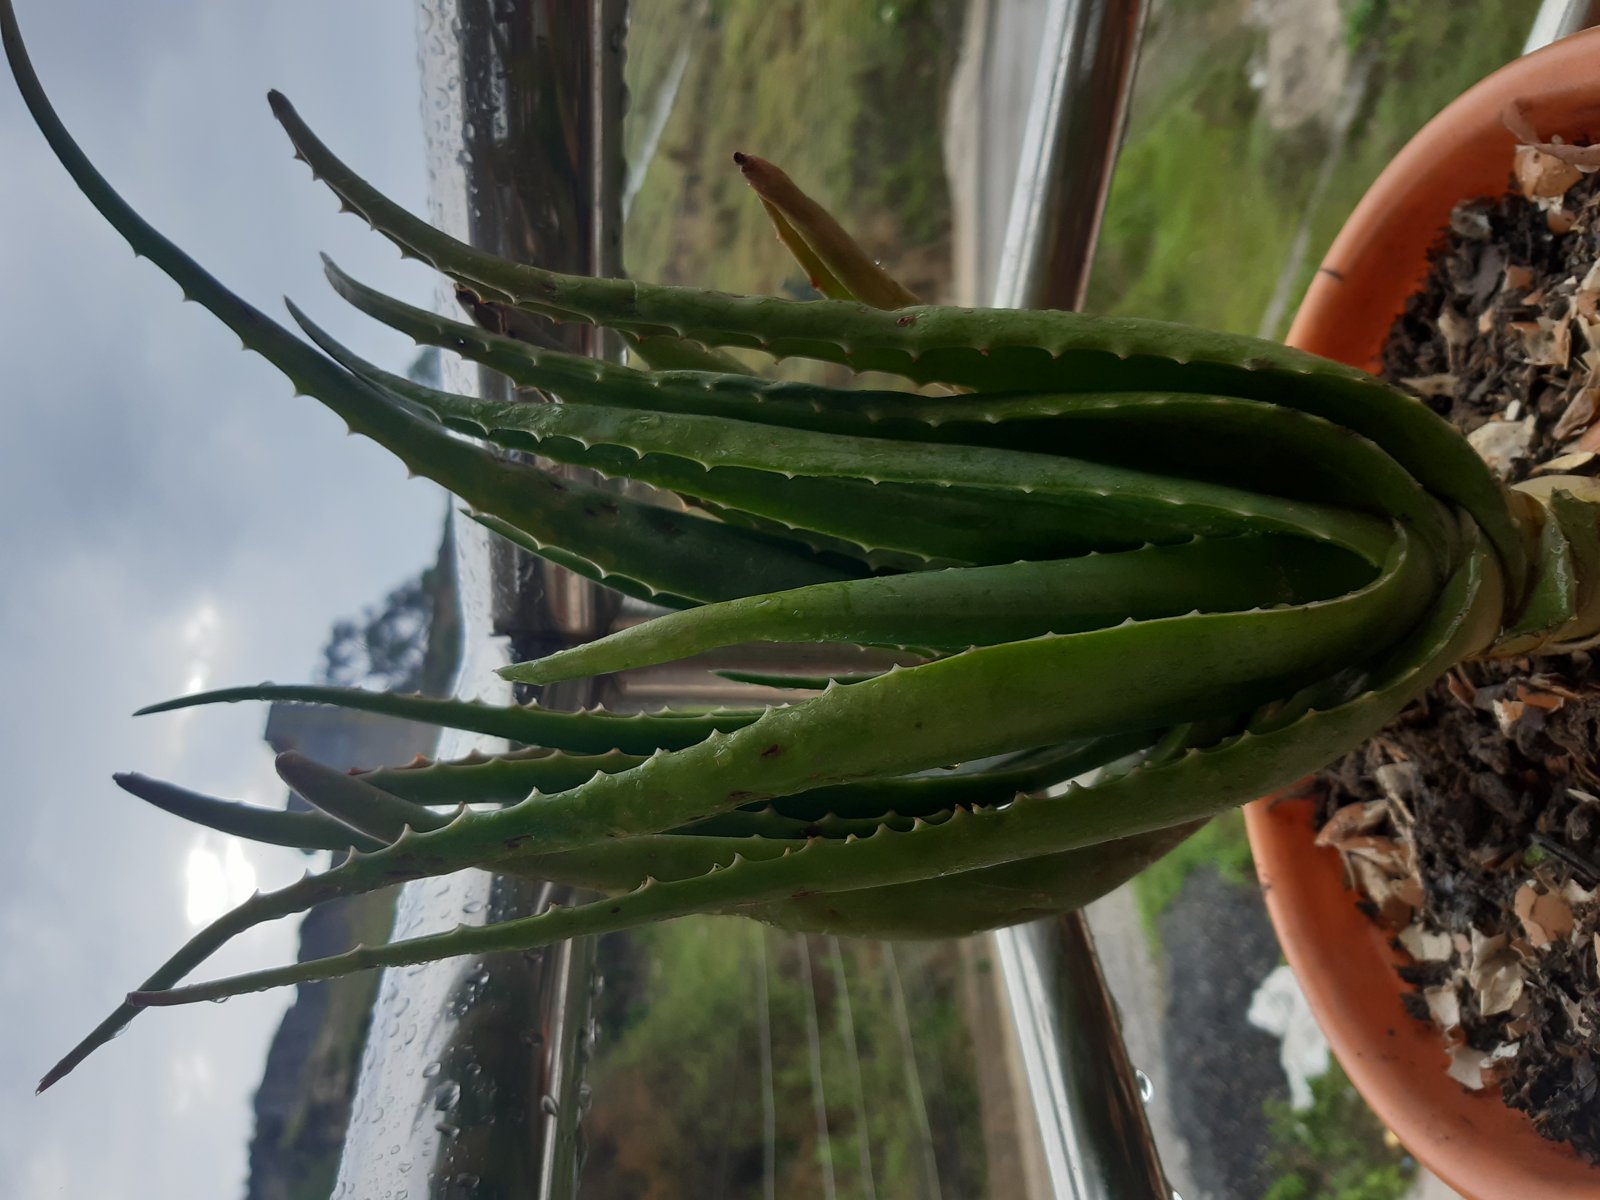
Aloe vera is a rosette of thick, fleshy, lance-shaped leaves, grey-green and freckled with pale spots, each leaf edged with small soft teeth that look far more dangerous than they are. The leaves are the whole point: slice one open and you find the clear gel the plant is famous for, held in a kind of living water tank. Aloe is a succulent, which is botanist for “stores water in its own tissues so it can shrug off a drought,” and it belongs to the Asphodelaceae family, the same clan as its cousin bulbine. It comes from the dry Arabian Peninsula, which explains nearly everything about how it wants to be treated: sun, drainage, and to be left alone.
A mature plant reaches about 60–90 cm (2–3 ft) tall and wide, a slowly widening rosette that eventually sends up a tall flower stalk topped with tubular yellow or orange flowers, usually in late winter or spring. Flowering is a bonus, not the goal — most people grow aloe for the leaves and the pups, the little offset rosettes that sprout around the base of a happy mother plant. Those pups are how aloe colonizes a pot, a bed, or, given a Florida summer, a whole corner of the garden.
One naming note before we go further: you will see this plant sold as Aloe vera and as Aloe barbadensis (sometimes Aloe barbadensis miller). They are the same plant. Aloe vera is the accepted name; Aloe barbadensis is the older synonym that nurseries and product labels never quite let go of. If a label says either one, you have the right plant.
🌴 Florida notes: Aloe is one of the easiest plants you can grow in Florida, and one of the easiest to kill by kindness. It loves our sun and shrugs at our humidity, but it will not tolerate wet feet. In a Florida summer, that means drainage matters more than watering: a pot with no drainage hole is a slow drowning. In the ground, it wants the highest, sandiest spot you have, not the low corner where rain pools.
Light: sun, but Florida sun with manners
Aloe wants bright light and plenty of it. Outdoors, full sun is its natural home — six or more hours a day — and a plant grown in full sun is compact, upright, and richly coloured. Indoors, it wants the brightest window you own, ideally south- or west-facing, with the plant as close to the glass as you can get it.
Florida adds one wrinkle: our afternoon sun is a flamethrower. An aloe moved straight from a shady nursery shelf into blazing July sun will sunburn — the leaves turn brownish-orange and go soft at the edges. That is not a disease; it is a sunburn, and the fix is a slow introduction. Give it morning sun and bright afternoon shade for a week or two, then let it take more. Once acclimatized, most Florida aloes handle full sun happily, but a plant that lives on a west-facing porch with some afternoon shade will still thrive and will never scorch. If the leaves are stretching tall, pale, and floppy, that is the opposite problem: not enough light. Move it brighter, and the new growth will come in tight and upright again.
Water & feeding: the art of forgetting
Here is the whole watering rule: soak it, then leave it alone until the soil is dry all the way through. In a pot, that usually means watering every two to three weeks in summer and once a month or less in winter. In the ground in Florida, established plants often need no watering at all outside of drought — our rain does the job, sometimes too well. Always water the soil, not the rosette: water sitting in the crown invites rot, and aloe rot starts in the middle where you notice it last.
The finger test never lies. Push a finger two inches into the soil. Damp? Walk away. Bone dry? Water deeply until it runs out of the drainage holes, then empty the saucer — aloe sitting in a puddle is aloe on a countdown. Winter is when most aloes die, because people keep summer watering schedules while the plant has slowed to a crawl. When in doubt in winter, do not water. Aloe can recover from a month of drought. It cannot recover from a month of wet feet.
Feeding is light work. Aloe is a light feeder that evolved in poor soils, and too much fertilizer makes soft, floppy growth that rots easily. In spring, one dose of balanced liquid fertilizer at half strength, or a thin top-dressing of worm castings, is plenty for the whole year. Skip the fertilizer entirely in winter, and skip it for a plant that is stressed, sunburned, or freshly repotted — feeding a struggling succulent is like offering a buffet to someone with a stomach bug.
🌴 Florida notes: Florida’s summer rain is the biggest watering variable you do not control. A potted aloe on a porch that catches every downpour is effectively being watered daily, which is far too much. Keep pots under an eave or tilt them so they drain fast, and check the soil after a rainy week before you even think about the watering can. In the ground, never plant aloe in a low spot or in heavy mulched soil that stays damp.
Soil & pot: drainage is the whole job
Aloe’s soil has one job: get water away from the roots fast. Ordinary potting mix holds too much moisture on its own, so cut it with something gritty — roughly one part perlite, coarse sand, or small gravel to two parts potting mix, or use a bagged cactus and succulent mix straight from the bag. Florida’s native sandy soil is actually a decent starting point in the ground, provided the spot drains; if your soil is the grey, mucky kind that holds a footprint, plant aloe in a raised mound or a pot instead.
The pot matters as much as the mix. Terracotta is the classic choice for a reason: it breathes, pulling moisture out of the soil through its walls, which is exactly what a succulent wants. Whatever the material, the pot must have drainage holes — no exceptions, no “I’ll just water carefully” bargains. A pot only slightly larger than the root ball is better than a big one; too much empty soil stays wet too long. Repot every two to three years, or when pups have crowded the pot into a solid rosette city, refreshing the mix and moving up one pot size at a time.
Common problems
Mushy, translucent leaves at the base. Root rot, the number-one aloe killer, caused by soil that stays wet. Stop watering immediately, unpot the plant, cut away any black, mushy roots and leaves with a clean knife, let the cuts dry for a day, and repot in fresh gritty mix. If the whole centre is mush, the plant is gone — but check for pups, which often survive.
Brown or orange leaves. Usually sunburn after a sudden move to brighter light, or a cold snap. Move the plant to bright shade, trim only the fully dead leaves, and let it regrow from the centre. If the browning follows a freeze, wait until spring to judge the damage — aloe can look dead and still push new growth from the base.
Thin, stretched, pale leaves. Not enough light. Move the plant brighter, gradually, and accept that the stretched leaves will not shrink back; new growth will come in properly.
Leaves curling inward and thinning. Thirst, the honest kind. The plant is using up its stored water. Give it a deep soak and it should plump back up within a few days.
Mealybugs and scale. Small white cottony clumps or brown bumps, usually where leaves meet the stem. Dab them off with a cotton swab dipped in rubbing alcohol, and check the plant weekly until they are gone. A plant that lives outdoors in Florida usually has enough predators around that these stay minor.
A note on pets: Aloe vera is listed as toxic to dogs and cats if eaten — the latex layer under the leaf skin contains compounds that irritate the gut. The gel itself is the part people use, but a curious pet chewing a leaf will get a mouthful of the bitter latex too. Keep potted aloes out of easy reach of pets that chew plants, and call a vet if a pet eats a significant amount.
🌴 Florida notes: Cold is aloe’s real enemy here, not heat. Aloe is damaged below about 32°F and can be killed by a hard freeze. In central and south Florida it usually sails through winter in the ground; in north Florida, grow it in a pot you can move under cover, or cover in-ground plants with frost cloth on freeze nights. Potted plants freeze faster than in-ground ones, so a pot on a porch is the first thing to bring in when a cold snap is forecast.
Propagation: the pups do the work
Propagating aloe is one of the easiest wins in the houseplant world, because the plant does most of it for you. A healthy mother plant produces pups — small offset rosettes — around her base, each one a complete baby plant waiting for independence. That is the propagation method to use. Here is how:
- Wait for size. Let a pup grow to a few inches tall, ideally with a few of its own roots already forming. A pup the size of your thumb will survive; a pup the size of a fingernail may not.
- Unpot or dig gently. Tip the mother plant out of its pot, or loosen the soil around an in-ground clump, and find where the pup joins the mother by a short stem.
- Cut cleanly. Use a clean, sharp knife to cut the pup away with as many of its own roots as possible. If it comes away with no roots at all, that is still fine — aloe roots readily.
- Let the cut dry. Leave the pup in a shady spot for a day or two until the cut end forms a dry callus. This step is the difference between a pup that roots and a pup that rots.
- Pot it up. Plant in the same gritty mix, water once lightly, then wait. Keep it in bright indirect light and do not water again until the soil is dry. Roots usually form within a few weeks, and new centre growth is the sign it has taken.
What about leaf cuttings? This is the aloe myth worth busting: a single aloe leaf stuck in soil almost never grows a new plant. Unlike some succulents, an aloe leaf has no meristem tissue along its edge to sprout from, so it usually just rots, slowly and disappointingly. If you see a video of it working, what you are usually seeing is a pup that was already there, or a very lucky exception. Use the pups. The plant is handing you free plants — take them.
You can also grow aloe from seed, but it is slow and the seedlings are variable; division by pups is faster, free, and gives you a clone of a plant you already know you like. A single mother plant can easily produce a dozen pups a year in Florida, which is how one aloe becomes a windowsill colony, a porch row, and gifts for every friend who mentions sunburn.
Gel, latex, and what this guide is not
Inside every aloe leaf are two very different substances, and confusing them is the classic aloe mistake. The clear gel in the centre of the leaf is the soothing stuff people reach for after sunburn. Just under the leaf skin sits a yellow latex layer containing aloin, a powerful laxative that nobody wants on their skin or in their stomach by accident. They come from different parts of the same leaf, so if you ever harvest a leaf, you fillet out the gel and leave the yellow layer behind.
What to actually do with the gel — and what not to do — is a whole other guide, and it already exists here. For the growing side you are in the right place; for the using side, see our medicine garden guide, which covers aloe’s place in a family resilience garden, including the gel-versus-latex distinction and the safety notes that matter. This guide grows the plant. That one tells you what to do with it.
🌱 Keep learning
Three related guides worth reading next:
- Grow Your Own Medicine: A Family Resilience Garden — Aloe’s role in the medicine garden, plus the gel-versus-latex safety notes.
- Plants for Black Thumbs — Ten Florida-tough plants for beginners, ranked, including other sun-lovers that forgive neglect.
- Houseplant Guide — The general houseplant basics: light, water, and pots, for everything else on your windowsill.