🌿 Burdock
What it looks like
How to grow
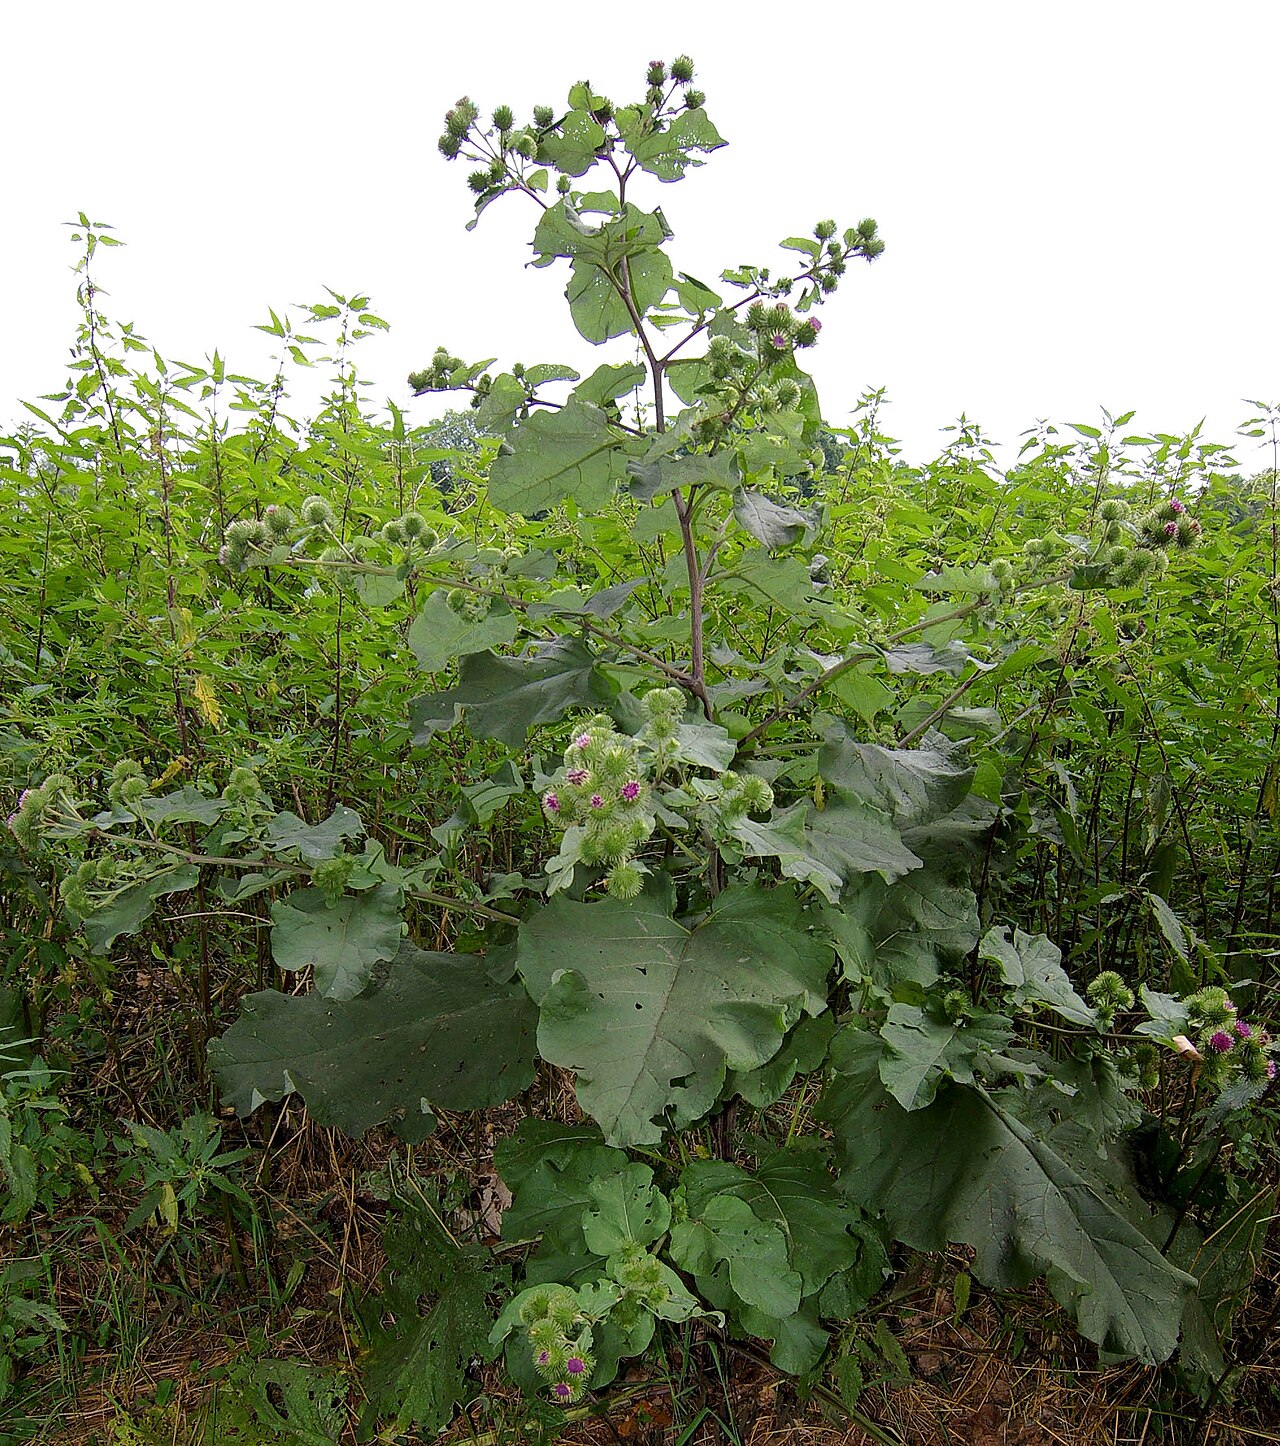
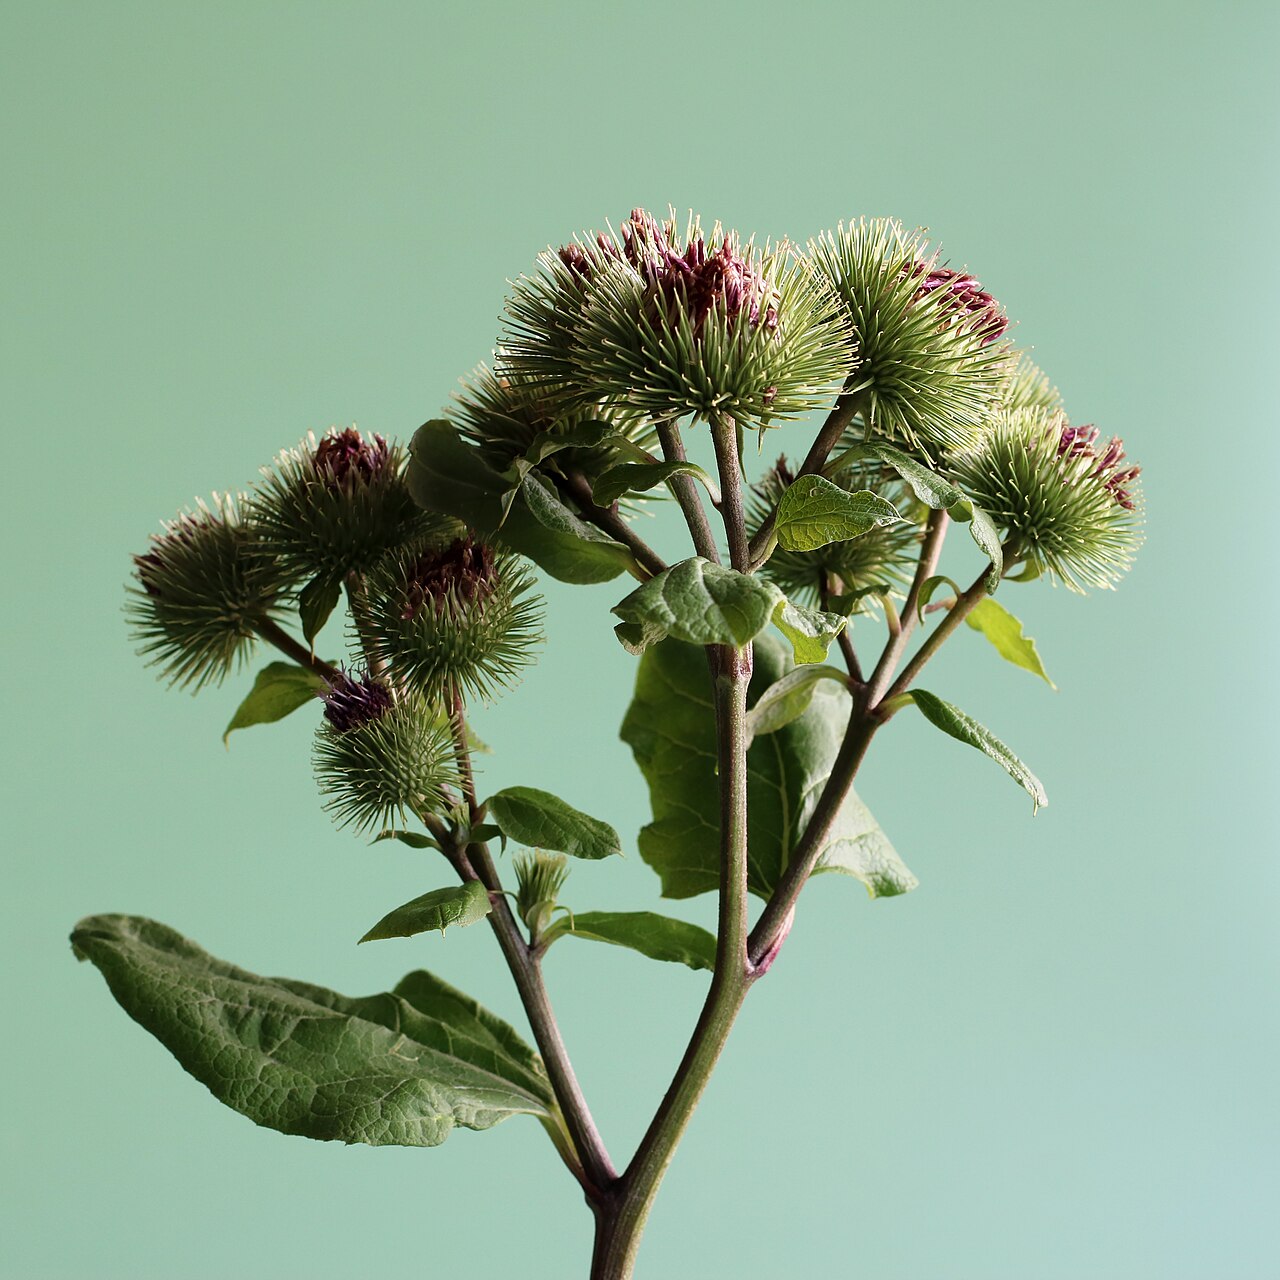
Burdock is a large biennial: in year one it forms a rosette of huge, heart-shaped leaves, and in year two it rockets to 4-6 feet and produces the burrs that stick to everything. Sow seed directly outdoors in spring or fall, where it will grow — it has a deep taproot and resents transplanting — in full sun to part shade and deep, loose, well-drained soil, dug at least 18 inches deep and enriched with compost. Shallow or heavy soil gives short, forked roots, so a raised bed with loose mix is ideal. Give it room: a mature plant is 3-4 feet wide, and the burs in year two will find your clothes, your dog, and your compost pile if you let them ripen. Grow it as a one-year root crop and harvest before it bolts, and burdock stays a vegetable; let it flower, and it becomes a weed with a fan club.
Water & feeding
Water regularly — about an inch a week — for straight, tender roots; drought makes roots tough and woody. Feed lightly with compost at planting; burdock needs little, and excess nitrogen makes leafy tops at the expense of roots. Mulch to hold moisture, and water deeply before digging so roots come out whole.
Common problems
- Forked or short roots — shallow or stony soil is the cause. Dig deep, remove stones, and grow in a raised bed with loose mix.
- Burs everywhere — cut flower stalks before burs ripen, and never compost burs; bag them and trash them.
- Bolting in year two — harvest roots in fall of year one, before the plant bolts, for the best eating roots.
- Slugs on young leaves — hand-pick at dusk; established plants outgrow minor damage.
Harvest
Dig roots in fall of the first year, after a good watering, using a long fork to loosen the deep taproot — expect roots 1-2 feet long if the soil was deep enough. Scrub well, peel, and slice for soups and stir-fries; burdock root (gobo) is a staple vegetable in Japanese cooking, earthy and crisp when fresh. This guide is about growing only: burdock has traditional herbal uses too, but as a garden plant its value is as a root vegetable, and that is reason enough to grow it. Do not let any plants go to seed unless you want burdock in every bed next year.
Browse all plant & pest guides
Saving seeds
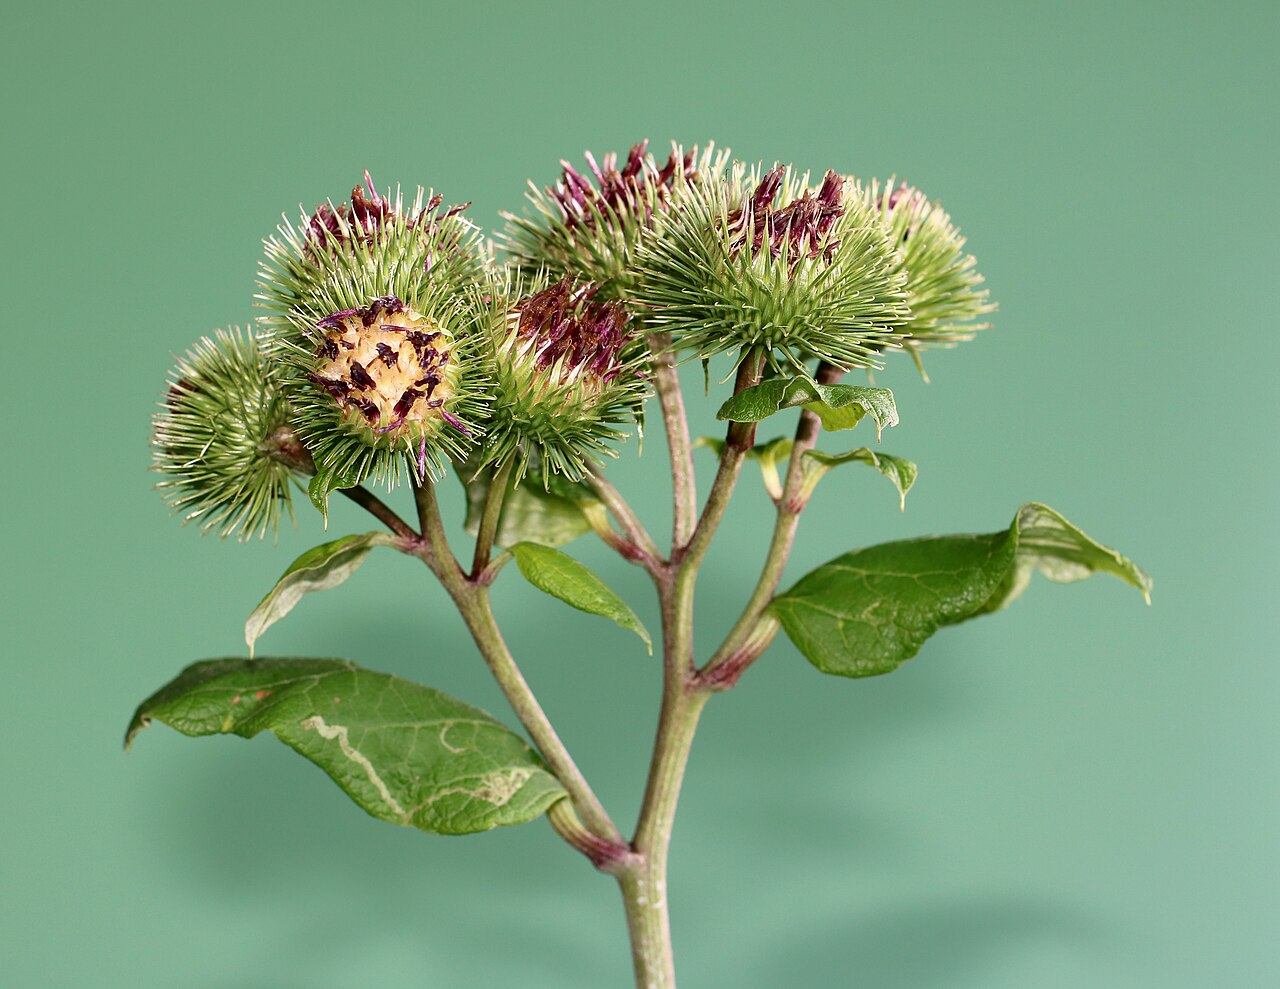
Saving burdock seed is a two-year promise, and the first thing to understand is that you cannot have both the best root and the seed from the same plant. Burdock is a biennial: year one is a rosette stuffing energy into a deep taproot, and year two is a tall stalk of purple thistle flowers that ripen into burrs. Roots are dug in fall of year one or very early in year two, before the stalk rises. Seed comes only from plants you deliberately let bolt, flower, and finish in year two, so if you want both root and seed, grow a row for eating and a few plants for seed, and label which is which before the stalk shoots up and makes the decision for you.
Let the burrs ripen on the plant until they are dry, brown, and grabby — that grab is the whole point of a burr, and it will grab you too, so wear gloves and long sleeves. Snip the heads into a paper bag before they shatter on their own schedule. Dry them a week or two more indoors, then rub the heads between gloved hands or in a sack to free the achenes, and winnow out the chaff. A word of respect for the pappus hairs: the tiny bristles on burdock seed detach easily and irritate skin, eyes, and airways, so do the rubbing outdoors or with the bag mostly closed, and do not lean over the pile breathing deeply like you are admiring a fine wine.
Sow the following spring or fall, directly where the plant will live — that taproot resents transplanting, and a burdock moved twice is a burdock sulking. Cover shallowly, roughly 5–10 mm, keep the soil evenly moist until seedlings establish, and give each plant room, because a second-year burdock is a big plant with opinions about personal space. Cross-pollination between burdock species is not something a home gardener needs to lose sleep over; the two common species and their crosses are, for garden purposes, all burdock, and saved seed will give you burdock.
Two honest warnings before you feel clever. First, burdock self-seeds with enthusiasm: one neglected second-year plant can dot your beds with volunteers for years, since every burr is a hitchhiker looking for a ride. If you do not want a burdock dynasty, cut and bag the heads you are not saving before they harden. Second, Florida storage: dry the seed thoroughly, then store it airtight with a desiccant packet in a cool, dark place, because Florida humidity will happily germinate or mold your seed in the envelope before spring. Sow fresh seed the following season for the best stand.
Varieties
Every named variety of Burdock with its own growing guide:
- Takinogawa Long Burdock — The standard Japanese gobo — roots 1–4 feet long, mild, earthy, and built for kimpira.
- Salada Musume Burdock — The short-rooted burdock — 12–16 inches deep, early, and made for home gardens that cannot dig 3 feet.
- Watanabe Early Burdock — The early gobo — faster to harvest than Takinogawa, with tender roots for kimpira and soups.
- Okinawa Long Burdock — The Okinawan gobo — a long, southern-Japanese burdock from a food culture famous for long lives and good roots.
- Oura Gobo Burdock — The thick gobo — a very thick Japanese burdock, up to about 10 cm across and a metre long, for serious root lovers.